Select Your Garlic
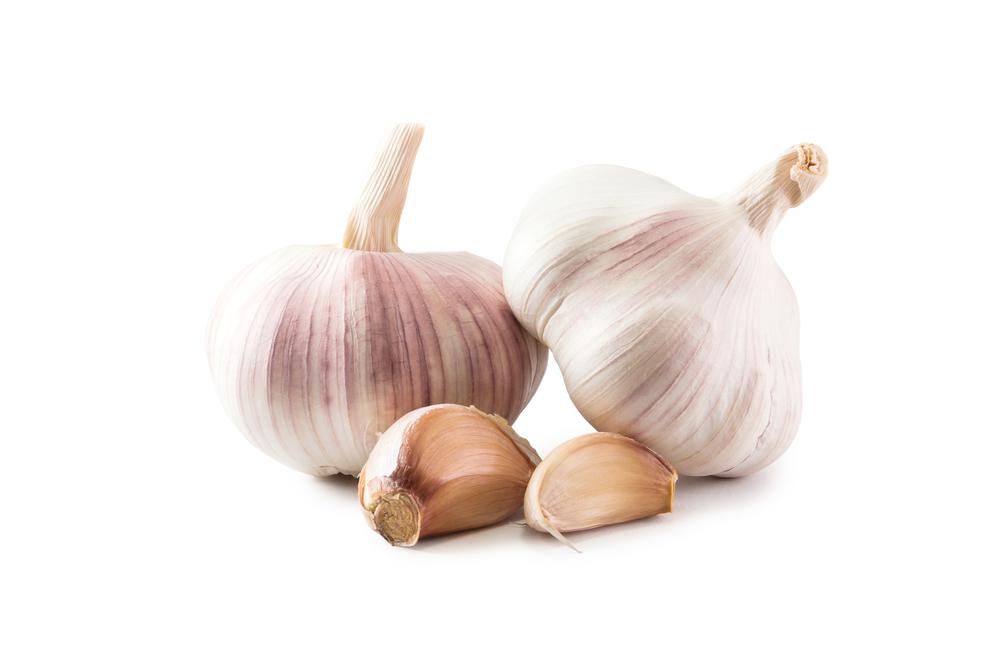
Autumn isn’t the usual time for planting, but garlic is the exception. As the frost prepares to blanket the garden, garlic growers in the north are tucking in their cloves beneath layers of insulating mulch. (In warmer, frost-free zones, the deadline isn’t as tight, but it still has to happen before the winter solstice.)Garlic is also exceptional in that it’s one of the few garden crops that doesn’t begin as a seed. You plant actual garlic, the same garlic that you could just as easily slice into a pan. But that doesn’t mean we just bring home garlic from the supermarket and push it into the ground. Commercial garlic may carry diseases that could infect your garden. It could be beaten up and bruised, which will make it more susceptible to rotting in the ground. And unless you do your gardening in California or China, the garlic at your local store won’t be local to your region, and you want garlic that can make itself at home where you plant it.
So it’s better to buy it locally from your farmers market or a farm stand in your area. Look for garlic that you really like, as it will closely resemble the next generation. You can ask the grower questions about it, such as whether it’s a hardneck or softneck variety. Hardneck garlic will sprout the edible scapes that everyone loves in the late spring, while softneck garlic stores much better and often has more intense heat. Whatever garlic you like at the farmers market is bound to grow at home. And if all goes well, you won’t need to buy more next year.
Some call garlic the stinking rose, but I prefer fragrant lily; garlic is a member of the lily family, after all. As for stinking, I would say it smells provocatively pungent. When you cut and cook garlic, the fragrance lights up the room and makes everyone hungry. I use a hardneck variety called Romanian Red. The cloves are always big, it’s easy to peel, and it tastes the way that I want garlic to taste.
Planting Time
Each garlic clove is actually an entire plant. Most of the clove on top is a modified leaf. The flat scab at the bottom is a stem. It’s lined with a semicircle of mini bulbous roots that will sprout and grow as soon as the clove is watered in. The clove then lies dormant all winter. In spring, your garlic plants will take off like green rockets, towering over the rest of the garden like the girls over the boys in 5th grade.The absolute deadline for garlic planting is when the ground freezes, after which the soil can no longer be worked. But it’s better to get it in a few weeks before that point, so the clove can send roots into the damp fall earth. In a perfect world, we would dig the earth weeks ahead of planting, on a beautifully sunny fall day. But the world isn’t perfect. If we wait too long, we have to dig and plant on the same day, scampering to get it done ahead of the frost.
Break the bulbs into cloves and plant them 4 inches to 8 inches apart, with the flat, scabby side facing down. I have a garlic planting tool that you push into the ground to make the perfect-sized hole for dropping a clove into. You can also dig a little trench and plant the cloves into that.
Don’t cover anything until all of the cloves are planted, or you might lose sight of where they are. When all the cloves are in, gently rake the dirt to cover them, then cover everything with a thick blanket of leaves, straw, or the mulch of your choice. In early spring, peel back some of the mulch and look for green shoots. When you find them, pull back the mulch as necessary to allow them to grow.
When the time is right, here’s a recipe to help us enjoy what we sow.
Toum
This Lebanese spread is a stunning and simple way to enjoy fresh garlic, and it will find many ways into your mouth: on bread, atop the feast, or as an ingredient in a marinade, dressing, or sauce. You'll need a blender or a food processor—or, alternatively, a large mortar and pestle—and a lot of elbow grease.- 2 teaspoons salt
- 1 cup fresh, peeled garlic with the scabs at the bottom trimmed off
- 4 cups olive oil, divided
- 1/2 cup freshly squeezed lemon juice, divided
Now, turn the processor to “on” and leave it there. Slowly add 1/2 cup of oil, in a very thin stream. Then, add 2 teaspoons of lemon juice and slowly add another 1/2 cup of olive oil, also in a thin stream. Repeat, adding 2 more teaspoons of lemon juice and another 1/2 cup of oil until the oil and lemon juice are gone, speeding up incrementally with each pour of oil. The toum will get progressively fluffy, until the processor is nearly full of this fabulous substance. By this point, it will be a bit warm.
Transfer the product to a container and let it cool in the fridge, uncovered, or covered with a paper towel (to avoid condensation dripping into the toum, which would cause it to separate). After it’s cool, cover it and let it sit overnight before using. It will last a month or longer in the fridge. Or it would if it weren’t so habit-forming.