The Best Grilled Chicken

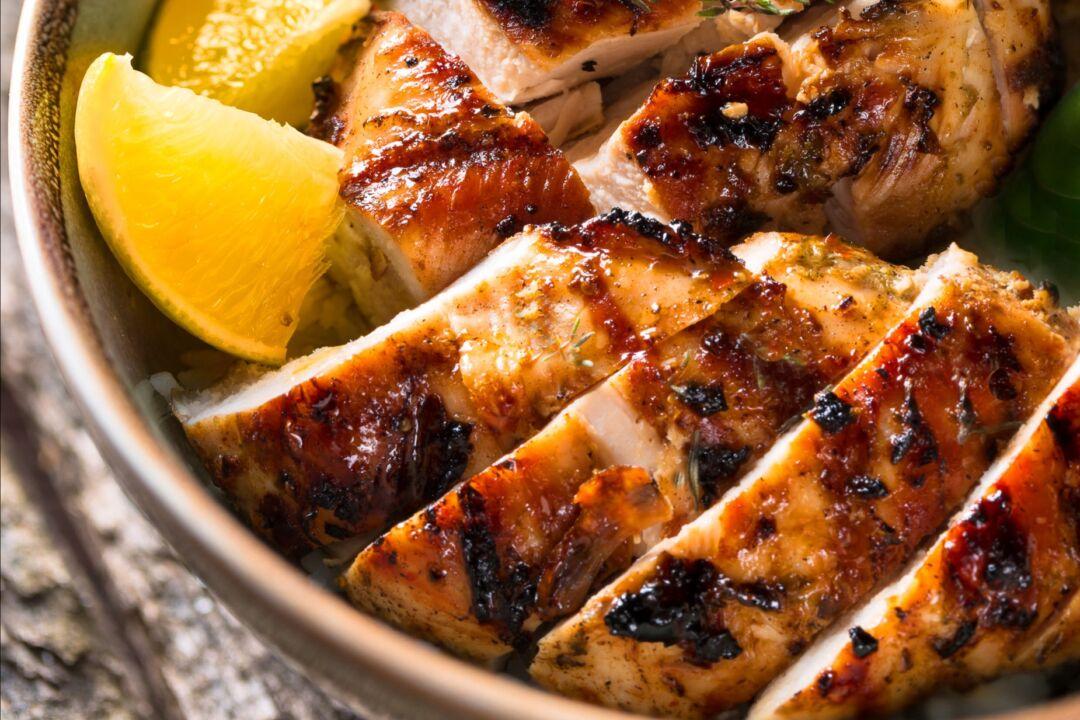
Say goodbye to dry, bland grilled chicken breasts. This recipe guarantees juicy, flavorful chicken every time.
The Best Grilled Chicken
There's no fear of dry chicken breasts with this recipe. Jennifer Segal
Updated:
0:00
View the print ready version of this recipe.
Sometimes in cooking the simplest dishes are the hardest to get right, and grilled chicken is a perfect example. Because boneless chicken breasts are so lean, they often turn out dry, rubbery, and bland. Contrary to popular belief, marinating alone will not prevent grilled chicken from drying out; in fact, it’s often the marinade that causes the problem!
My technique and marinade ensure tender, juicy, and flavorful grilled chicken every time. You can serve the fillets on their own as a healthy main course (kids love them), topped with cheese on a toasted bun, or, as I often do, sliced over a Caesar salad. Bonus: the recipe is quick and easy. You do all of the prep ahead of time and you won’t even dirty a single bowl.

What You’ll Need To Make the Best Grilled Chicken

(Jennifer Segal)
Jennifer Segal

Step-By-Step Instructions

Step 1: Pound the Chicken

Place the chicken breasts in a 1-gallon freezer bag and pound to an even 1/2-inch thickness. This both tenderizes the meat and ensures even cooking. Left in their natural shape, the thin side of the fillet dries out while the thicker side finishes cooking. If you don’t have a meat mallet, a rolling pin or a saucepan will both work well.

(Jennifer Segal)
Jennifer Segal

Step 2: Make the Marinade

Lemon is a key ingredient in this marinade, but I only use the zest. Contrary to conventional wisdom, acidic ingredients (such as vinegar or lemon juice) do not tenderize lean boneless chicken breasts. Just the opposite: they “cook” the exterior of the meat and give it a leathery texture. The zest gives the chicken ample lemon flavor without affecting the chicken’s succulent texture.

(Jennifer Segal)
Jennifer Segal

The best tool for zesting citrus is a fine or microplane grater. Simply rub the lemon in one direction against the blades, turning the lemon as you go. Be sure to remove only the yellow part; the white pith underneath is bitter.

Once you’ve zested the lemon, mix all of the marinade ingredients except for the chicken together in a 1-gallon zip-lock bag (go ahead and use the same one you used for pounding if it is still in good shape).

(Jennifer Segal)
Jennifer Segal

Add the chicken breasts to the bag and massage the marinade into the meat until evenly coated.

(Jennifer Segal)
Jennifer Segal

Step 3: Marinate

Seal the bag and place in a bowl in the refrigerator (the bowl protects against leakage); let the chicken marinate for at least 4 hours or overnight.

(Jennifer Segal)
Jennifer Segal

Step 4: Grill

When you’re ready to eat, preheat your grill to high heat and oil the grates (clean, oiled grates will give you the best grill marks). Be sure your grill is very hot before cooking the chicken; you want nice grill marks and char in the short amount of time it takes to cook these. When pounded thin, chicken breasts only need 2 to 3 minutes per side…no more! If you try to flip the chicken and it feels stuck, try giving it 30 seconds. It’ll release naturally when it’s ready.

You’ll notice that the recipe calls for the grill to be covered while the chicken is cooking. This creates convection heat which helps give the chicken a nicely charred exterior and a tender, moist interior.

(Jennifer Segal)
Jennifer Segal

After removing the chicken from the grill, let it rest for 3 to 4 minutes before cutting into it. This will help keep the juices in and retain the meat’s moisture. (The timing is perfect as it’s just enough to get it onto plates, add sides, and put on the table).

While this chicken is best right off the grill, it’s also the kind of thing you can make a double batch of and freeze for future use in salads, pastas, and sandwiches.

Freezer-Friendly Tips

  • Make sure the chicken is completely cooled before freezing it.
  • Keep the chicken pieces whole (no slicing before freezing).
  • To avoid multiple pieces stuck together (which extends defrosting time), wrap each piece individually in plastic wrap and then place them all in a ziploc bag. This also allows you to defrost one piece at a time if you’d like.

You May Also Like

The Best Grilled Chicken

Serves 4
Prep Time: 20 Minutes Cook Time: 10 Minutes Total Time: 30 Minutes, plus at least 4 hours to marinate
  • 1 3/4 pounds boneless, skinless chicken breasts
  • 6 tablespoons extra virgin olive oil
  • 4 large garlic cloves, minced
  • 1 teaspoon dried thyme
  • 1/2 teaspoon dried oregano
  • 1 1/4 teaspoon salt
  • 1/2 teaspoon freshly ground black pepper
  • 1 1/2 teaspoons lemon zest, from one lemon
One at a time, place the chicken breasts in a 1-gallon zip-lock bag; using a meat mallet, pound to an even 1/2-inch thickness.

Mix all of the ingredients except for the chicken together in a 1-gallon zip-lock bag (go ahead and use the same one you used for pounding if it is still in good shape). Add the chicken breasts to the bag and massage the marinade into the meat until evenly coated. Seal the bag and place in a bowl in the refrigerator (the bowl protects against leakage); let the chicken marinate for at least 4 hours or overnight.

Preheat the grill to high heat and oil the grates. Place the chicken breasts on the grill and cook, covered, for 2 to 3 minutes per side. Do not overcook. Transfer the chicken to a platter and serve.

Note: The nutritional information includes all of the ingredients for the marinade, so one serving is likely significantly lower in calories and fat than the numbers below

Nutrition Information

Per serving (4 servings)

Serving size: 1 chicken breast, Calories: 413, Fat: 25 g, Saturated fat: 4 g, Carbohydrates: 2 g, Sugar: 0 g, Fiber: 0 g, Protein: 42 g, Sodium: 958 mg, Cholesterol: 127 mg

Gluten-Free Adaptable Note

To the best of my knowledge, all of the ingredients used in this recipe are gluten-free or widely available in gluten-free versions. There is hidden gluten in many foods; if you’re following a gluten-free diet or cooking for someone with gluten allergies, always read the labels of your ingredients to verify that they are gluten-free.
This article was originally published on OnceUponaChef.comFollow on Instagram
Dear Readers: We would love to hear from you. What topics would you like to read about? Please send your feedback and tips to [email protected].
Jennifer Segal
Jennifer Segal
Author
Jennifer is a classically trained chef, Cookbook author, and busy mom. She became interested in cooking in college while studying abroad in France and living with a French family. She is a graduate of L’Academie de Cuisine. Visit OnceUponaChef.com.
Author’s Selected Articles

Moussaka

Moussaka

Gumbo

Gumbo

Braised Short Ribs

Braised Short Ribs
Related Topics