Steam rises from the cup, curling in the chilly morning air. Warm and savory, scented with aromatic herbs, it’s not tea or coffee in the mug, but broth.
The Best Bones to Use for Broth
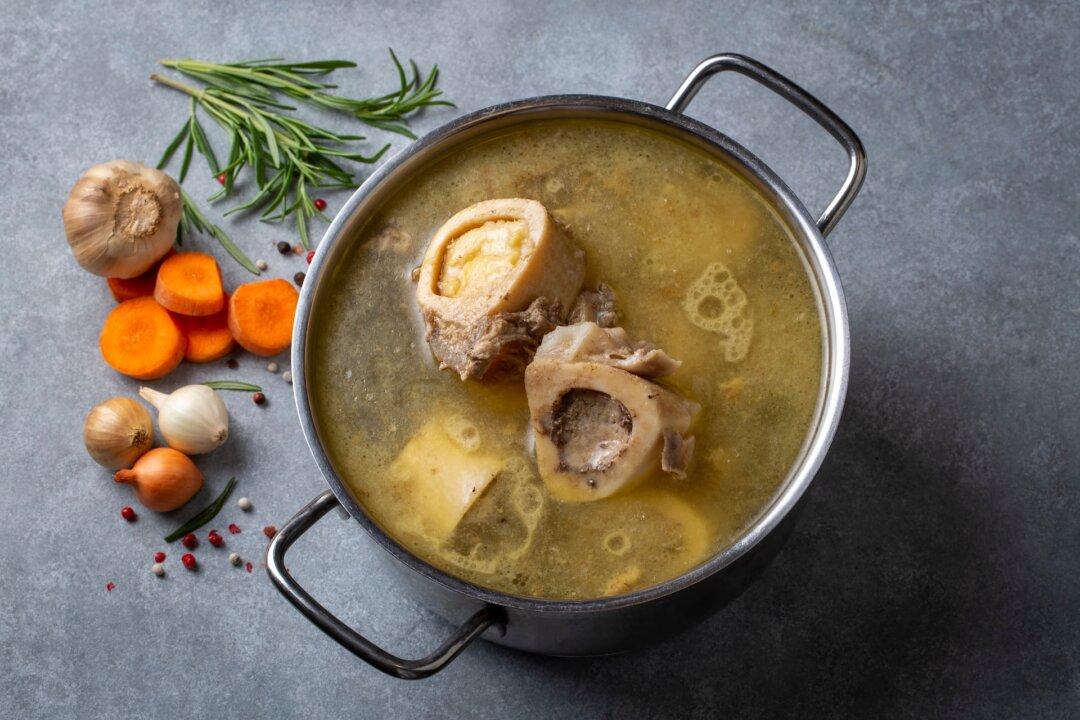
Good broth begins with the right bones—meaty cuts with plenty of connective tissue. As the bones simmer, the collagen in the connective tissue breaks down and turns into gelatin. In turn, gelatin boosts the protein content of your broth, giving it a silky texture when hot and a glorious bouncy consistency when cooled.When making beef bone broth, buy neck bones, shins, and knuckles. These collagen-rich cuts deliver good flavor and the optimal texture for broth. Avoid using too many marrow bones, as they lack connective tissue, resulting in bone broth that won’t gel. Also, their high fat content can make the broth taste greasy.
If you roasted a chicken for dinner, toss the carcass into the soup pot. The collagen-rich connective tissue on the leftover bones will make a beautiful broth, and it’s a budget-friendly choice, too. You can also pick up chicken backs, wing tips, neck bones, and feet at many butcher shops and some grocery stores. Roast them in a pan, then add them to your broth pot. These cuts are particularly rich in collagen.
If your budget allows, buy bones from sources that support regenerative agricultural practices. Ideally, look for grass-fed beef bones and pasture-raised poultry bones. Not only are the animals raised more humanely with a better environmental impact, but they also tend to have more robust and nutrient-dense bones. As a result, you may find you get a better gel and flavor than with conventional bones.
The Art of Making Good Bone Broth
Making delicious sipping broths is a slow, intentional process. Here are the key steps.Roast Your Bones
Begin first by roasting your bones and any aromatics, such as ginger or onions, on a rimmed baking sheet. Roasting your ingredients first allows your broth to develop a deeper, richer flavor thanks to the Maillard reaction, which is the chemical reaction behind browning. The natural sugars present in the aromatics and the protein in the bones will begin to caramelize, producing a rich, savory flavor with deep umami notes. If you’re using the leftover carcass of a roasted chicken, you can skip this step.Add Some Acid
After roasting, add your bones and aromatic vegetables to a stockpot. Broth benefits from a splash of acid to promote gelatin formation and balanced flavor. While apple cider vinegar is a popular addition, a glug of wine works equally well and tastes better.Simmer and Skim
Add just enough water to cover the bones, and bring it up to a rapid boil before turning down the heat and letting it simmer, low and slow, for several hours.Add Herbs and Salt at the End
Add fresh herbs toward the end of cooking so that their flavor will stay bright. Lastly, salt the broth when you’re ready to serve it. If you salt it too early, the flavor can become extra concentrated since some of the water evaporates while the bones simmer.Save Time With a Slow Cooker
You can also make sipping broths in a slow cooker or pressure cooker. Adding all the ingredients at once is helpful. It will take about as much time to make broth in a slow cooker as on the stove, but using a pressure cooker will reduce the time by about two-thirds.Making Broth Your Own
Once you have found a good source of bones and mastered the art of making broth, make it your own. You can infuse your homemade sipping broths with aromatic vegetables, herbs, and spices. Ginger, turmeric, and black pepper partner well together, as do thyme, sage, and medicinal mushrooms.Sip your homemade bone broth when you want a quick boost of protein or when you’re feeling under the weather. You can also store it in the fridge for up to five days or in the freezer for up to six months. When storing in the freezer, remember to allow plenty of extra space in the container, as broth will expand as it freezes.