I don’t know what it is about spring, but it seems that I am consistently bitten by the culture bugs at this time of year. I like to romanticize that this yearly awakening means I’m in tune with Mother Nature and her quest to bring life into the world. But I’m really just thinking ahead to long, warm days sitting in the sun and sipping something bubbly.
It started with making yogurt, moved on to cultivating water kefir (when I get more grains someday, that will be another post), and graduated to nurturing a ginger bug (which I used to make a killer ginger beer that had a mighty kick to it). I’ve also made fizzy drinks using plain old bread yeast, but I hadn’t tried lacto-fermenting a beverage using whey.
I realize I am speaking a foreign tongue to some of you. It was all a bunch of weird words to me too when I first got into culturing, but my interest in creating a good bowl of yogurt led to a lot of research, which led to a lot of discoveries of the things you can easily get your hands on to start brewing in your kitchen.
There really are a whole lot of strange and wonderful things out there that people have been using for years. Kefir grains, kombucha SCOBYs, ginger bugs, and brewing yeast are some that you have to look for a little bit to dig up, but using whey to ferment a drink is as easy as buying a tub of yogurt from the grocery store.
Whey
You know how sometimes you open a container of yogurt, and there seems to be water sitting on top? That’s whey.
You can stir it back into the yogurt, or you can pour it off and save it. Whatever you do, don’t throw it out (like I used to do). It’s a superfood!
Have a look at what Livestrong.com says about the health benefits of whey if you need extra convincing. To collect it for this recipe, you take a strainer or colander of some kind, set it over a bowl, line the bowl with a coffee filter or cheesecloth, and pour in about a cup of yogurt.
Let this whole business sit in the fridge for about a day, and you will have made yogurt cheese and some whey. Save the whey for this recipe. Mix the yogurt cheese with fruit, put it on waffles or bagels, or (my favorite) mix it with a tablespoon of icing sugar and a splash of vanilla and use it to ice pumpkin muffins or carrot cake.
Lacto-Fermentation
Lacto-fermentation (short for lactic acid fermentation) is the process by which Lactobacillus bacteria is fed some sugar, deprived of oxygen and kept warm, and then given a bit of time to produce lactic acid, carbon dioxide, and ethanol. This is a simple formula. (Lactobacillus bacteria is the kind you find in yogurt but also on a lot of plant life and inside of our very own bodies.)
The science can be a little intimidating at first, but as long as your dishes are quite clean and your culture is kept at a nice warm temperature, it’s a piece of cake—lovely, bacteria-laden cake.
Lacto-fermentation is not just about making drinks, of course. It has been used for a long, long time as a method of food preservation. Those of you who love a good kimchi or sauerkraut will already be familiar with the tang of lactic acid.
The lactic acid is what allows fermentation to be a successful means of preservation, as it acts like a sort of security guard, killing off any pathogenic microorganisms that could try to invade your product. This little feature is also what makes lacto-fermentation fun to play with, as you’re pretty safe, even if you’re a newbie.
The general consensus is that if your final product smells putrid, don’t consume it. But I’m pretty sure common sense is common enough to prevent such a thing anyway.
Why Make Soda?
When I first got interested in trying to make everything I possibly could, people said, You know, you can just go to the store and buy a bottle of soda (bar of soap, loaf of bread, and the like). I already knew that.
There are a ton of reasons for making your own soda, the simplest reason being that it’s fun (though I may have a different idea of “fun” than a lot of people do).
Making it is definitely cheaper than buying it, and really, you shouldn’t buy soda pop anyway. It’s terrible for you. But the homemade stuff really isn’t that bad for you since you get to control the level of sugar (and most of it is consumed by the yeast or lactobacillus anyway).
Lactic acid has the added bonus of helping you with your digestion, just as it does when you eat yogurt. If they made a TV commercial for this kind of soda, they would have those belly dancing squares in front of people’s bodies while they drank it, just like that popular yogurt ad.
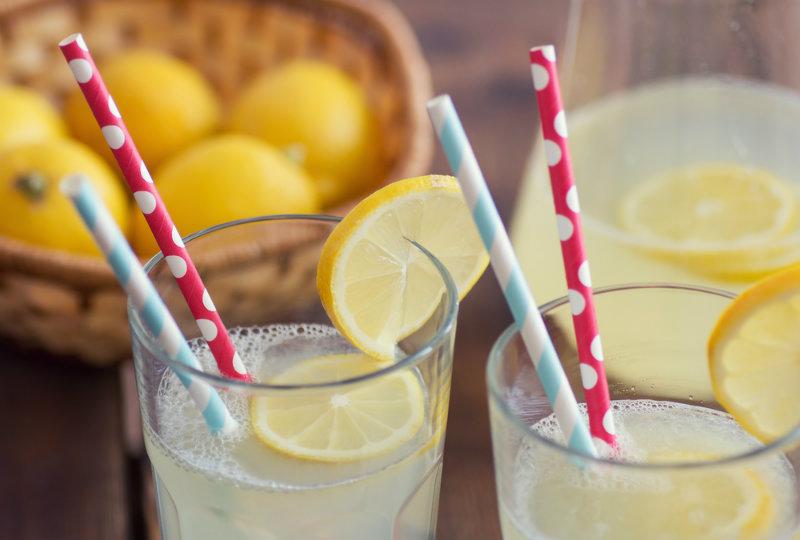
There are so many different recipes out there for homemade soda, and if you look around hard enough for the ingredients, you can make just about any flavor you like. This particular recipe is kind of like a fizzy lemonade with a bit of a creamy feel to it. It’s only slightly effervescent, so it doesn’t burn your nose as some store-bought soda will.
I love it and so does my 2-year-old. My husband is always the toughest critic of my homemade adventures, and he deemed it “all right.” He still drinks Coke on a semi-regular basis, so I will take that as a pretty good assessment coming from him.
Lacto-Fermented Fizzy Lemonade
Begin by making the base soda. This will be your “starter” to make the soda fizzy:
• 1/2 cup fruit juice
• 1/4 cup sugar
• 2 cups filtered, chlorine-free water
• 1/4 cup whey (previously gathered)
I used peach-mango flavored Five Alive, but use whatever citrus-based juice you want.
I used regular white sugar, but you could probably use something like agave nectar, coconut sugar, or organic raw sugar. I’d stay away from brown sugar or molasses because of the strong flavors, and don’t use honey, as the antibacterial properties will throw the cultures off-balance.
To make sure there is no chlorine (which is important if you use city water), either let your water sit overnight on the counter in an open container or boil and cool it. The chlorine will evaporate in both cases. You can always use bottled water if you want, but I don’t usually see the point in paying for a bottle of water when it comes out of your tap already.
Heat the juice and sugar to a simmer and remove from heat. Add the filtered water and mix. When the temperature has reached about 100 degrees F. (you’ll be able to stick your clean finger in and hold it there comfortably for a count of 10), stir in the whey.
Pour this into a quart Mason jar, preferably sterilized, and seal the lid. Put the jar in a warm spot and leave it for three to five days, depending on the temperature (the warmer it is, the less time you’ll have to let it sit).
Check the jar every day by loosening the lid and resealing. When the fermentation starts to work, you will hear a little “ffsst,” just like when you open a soda bottle. Give it another couple of days after this sign of gas being released to let it work up well.
Do check the jar every day and release the carbon dioxide (in the brewing world, this is called burping), as there is a potential danger of the jar exploding. The chances of this are pretty small if the temperature isn’t extremely warm. And there is a lot of headspace in the Mason jar at this point, but it’s better to be safe.
Phase Two
To read the rest of the recipe, read the original article at LittleBoozyHomemakers.com.
Tracy and Joc are sisters, wives, and mothers, and they love to make things with their own two hands. Read more of their great homemaking tips on their blog Little Boozy Homemakers.

*Image of lemonade via Shutterstock


