Shortly after I wrote a column on the specific steps to prepare chuck roast (a relatively cheap cut of beef) so that it turns out like prime rib, I got an email from faithful reader Mary B. We went back and forth a bit as she prepared this for guests. I thought you would enjoy the feedback.
But first, here’s a quick refresher on how to do this:
1. Two thermometers. Make sure you have a good oven thermometer (to measure the heat inside the oven) and an ovenproof meat thermometer (not instant-read, but one that you will insert and stay in the meat the entire time it is in the oven). Regulating the exact temperatures of both the oven and the meat are the secret.
2. Tie it, salt it. Tie the roast with white cotton string so it’s compact and evenly shaped, and salt it well. Not a light sprinkling—at least 1 tablespoon. Don’t be stingy. Rub it in well. You can also season with pepper or additional spices at this point if you want, but just be sure you are super generous with the salt.
4. Free it up. Remove the plastic wrap and place the roast in a roasting pan, uncovered.Insert meat thermometer. Find the thickest part of the roast. Insert the thermometer so that the tip is about halfway through (in the middle). Leave it there!
5. Preheat oven to 250 F. Place the oven thermometer in the middle of the oven. You are going to rely on it, not the one that is built into the oven. This is critical. Rarely is an oven calibrated exactly so that the internal heat measures exactly the same temperature as the setting dial. Once the temperature reaches 250 F on the oven thermometer, adjust the oven temperature dial to coincide so it doesn’t heat up any hotter than 250 F.
6. Set roast in the oven. Leave the roast in the oven until its internal temperature is exactly 130 F. You will know because you left that meat thermometer inserted. Once it hits 130 F, remove the roast from the oven. Remove the meat thermometer.
7. Quickly wrap in foil. Once the roast is completely wrapped in foil, allow the meat to rest for exactly 20 minutes.
Dear Cheapskate: We’re having guests tomorrow, so hope you can answer quickly! I am planning to make a chuck roast using the method you describe in your article—but I’m wondering if you can give me a ballpark figure on how long this may take for a 3-pound chuck roast? I need to make the rest of the meal to finish at about the same time! Roasting it at 250 F, will it take approximately two hours? Four hours?
Thank you for your wonderful columns—I am a faithful reader!—Mary B.
Me: Well ... I am so excited! This is going to be awesome.
For an inexpensive slow-roasted beef to be transformed from a bargain cut into a tender, juicy roast, it is important that you salt the meat a full 24 hours before roasting and then cook it at a very low temperature, which allows the meat’s enzymes to act as natural tenderizers, breaking down its tough connective tissue.
I’m hurrying here because if this is for tomorrow, you have no time to waste! Tie it up and then be generous with the salt (not a light sprinkling) and rub it in. You can also season with pepper or additional spices at this point if you want, but just be sure you are super generous with the salt, which allows the meat’s enzymes to act as natural tenderizers, breaking down its tough connective tissue.
Next, wrap it tightly in plastic wrap and place it in the back of the fridge for at least 24 hours. Take the roast out of the fridge about two hours ahead of roasting to allow it to come to room temperature.
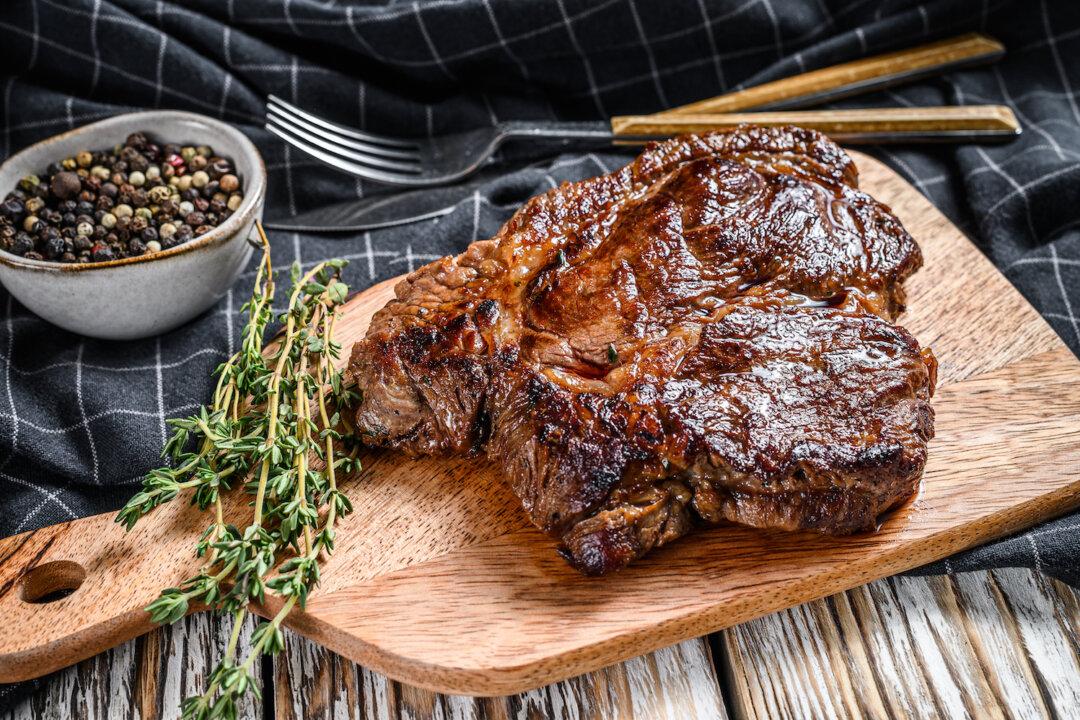
Remove the plastic wrap and place it the roasting pan. Once it’s in the 250 F oven, you want the internal temperature of the roast to come to 130 F for rare, about 150 F for medium or 160 F for well. So, you need to watch that carefully.
Your 3-pound roast (depending on how densely you tie it up) will take two to two and a half hours for rare, a bit longer to reach the higher temps. But it will go fast, so watch that thermometer carefully. When you do take it out of the oven, wrap it in foil while it rests.
After 20 minutes, remove the string(s), carve it across the grain and enjoy!
Let me know how this turns out for you. Or just invite me over. That works, too.
Mary B: Thanks again for your help on the prep for the meat. It turned out fabulous! I will definitely use this method again and again. And thanks for your column. I have read it for years and love my daily newsletters from EverydayCheapskate.com.
Me: So happy to hear that it turned out great. Thanks for being there.