If you read my column on a regular basis, you may recall that about two months ago I touched on the perils of using paving brick made from concrete. These pavers fade in color over time as the thin cement paste that gives them their color succumbs to Mother Nature and high-pressure streams of water that rush out of the ends of pressure-washing wands.
I mentioned a project I’m working on at my son’s new home. Each weekend, he and I bond while sweating profusely as we install perhaps the best paving brick known to man. They’re made from clay and so durable they can be used to build roadways. The color will never fade, and if one of the bricks gets chipped, the color and texture inside the brick match what you see on the brick’s surface. The pavers we’re using are made from clay and fired in a kiln until they’re as hard as rock.
I’ve used clay paving brick at the past two homes I occupied in Cincinnati. My son learned to walk on the last clay brick patio I built in the backyard of the stunning Queen Anne Victorian home I built there. Twenty years before that, I had installed a similar patio at the second house my wife and I owned. That patio looks as good today as the day I installed it back in the late 1970s.
I was introduced to clay paving brick by my mother-in-law. When I was dating my future wife, I noticed one evening two pallets of used salvaged paving brick sitting in the driveway. I asked about them and soon discovered they were destined to form a wonderful patio in the rear of her house under two magnificent shade trees.
One thing led to another and I volunteered to install the brick under the guidance of my future father-in-law, who was far too busy with his medical practice. Among other things, he taught me how to create a baseline to ensure the bricks would be installed in a perfectly straight line.
You should be attracted to clay because it’s an abundant natural resource. Brick technology dates back thousands of years. It’s a time-tested building material. Thousands of miles of roadways have been paved with hard-fired clay brick. Just weeks ago, one of my newsletter subscribers sent me one of the thick, dark-brown clay pavers used to build the famous Old Brick Road in Florida. That historic brick is now sitting on a shelf in my office. And throughout the U.S., towns and cities of all sizes retain beautiful brick-paved streets, alleys, and walkways. Visit Athens, Ohio, and you’ll see paving brick still in extensive use in the downtown district.
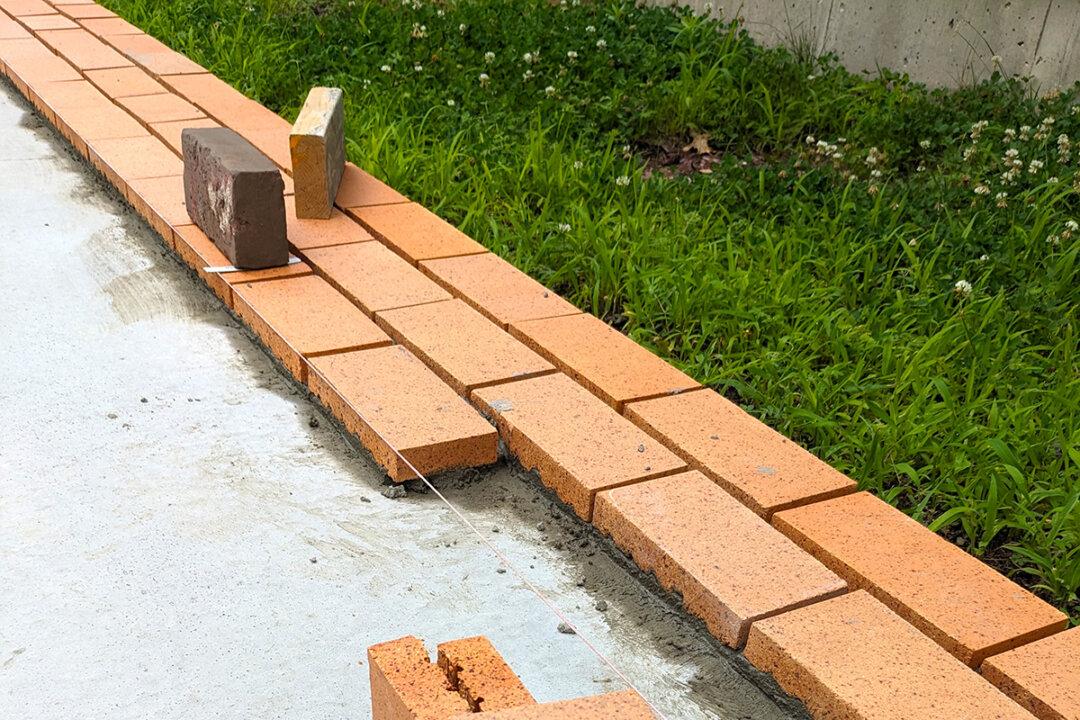
Instead of using the thick traditional paving brick, my son and I are using a split paver that measures just under 4 inches wide by just under 8 inches long and only a little over an inch thick. You can set it in a sand/cement base, but I’m going the extra mile and mortaring each brick on top of a steel-reinforced concrete pad. Once it’s complete, you could drive a truck onto my son’s patio and it would not crack.
The remarkable thing about this system is the ease of installation. You might think it’s not DIY friendly. In fact, it’s the opposite. The only really hard thing about the job, in my opinion, is getting the concrete slab poured correctly.
It’s vital the slab be in the same plane and flat. This means there can’t be any humps or deep furrows in the concrete. Any decent concrete mason can screed the concrete to achieve this goal. I poured my son’s concrete 5 inches thick and put the 1/2-inch steel rebars two feet on center in both directions. The steel looked like a piece of giant graph paper before it was entombed in the wet concrete.
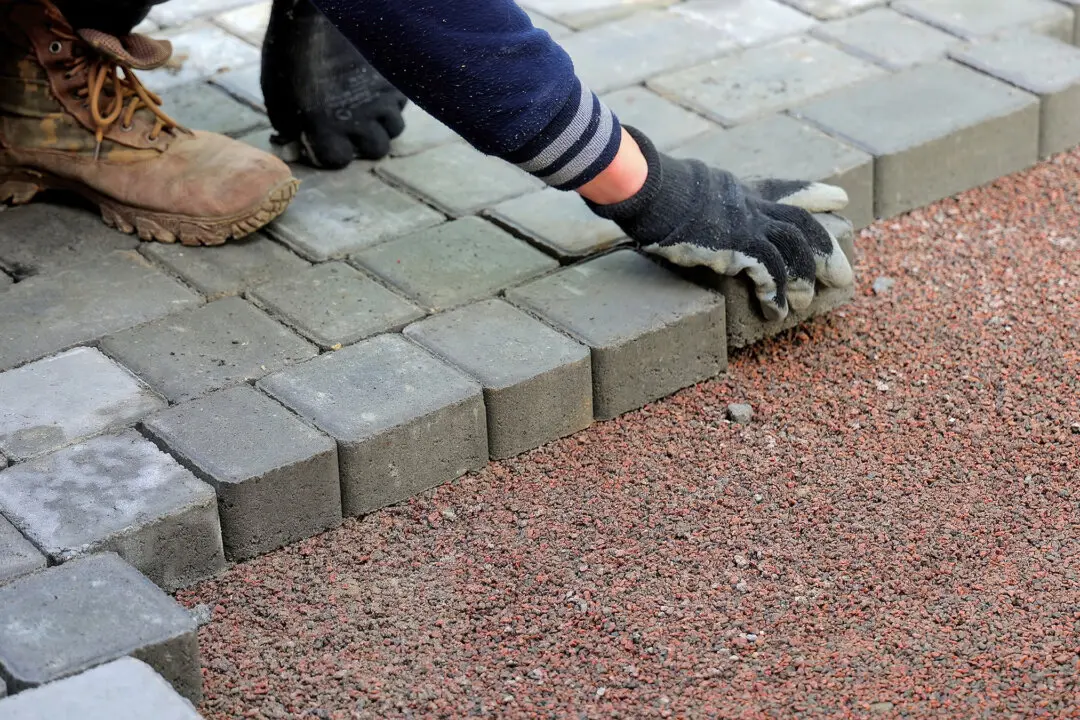
Over the years, I’ve discovered the best way to install a brick patio is to install the border bricks first. This is especially true if your patio or sidewalk is going to have curves. A square or rectangular patio is by far the easiest to build, as it requires minimal cuts. We have a mix of straight and curved edges at my son’s house, but I made sure that the overall size of the patio will have full-sized brick requiring no cuts. It just so happens that three rows of the brick we’re using equals 12 inches. His patio will end up having 45 rows.
The mortar mix is easy to make. I have my son mixing three parts of fine sand to one part of Portland cement. I have him mix just two or three gallons at a time in a wheelbarrow. Just enough water is added to make the mix resemble wet applesauce.
I lay each brick in enough mortar so it oozes up the sides about a half-inch. The rest of the joint is filled at the end of the job once all the bricks are in place. I use a special big bag just like bakers use to decorate a cake. However, I don’t use icing! I blend one part very fine sand to one part Portland cement to make my grout.
The grout would probably test out in excess of 12,000 pounds per square inch. It wears like iron and will resist freezing weather for decades. I’m in the process of recording several in-depth videos of the installation process. You’ll be able to watch these at AsktheBuilder.com early this fall.
Dear Readers: We would love to hear from you. What topics would you like to read about? Please send your feedback and tips to [email protected].
