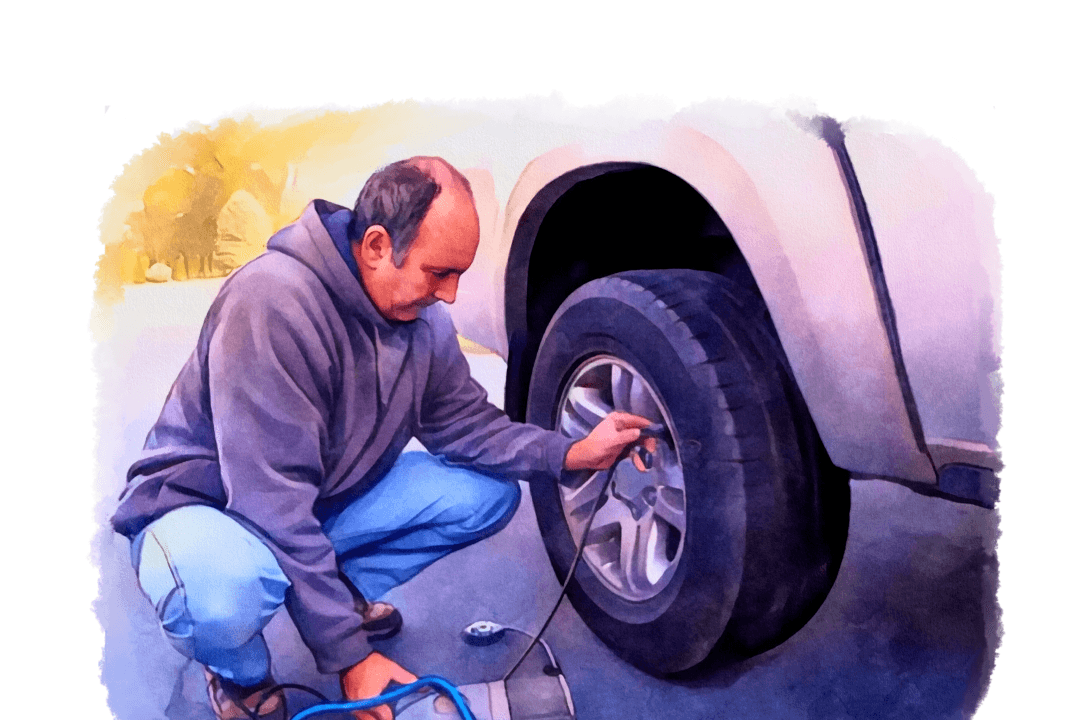
While there is nothing wrong with relying on professional service technicians to ensure the various components of a vehicle are in working order, a basic checkup is an easy do-it-yourself project. The key to DIY car inspections is knowing what to check, how to check it, and having the right tools.
A Short Step Beyond the Visual Inspection
It all begins with a walk around the vehicle. Inspect windshield wiper blades, replace them if they are worn or torn, and check tire pressure. When using a digital gauge, make sure to have spare batteries handy. All tires have markings indicating the proper air pressure; remember to check the spare tire, too. Adding an inflator to the basic tool collection allows for 24/7 top-offs. Inflator models are available powered by 110V household current or an automotive 12V outlet, with others using the same rechargeable battery as found on a cordless drill.
After checking tire pressure, inspect the tires for nails or screws that can cause a leak, as well as for the amount of tread left. Objects in the tire or worn tires are both hazards that need to be addressed as soon as possible by professionals. On a related note, check the lug nuts for correct torque a few days after getting new tires. This requires a torque wrench, which is actually an easily mastered tool. Refer to the vehicle’s owner’s manual to determine the prescribed torque required, and adjust the wrench’s dial to that setting. Using the correct size socket, tighten the lug nut until it makes one “click” sound, indicating the torque is correct.
While driving, pay attention to Check Engine Light icons and instrument panel warning messages such as low brake pads or underinflated tires.


