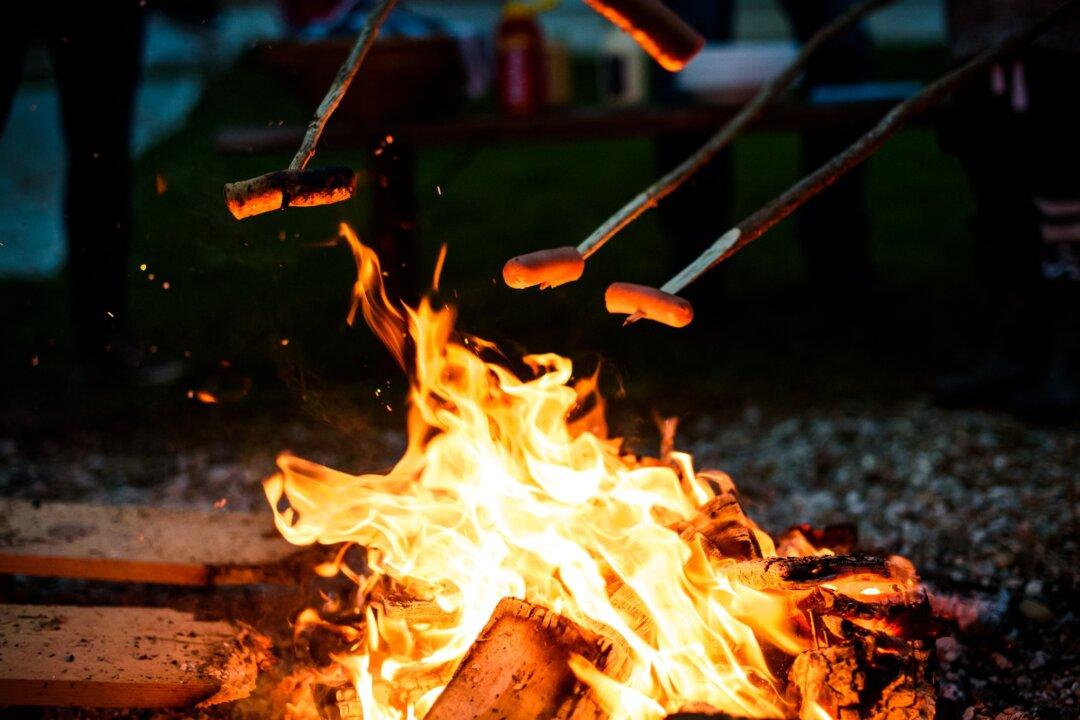
Part of the joy of camping is sitting around a campfire and cooking over flames and embers.
While a long stick might work for a marshmallow or a carefully skewered hot dog, other food items, even just a burger, may require a bit more sophistication. But with a little planning, anything is possible. On a canoe-camping trip with no facilities, friends once grilled octopus—served the first night before the ice in the cooler ran out.
Backcountry camping is a whole different animal, so I am keeping this guide to the casual car camper who only needs to carry a cooler 20 feet from the trunk to the picnic table, rather than on their back 10 miles through the wilderness.
Pack Smart
Some parks have charcoal-ready grills in picnic areas, but at most campsites, you’ll find stone or metal fire rings that may or may not have a thick metal grill over a portion of them.If your fire ring does not have the grill, you’ll need to bring one. Consider an over-the-fire tripod grill. This circular grill dangles from chains that can be adjusted over the heat source, while the fixed grill in the fire pit requires you to adjust the pile of logs and embers itself—a slightly trickier endeavor, and one that can possibly stir up ashes that end up in your meal, if you don’t make this adjustment before laying the food out. Tripods may also have hooks for kettles.
Pack the proper utensils as well. A metal flipper works for burgers, but not so much for hot dogs, while the tongs for sausages won’t help you with a patty. What you have in the kitchen might work fine at your stove, but a campfire or tripod grill might be best approached with a good set of long-handled utensils.
A Swiss Army knife or the equivalent will open any bottles or cans you packed, and may even offer a corkscrew.
Plates, cups, and silverware should round off the list, along with a roll of tin foil to lay over questionable grill surfaces or just to keep small items, such as vegetables, from falling into the fire.
Cast iron pans are awesome: Easy to clean (if seasoned correctly beforehand), indestructible, able to rest in the coals if it comes to that. Make sure you have an oven mitt to pick it up when it’s hot.
To Build a Fire
Most parks sell firewood, and some may even demand you use area wood due to ecological quarantine issues (see emerald ash borers spreading in the Midwest). Dry leaves, pine needles, and twigs make good kindling, but some campers pack paper to wad up and light. Unless you want to strike sparks off flint or rub sticks together like a Scout until fire happens (good luck), be sure to pack matches or a lighter, and keep them dry.The pyramid method works best: smallest, most burnable items at the bottom, with sticks on top of that, and, ultimately, logs tilted together, larger as you go up, but leaving that space beneath to let the smaller fire grow up into them. Wind may hamper your efforts, but airflow is important, too. When it catches, blowing on it—not too hard—helps, and may lead to some dizzy moments that may amuse onlookers.
Get the fire going well. The logs should be burning without assistance and the flames should be charring deep into the wood, leaving glowing spots. Then position the logs and embers under your grill. If you can hold your hand over this for a while, it’s not going to cook your food very well. But also be aware that if it’s too hot—as in, you can’t even put your hand over it—it will cook things too quickly, leaving the center of a burger raw or burning the outside of your food.
Morning Joe
If you are a coffee (or tea) drinker, you will need a pot to heat water. Make sure it can endure the fire: all metal, no plastic handles, and, if you intend to hang it over the fire, a wire bail handle.
Some prefer cowboy coffee—tossing in the grounds once the water heats up—but a French press also works nicely. I have a thermos with a built-in French press.
I don’t recommend a campfire percolator; the coffee just tastes bad. Bring Nescafe if you’re desperate or really want to rough it.
Boiling water by hanging the pot high over the fire can take forever, so here’s a good method. Start with a flat layer of hot coals—not flaming logs—and put down three large, flat stones in a triangle arrangement. They should be thick enough to rise 1–3 inches out of the glowing coals. Place your pot carefully on this. The extra space between the pot and coals keeps them from being extinguished. So does being careful not to spill the pot!
Menu Planning
Plan your camp meals based on how well your food keeps. If you’re eating meat or seafood, put them on the menu for the first night; something that is cured or preserved, like sausage, can keep better and longer if you run out of ice. Yes, vegetarians might have an easier go of this, but honestly, mayo-based potato salad has always been the sick-maker in my recollection.If you don’t want to mess with a pan in the morning, make some hard-boiled eggs before the trip, and pluck them from the cooler for a quicker breakfast. I prefer jerky or meat sticks over something that wants refrigeration. Fruit salads in plastic containers are handy as well.
The old pros will tell you cooking in the rain works just fine, but this isn’t Survivor; bring a meal or three that doesn’t require cooking, too.
Embrace the Foil-Packet Meal
Pre-made meal packets using tin foil are the bomb. Before your trip (or during, just remember to bring a cutting board), cut up the ingredients—veggies, meat, and potatoes—mix in seasonings, and fold the foil into packets that can be set low on the grill or even right on top of hot (not too hot) embers.Just about any ingredients work here, whether in pieces or whole filets, but consider the cooking time for veggies versus meat or seafood, as well as cuts of different thickness. Fish is ready if you open the packet and it flakes. Chicken and pork should be done all the way through, which is easiest achieved with smaller pieces. But if you like medium-rare red meat, it’s best to grill it separately so you can watch it.
Todd Bucher, chef and owner of Delta Diner in Delta, Wisconsin, is known for some of his creative twists on diner dishes and is himself a fan of campfire cooking. Try his take on the foil packet:
“Lay out two sheets of tin foil 12–18 inches long to make a double-layer bottom. On that tin foil, place a skinned fillet of Lake Superior whitefish (or another finned favorite), fresh leeks, sliced almonds, the juice of half a lemon, a tablespoon of capers and some brine, a couple chunks of butter (or olive oil), and a little salt and pepper.
Place a third sheet of the same size tin foil on top. Here’s the trick. You don’t want it to leak, so double fold the top and bottom sheets together: a big fold along the edges first, then a second fold to seal it. Then fold the corners in and you have a campfire seal with a double bottom.
Wait until you have nice coals and set the individual foil pouches on them. It will take about 10 minutes to fully steam (depending on the coals). Once the tin foil puffs up, you have just a few minutes until done.”
Serve this with tartar sauce and finely diced green olives or pimentos for extra flavor, with bread and a grilled veggie, such as corn on the cob, steamed in its husk after first being soaked in water, or asparagus spears.
And to Drink
Pairing wine with your dinner? Opt for the screw-top or remember that corkscrew; boxed wine isn’t a bad option either.Cans pack better than bottles when it comes to refreshments, and chill faster in icy water, and if you are paddling, many rivers do not allow glass containers.
I’ve even camped with mylar-bagged mead, which we dangled in cold river water before consuming.
For more tips, see our Camping Guide 101
Kevin Revolinski is an avid traveler and the author of 15 books, including “The Yogurt Man Cometh: Tales of an American Teacher in Turkey” and several outdoor and brewery guidebooks. He is based in Madison, Wis., and his website is TheMadTraveler.com