When Not to Call a Pro: Easy DIY Fixes

When Not to Call a Pro: Easy DIY Fixes
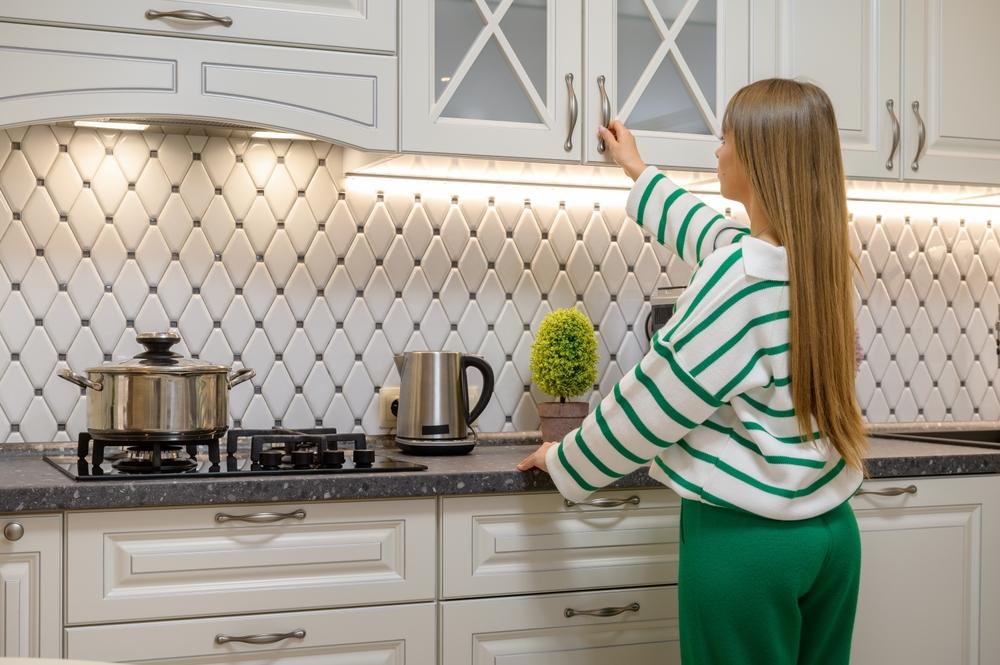
Cabinet doors go out of alignment eventually, but can be easily screwed back into place for many more years of smooth opening.Serghei Starus/Shutterstock
Updated:
0:00

Few things are as satisfying as a job well done, and most of us are handier than we think. Many projects—such as fixing a misaligned cabinet door—may not seem DIY-friendly at first, but are actually quite simple.

While it’s best to leave hanging cabinets to the pros or a pro-level do-it-yourselfer, fixing sagging doors, loose cabinet knobs, replacing bent or broken drawer slides, and softening loud closing doors is easy.

Other surprisingly approachable projects include silencing a squeaky floor, fixing a roof leak ceiling stain, repairing cracked tile grout, tightening loose furniture (even with stripped-out screw holes), fixing a running toilet—and, as the famous Ronco commercials said, “But wait, there’s more.”

Drawer slides can be strengthened and their tracks greased for easy opening.(Serghei Starus/Shutterstock)
Drawer slides can be strengthened and their tracks greased for easy opening.Serghei Starus/Shutterstock

Impeccable Cabinetry

It’s a fact of life that cabinet doors will eventually go out of alignment. Modern hinges are fully adjustable for this reason. First, check the mounting screws to see if any are loose. To adjust the door up and down, turn the top screw on the hinge plates mounted to the cabinet box. Turn the screw clockwise to raise the door, counterclockwise to lower it.

For lateral adjustment, use the screw located closest to the door on the horizontal arm on the mounting plate. Turn it clockwise to move the door right, or counterclockwise to adjust it to the left. If the cabinet doors are too far from the box, turn the screw farthest from the cabinet door on the horizontal arm; rotate it clockwise to pull it in, or counterclockwise to shift it outwards.

Drawer slides support heavy loads and endure hard use over time, causing them to jam, bend, or break. Empty the drawer and remove it. Have the screws loosened? If so, add a drop of wood glue and then retighten them.

If there is debris and grime on the tracks, wipe them down with a rag sprayed with a general-purpose household cleaner. If the slides are bent or misshapen, remove them from the drawer and see if you can reshape them with pliers. Similarly, if the roller wheels are a bit rough, start by cleaning them and applying a tiny bit of fresh grease. If that doesn’t work, replace the entire slides, as the riveted-on roller wheels cannot be replaced separately.

While you’ve got the screwdriver out, check for loose cabinet knobs. If the knob comes loose on a regular basis, add a drop of Loctite or Thread Lock, which will hold things tight, while allowing the knob to be removed if needed. Cabinet doors that close with a loud thud are another annoyance, especially when you want to sneak a midnight snack, so grab a pack of peel-and-stick door and drawer bumpers for quieter living.

Above and Below

As if a roof leak wasn’t bad enough, after it has been repaired, it often leaves behind a stain on the ceiling. If the stain isn’t too dark, try to remove it by applying a bleach-based spray; this is well-suited for both flat and textured ceilings.

Cover the walls with a plastic drop cloth held in place with a painter’s tape such as 3M Blue Tape, which won’t leave a gooey residue when removed, and cover the floor and any furniture, too. Mix 1 part bleach to 10 parts water in a spray bottle and apply. Wait a day to see if the stain is gone. Reapply if needed.

If bleach doesn’t do the trick, and the ceiling is flat and relatively new, try Upshot Multi-Purpose Primer by Kilz, which has a specialized nozzle for working overhead. It may match as-is, or it can be covered with a color-match paint.

For older homes, consider Upshot Overhead Stain Sealer that is lightly tinted to match aged ceilings, including textured acoustical surfaces. If the acoustical texture is damaged as well as stained, follow up the primer coat with an application of spray-on acoustic texture. It might not match the original texture perfectly, but normally will look good to the naked eye.

Unless you’ve got a house with a basement with an exposed beam ceiling, in which case you can insert a shim at the squeak and secure it in place with carpenter’s glue, chances are the floor squeak will have to be fixed from above.

For carpeted floors, roll back the carpeting or use a stud finder to locate the floor joist, then hammer a finishing nail into the subfloor. Never use screws, as they’ll tangle in the carpet. For wood floors, drill a small pilot hole into the flooring at an angle, at least a half-inch from the edge of a plank, so as not to split it. Insert a trim screw until the head is below the surface, and then fill the hole with wood filler. The same trick works for a squeaky outdoor deck.

Grout Like a Pro

Clean the damaged grout with a mix of 50/50 vinegar and water to expose its original color in order to determine the correct color-match grout needed. Use a handheld grout saw to remove the top one-eighth inch and then vacuum the area thoroughly. Mix the new color-matched grout and apply it using a grout float at a 45-degree angle. Then drag the edge of the float flat over the new grout line to level it. Allow it to dry for 30 minutes, and then clean up any excess on surrounding tile with a slightly damp sponge.

Save the Day

Don’t replace a sputtering faucet when you can probably just soak the dirty aerator in vinegar for 20 minutes and scrub it clean to restore a steady flow. Here are some other fast fixes.

Tight and Strong

A loose shower head can be instantly re-secured in place with a simple squirt of expanding foam at the wall opening that is then hidden behind the decorative trim ring. This fix works great for loose pipes, too.

Toilet Tricks

When the toilet keeps running because of a kinked float chain, remove one end, cut a plastic straw to about two-thirds length, and slide it over the chain. For clogs, replace chemical options with a half cup of dish soap. Let it settle to the bottom for 20 to 30 minutes, then pour in hot (not boiling) water to help dislodge the clog.

Furniture Rehabilitation

Loose chair leg? Flip it over, drive a pilot hole at an angle though the rung and into the leg, and secure with a trim-head screw.

Stripped screw holes causing a wobble? Dip toothpicks in wood glue and insert them in the hole, nip or break them off flush, and re-insert the screw.

Dear Readers: We would love to hear from you. What topics would you like to read about? Please write to us at [email protected]
Sandy Lindsey
Sandy Lindsey
Author
Sandy Lindsey is an award-winning writer who covers home, gardening, DIY projects, pets, and boating. She has two books with McGraw-Hill.
Related Topics