Painting the floors is usually a simple do-it-yourself job, even for the inexperienced homeowner. If you have a creative artistic flair, the floor will probably look better than when it was new. Some of the newer-formula paints are extremely durable and will last for years.
Before you paint the floor, make sure that it really is in basically good condition. This requires a thorough scrubbing with floor cleaner and a brush. Once it is clean and dry, take a magnifying glass and check a few of the high-traffic-area spots.
What you should look for are small cracks in the surface. You can pick at several of them with a pin to see if they are very deep and if any of the flooring easily chips out. These are both signs that it probably should be replaced. Also check for the waviness of the floor. This can also indicate that the flooring material is breaking down from underneath.
Assuming all looks well, and in most cases it will, you are ready to start your floor painting adventure. If you did a thorough inspection cleaning, you have probably already removed all the old wax. This is critical for the paint to adhere properly.
Use a hand-sanding block with medium grit sandpaper and lightly sand the entire floor surface. Make sure to get all the way to the edges at the base of the counter and walls. This accomplishes three important goals: It removes any traces of wax, smooths out any rough spots, and roughens the surface slightly for better paint adhesion.
Now vacuum the floor surface thoroughly. At night, with the kitchen lights out, hold an automotive trouble light near the floor. This accentuates any high spots and pits. You can fill the pits with standard wood filler. Sand down any of the high spots. Vacuum the floor again, and wipe it down with a damp sponge.
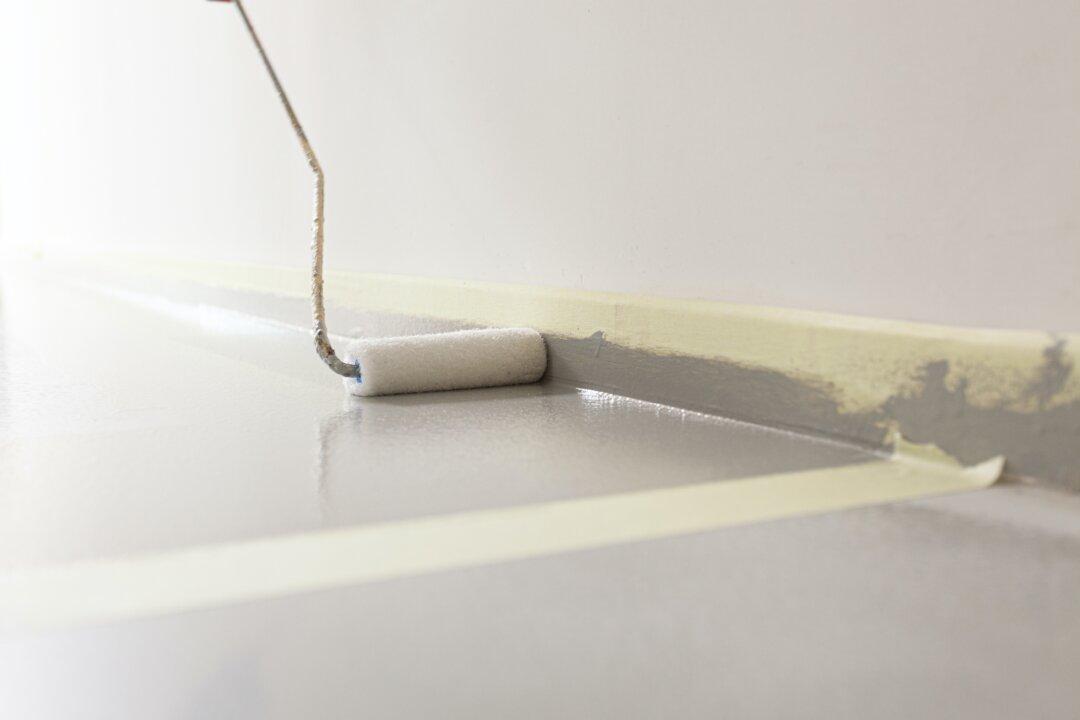
When it is completely dry, apply a coat of oil-based primer. You can tint the primer if you plan to apply a dark topcoat. The primer will make the porosity of the surface uniform so that the topcoat looks consistent. It also helps the topcoat to adhere better. Apply it with a roller and brush just like you would paint a wall.
Read the instruction on the primer can and apply your first oil-based topcoat as soon as the instructions recommend. Let it dry according to the instructions on the can and then lightly sand it. Even though you will be coating the floor with durable urethane, consider a second topcoat for uniformity.
Let the topcoat dry for four or five days. The newer low-volatility oil-based paints take longer to dry than they used to. Now apply the final urethane finish to the floor. Make sure that you use tough “floor” urethane, not furniture urethane.
If you are going to urethane a fairly large floor area, more than 100 square feet, use a lambswool applicator on a pole, like the professionals do. You basically pour the urethane out in a line on the floor and then spread it around evenly with the lambswool applicator.