Using plastic laminate for the countertop surface is a good choice. It is durable, reasonably priced, lightweight, and easy to work with. Other than very decorative edge treatments that require professional tools and experience, let your creative juices flow.
Plastic laminates resist stains well and provide easy cleanup. To be safe, always clean off any staining substances with mild soap, rinse well, and dry it. Other than an extremely hot pot or not using a cutting board, your new countertop should stay beautiful for many years.
If you have seen older plastic laminate countertops with the noticeable brown line, you'll be in for a pleasant surprise. The new plastic laminates come in dozens of patterns and colors and have different edge detail to hide the line.
Most home center stores have only a limited selection of plastic laminate and it is often available only in smaller 4-by-8-foot sheets. If you are redoing a larger countertop, you can special order 5-by-12-foot sheets and you will have more pattern choices.
If you want to get really fancy, go to a local kitchen cabinet showroom and check out the new decorative edge treatments. Some are rounded, square, or beveled. For a real contemporary look, try adding an edge treatment made of a different pattern or a completely different material.
As a brief background, plastic laminate sheet is basically a sandwich of a decoratively printed piece of paper and heavy kraft paper backing encapsulated under heat and pressure in durable clear resins. The grade used for countertops is typically about 1/16-inch thick.
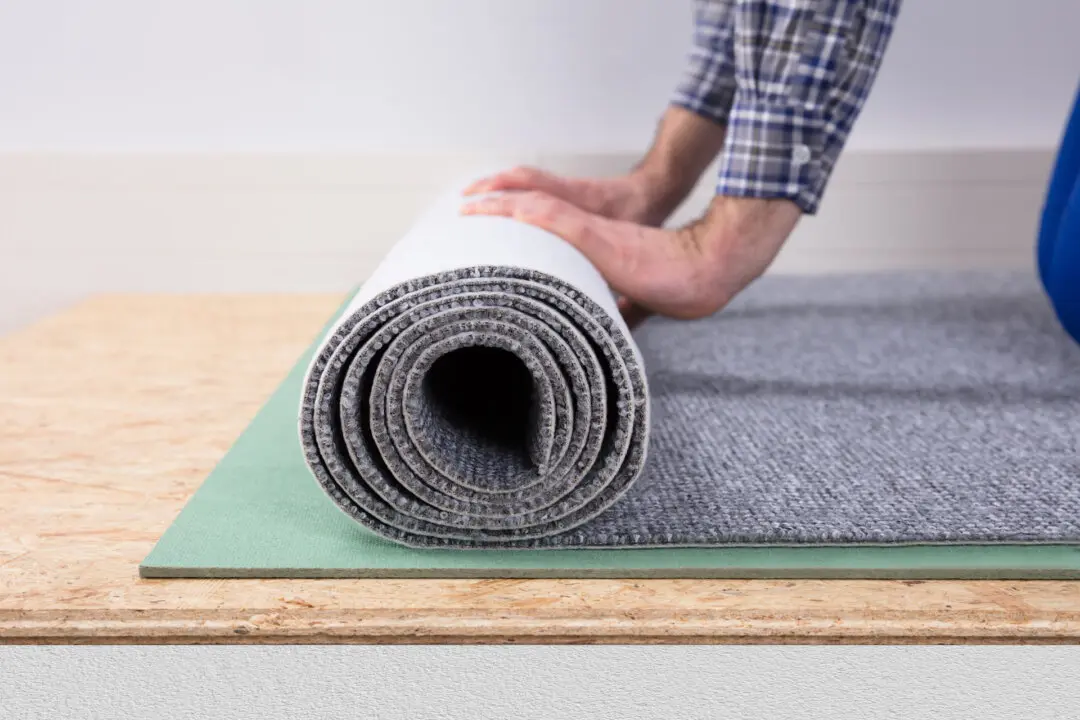
Be careful when handling the plastic laminate sheet because it is brittle when not supported on a countertop. The first piece that I ever touched, I broke and had to start the job over. The best way to bring the plastic laminate home is to roll it in a 24-inch minimum roll and tie it with string.
If you are going to stay with the same countertop shape, you will probably be able to apply the plastic laminate over the old countertop. Fill in any deep gouges because it must be smooth.
If you cannot contain those creative juices and you choose a new shape, I recommend 3/4-inch-high density particleboard for the base. This material is relatively cheap, strong, and easy to work with. Hardwood plywood works too, but it is more expensive. Avoid standard-grade softwood plywood.
Carefully inspect the particleboard surface and repair any blemishes. Use a circular saw to cut the basic rectangular size and then use a jig saw to cut any curves. Make sure all the radii are 2.5 inches or greater or you may have difficulty attaching the laminate.
When the countertop is ready, unroll the plastic laminate. Clamp a straight edge over the laminate to secure it. Use a scoring tool to mark it and then flex it up and down to break it.
After some final fitting, glue the laminate to the particleboard. Although professionals often use solvent-based contact cement, use water-based cement. It dries slower but it is safer to work with. Use a heat gun to easily bend it around the ends and then glue on the edge piece.