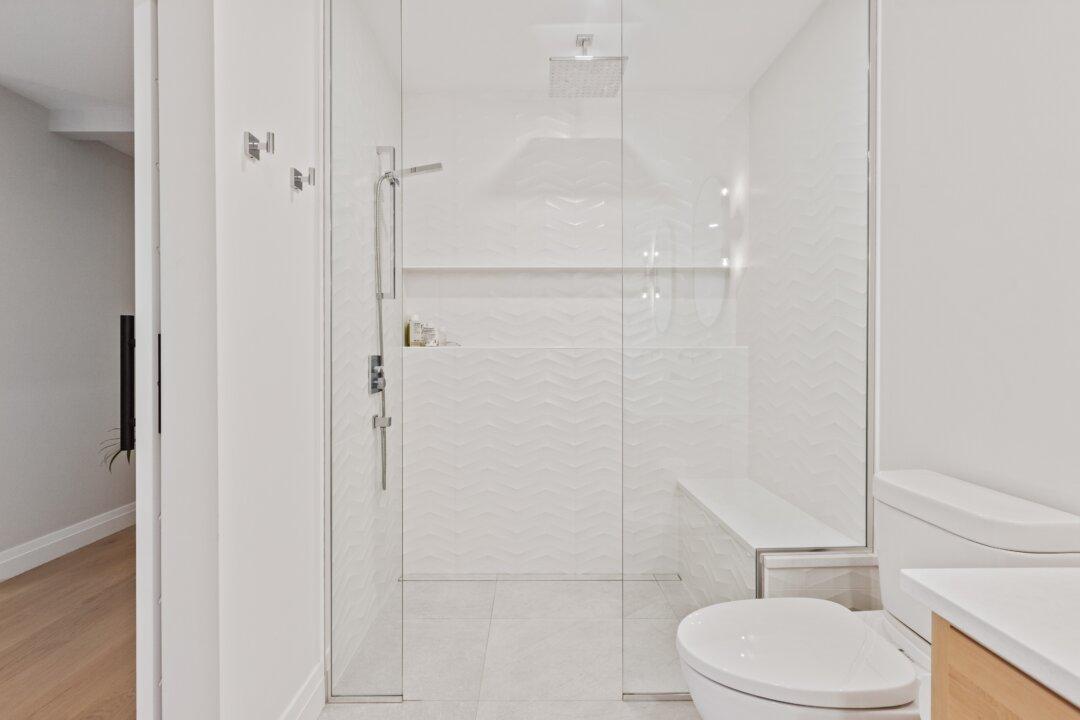
A shower seat can also be used as an extra shelf or a footstool when shaving legs. If you have young children, a seat is a great place for them to play with their bath toys, for you to use as a spot to brace your weight when bending over, or for setting children’s bath toys, shampoo, conditioner, etc.
Your choice of ceramic tile for your new bathroom is a good one. Ceramic tile is attractive, durable, and not difficult to install yourself. You may also use ceramic tile to finish your shower seat, but granite, real or cultured marble, and laminates are also possible options.
If you want the seat to match perfectly, then you will have to build the seat with lumber and finish with matching ceramic tile. Also consider using marble or granite of contrasting color.
It is easy to build the seat with these materials. They are strong and do not require excessive support framing. Local marble suppliers may have odd pieces available to fit your shower. I have seen many light-colored tile showers with a stunning dark granite seat.
When installing a reasonably sized shower seat, you will have to oversize your shower stall a little. A standard rectangular shower is the best shape, and it should be a minimum of about 52 inches by 36 inches in size. Make it any smaller than this and you will end up bumping your shins on the seat.
Plan on making your shower seat about 12 to 14 inches deep. This is a comfortable size even if you or your partner is very tall. A height of about 15 inches is usually the most comfortable compromise for the entire family. Believe me; everyone will want to use it.
To build your ceramic tile seat, use standard 2-by-4-inch lumber to make the framing for the seat. Size it so that it is one inch shorter and narrower than the finished shower seat size. This provides room for the plywood, waterproof membrane, cement board, and tile.
It is very important to waterproof the shower seat area properly. Wherever there are angles and corners, there is a greater chance of leaks into the wall. Make sure to slightly slope the top of the seat toward the center of the shower. This eliminates standing water after you shower.
I always use a vinyl membrane to create the waterproof barrier. This membrane should cover the shower floor and run up the front of the seat and over the seat. If you do not have a piece that is large enough, there are solvents available to glue smaller pieces together to reduce scrap.
Once the water barrier is in place, cover the entire seat with cement backer board for a tile base. Attach the cement board with a cement mixture to avoid puncturing the water barrier membrane with nails.
Now, you are basically done building the shower seat. When you finish the entire bathroom and shower with the ceramic tile, finish the shower seat at the same time. You will use the same cement mixture to set the tile as you used for the cement backer board.