Install Brass Water Faucets That Don’t Tarnish

Install Brass Water Faucets That Don’t Tarnish
(dangdumrong/Shutterstock)
12/15/2022
Updated:
12/21/2022
Dear James: My brass kitchen faucet works, but after only two years the finish is tarnished. How do I install a new one, and what types are tarnish-resistant?—Tea S.
Dear Tea: Try cleaning the tarnished brass surfaces before running out to buy a new faucet. There are many brass cleaners available that are effective. If it was a good-quality fixture to start with, you may be able to clean off the tarnish and restore it to a like-new appearance. Repairing the leak itself is easy to do if you are able to clean off the tarnish.

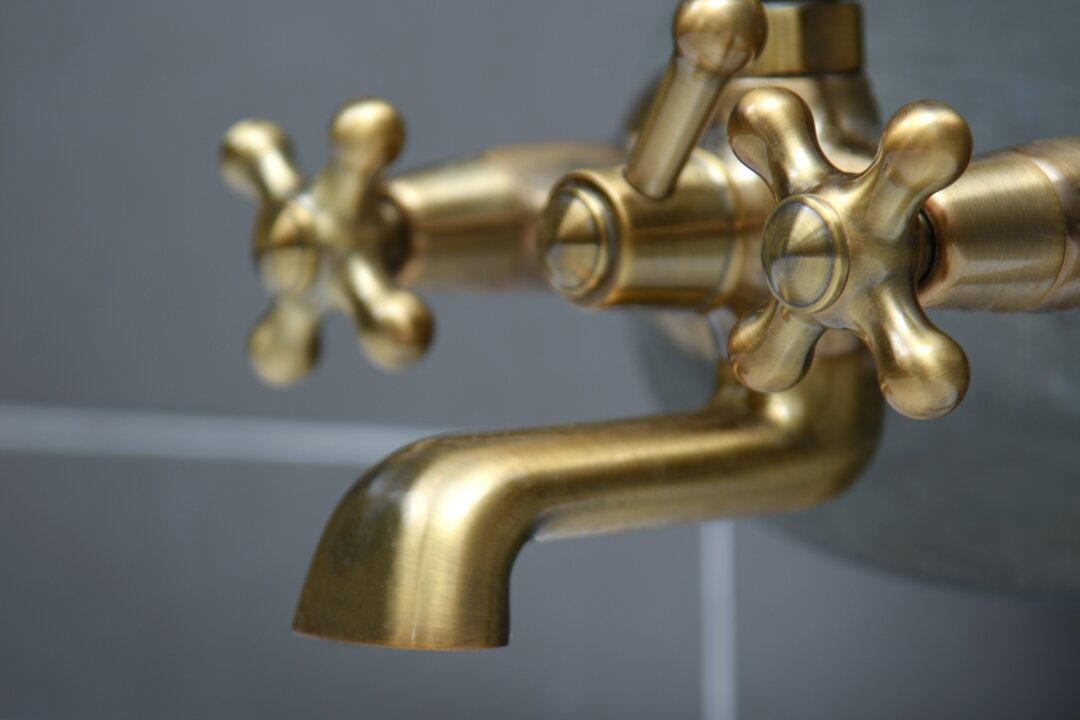
If you cannot clean the old, tarnished fixture and you must get a new one, don’t fret. Many of the major kitchen fixture manufacturers now offer tarnish-free brass faucets.

A thin layer of a special non-tarnishing brass alloy is vacuum deposited on the faucet body. It looks exactly like real polished brass. You might also consider a faucet with an attractive split chrome/brass finish.

Often, the most difficult part of installing a new kitchen faucet is getting the old one loose. Since yours is only three years old, it hopefully will come loose easier than usual. Until you get the hot and cold water feed lines loose from the fixture, be gentle underneath the sink. The last thing you want is to cause a water leak inside the wall cavity.

To start this project, turn off the supply water shutoff valves underneath the sink. They may be stuck in the open position. Wrap a rag around each handle to get a better grip on it and to protect your hand. Turn the valve totally closed but not too tight at this point.

Before you loosen the water feed lines from the valves to the faucet, place some rags or a large pan underneath the valves. Even though they seem to be closed, they still may be dripping. If they are still dripping, try to close the valves tighter. Just a tiny drip will not be a problem for the 30 minutes or so it will take to finish installing the new faucet.

Once you remove the old faucet, clean off the sink top under it. It will probably be dirty, and you may find crusty hard-water deposits. Scrape off as much as you can, being careful not to scratch the sink top. Pour a little white vinegar on any deposits to soften them to make them easier to remove.

Most new sink kits should include a gasket that fits between the faucet and sink top. If it does not, roll a thin ribbon of plumber’s putty and place it on the sink top. When the faucet is bolted down into the putty, you can cut off the excess for a clean-looking job. The putty will always stay pliable.

Once you have the faucet bolted tightly to the sink, your last task is to attach feed lines from the shutoff valves to the faucet. The chances of your old ones being the proper length and shape are slim, so just plan on using new ones. Braided flexible ones are much easier to install than the less-expensive chrome metal ones.

choosing a faucet tipsheet
Send your questions to Here's How, 6906 Royalgreen Dr., Cincinnati, OH 45244, or visit Dulley.com. To find out more about James Dulley and read features by other Creators Syndicate writers and cartoonists, visit the Creators Syndicate website at Creators.com. Copyright 2021 Creators.com
Related Topics