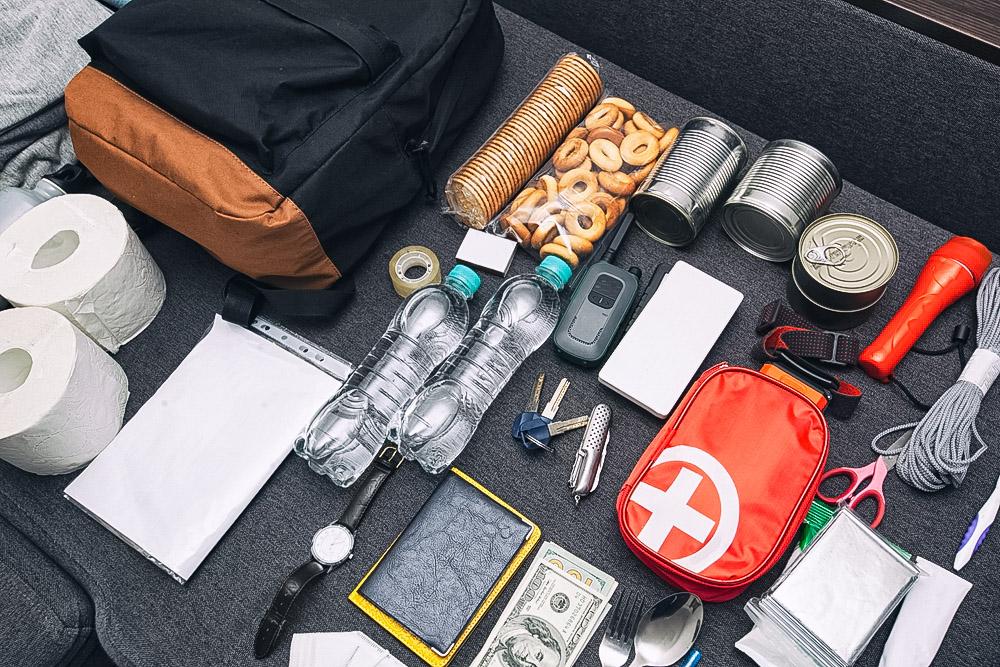
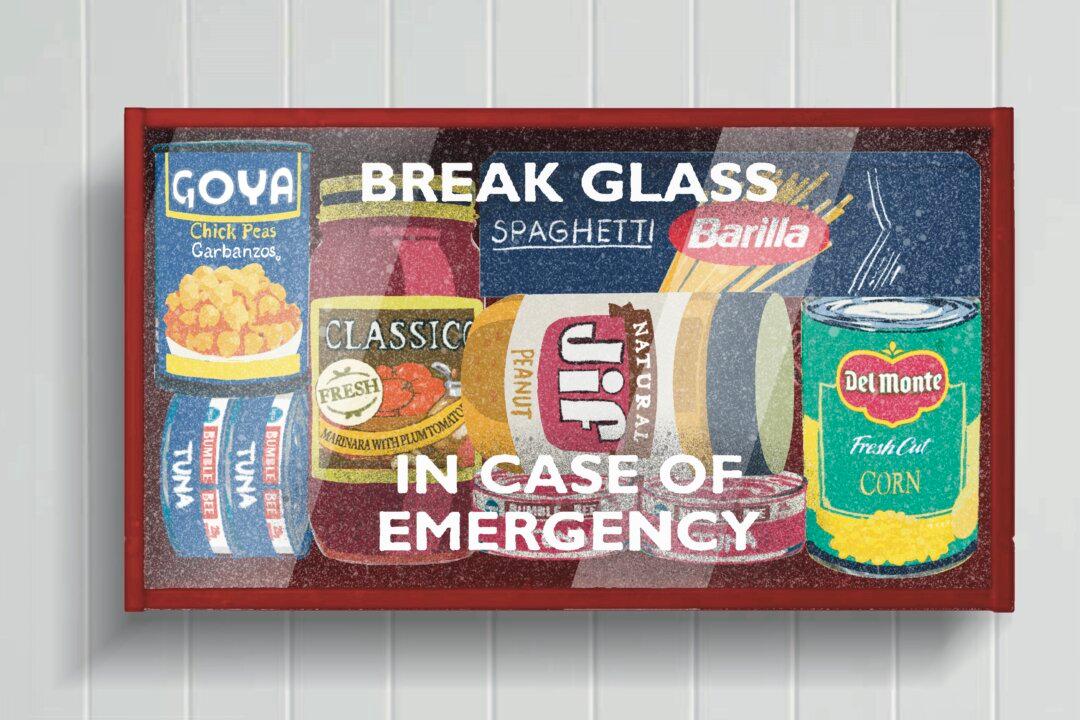
Having an emergency food supply is no longer unusual. More families across the country are filling cupboards, closets, and under-the-bed spaces with canned food, buckets of wheat, and more, literally grocery shopping for the future.
Building food storage pantry customized to your family’s tastes and needs is worth the effort. To get started, keep track of your family’s favorite meals and the simplest recipes you use. List what you’re eating now, as that will provide a guide for what your longer-term storage should include.
Before buying anything in bulk, especially if it’s something new to your household, buy a small amount and give it a test drive. Use it in a recipe or two, then try incorporating it into more meals. Stock up only when you know for sure that it suits your family.
Handle the Heat
Heat, by far, has the most significant negative effect on food. Food retains its optimal level of nutrients, flavor, and texture when stored at very cool temperatures, such as in a cold basement. But for practical purposes in your home, aim to store your nonperishables at a steady 70 to 75 degrees F. Though that’s not always possible, simply storing food in the coolest location in your home can mitigate the effects.Never store food in an uninsulated attic, garage, or outbuilding. Besides fluctuating and possibly extreme temperatures, food will attract pests of all kinds. A determined rodent can chew through a five-gallon plastic bucket surprisingly fast.
Repackage Foods for the Longest Shelf Life
Fortunately, the proper containers can mitigate the next four enemies: light, oxygen, pests, and humidity. In most food storage pantries, you'll find cans, glass jars, food-safe plastic buckets, and Mylar bags. Each provides an excellent storage environment to help food to retain its flavor, texture, color, and nutrients, and to avoid rancidity.Most store-bought foods are packaged for immediate consumption and not long-term storage. For example, consider the food in your kitchen right now—you’ll likely see paper bags, cardboard containers, and thin, plastic packaging. If you plan to use this food within three or four months, it will probably be fine simply stored in a cool, dark, and dry location. But if you plan to build a long-term supply, consider first repackaging it inside better containers.
Food-safe buckets in different sizes are a good choice for dry foods such as cornmeal, beans, wheat, rice, and oats. Depending on your family size and ability to heft a bucket that might weigh 20 to 30 pounds, choose the size of bucket that suits you best. Too many preppers load up on dozens of five-gallon buckets only to find how difficult they are to lift and maneuver, especially as they get older. Still, these buckets are handy and inexpensive.
A Mylar bag that fits inside the bucket as a liner is even better than the classic bucket alone. This bag provides another layer of protection for your food. Look for bags with a thickness of 15 millimeters; the easiest way to purchase them is online. The beauty of Mylar is that it can be cut to fit any size of container or used on its own as a food storage bag. Use a flat iron or clothes iron to seal both ends of the bag, and you'll have a near-perfect food storage container.
Glass canning jars also make excellent containers. The lids and rims help to protect the contents from oxygen, and the smaller sizes are handy for everything from nuts to chocolate chips and dried fruit.
One kitchen appliance that’s worth the investment is a vacuum sealer. Not only can this handy machine seal food inside heavy-duty plastic bags, but with a jar sealer attachment, it can also vacuum the air out of canning jars, protecting food from oxidation.
Add the correct size of oxygen absorber as you repackage your food, and you'll eliminate oxygen as one enemy of stored food. Follow these general guidelines: 100 cubic centimeters of oxygen absorber for a 32-ounce canning jar; 300 cc for a one-gallon container; and 1,500 cc for a five-gallon bucket or container.
Unfortunately, insects are sometimes found within food packaging. This happens when microscopic insect eggs are present when the food is packaged. They’re impossible to detect and remove, but when storing dry foods such as flour, potato flakes, or rice, you can kill insect eggs by storing them in airtight containers and placing them in a freezer for a week, or by adding an oxygen absorber to the package. Cold temperatures and a lack of oxygen will kill the eggs.
Improve Your Food Storage Area
Finally, assess where your food is stored. A cool, dark, and dry area is best; you can mitigate the effects of heat, light, humidity, and pests by improving storage conditions.A dehumidifier or portable air conditioner can create more optimal conditions in a hot and/or humid environment. If you live in a humid climate, a moisture absorber, such as DampRid, does a great job of removing excess moisture in the air; too much humidity will result in rusty cans and possible mold and bacterial growth.
Inexpensive window film, curtains, or window shades will cut down the light entering a room, reducing its damaging effects on foods stored inside transparent or opaque containers.
Sealing cracks in the walls and other openings, setting traps, or sprinkling diatomaceous earth around the baseboards are all effective methods for keeping insects and rodents out of your food.
Is Old Food Safe to Eat?
Time is a factor to consider as you increase your food storage pantry from a 30-day supply to one of many months. Sooner or later, you'll look at a can of food with a stamp that says, “Best if used by ... ” and realize that date has long since passed. However, if stored in optimal conditions, the food will likely still be edible and nutritious, if not its original quality, even after its “expiration” date.Over time, food can lose its nutritional value, color, flavor, and texture. If the food is obviously discolored or deteriorated, or if it smells rancid, toss it out.
A simple way to avoid this is to rotate your stored food by occasionally using the oldest items in your everyday cooking and replacing them with newer items. Use a black marker to circle the “best by” date on each can or container so it’s easy to identify the foods that you should next rotate out. Keep a pad of paper or clipboard handy to list the foods you’ve used so you can continue to maintain and build your emergency food stash.
And remember that your food storage pantry is more than just a stash of food. It’s a tangible way you’re preparing to care for your loved ones in a crisis. In our uncertain world, that investment is worth protecting.