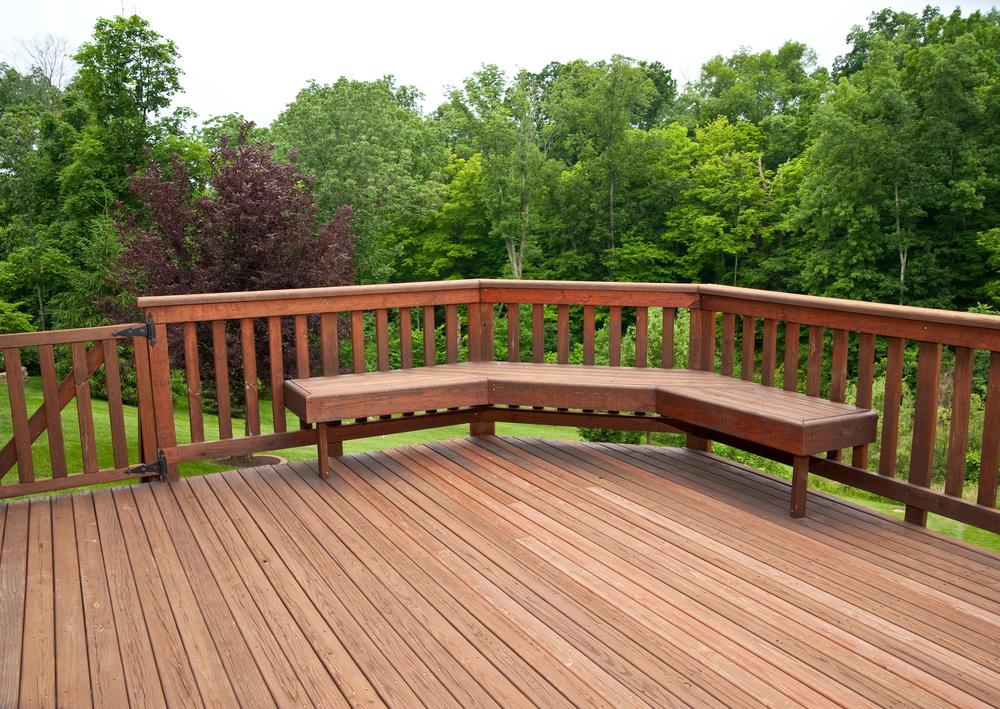
Building a movable bench design offers more flexible usage. A movable bench uses slightly more material because it must be self-supporting and stronger as compared to one rigidly attached to the decking or railing. For the slight additional cost, a movable one certainly makes sense. You may also find other uses for it around your house.
Even if you build movable benches, plan on locating them along the edge of the deck near the rail. If your guests sometimes bring small children with them, the benches can be an extra barrier, in addition to the railing, to keep the little ones from falling off the edge of the deck.
It shouldn’t take more than a couple of hours to build two identical deck benches. First, decide on the type of wood to use for the benches. Standard pressure-treated lumber is the most durable material, and it will likely match the rest of your deck.
Next time you clean and treat your deck with sealer, use a tinted sealer so the new and old wood match better.
Another material option for the benches is wood of a contrasting color. The most common wood for this would be cedar or redwood. Both are rot- and insect-resistant and easy to work with. Redwood is particularly attractive, and it often has a smoother surface than does cedar.
In general, benches and seats are about 16 to 18 inches high, and the seats are 16 or more inches deep. Even though you have a large deck and the movable benches can be removed when extra space is needed, do not make the seats too deep. It can be uncomfortable on people’s backs when they have to lean backward to rest against the rail.
Make the base frames using two-by-four lumber. Cut the ends with a miter saw so they are truly square. Some people prefer using four-by-four posts instead, but this can become heavy for a long, movable bench. Counterbore the pieces and assemble them with lag bolts. You should use a base frame for every three feet of bench length.
With the base frames completed, the next step is to attach the seat boards. Using 2x4’s is quicker to install, but 2x2 boards look nicer and are cooler to sit on because there are more open gaps between them. Leave about a quarter-inch gap between them. Before you start screwing them to the base frames, space them all out to get even gaps.
Countersink the holes for the seat screws so the heads are slightly below the surface. For a more finished appearance, nail a one-by-four-inch trim board to each side of the bench to cover the ends of the seat boards. Smooth all the edges, which will be in contact with someone’s skin, with sandpaper and stain or treat the bench.