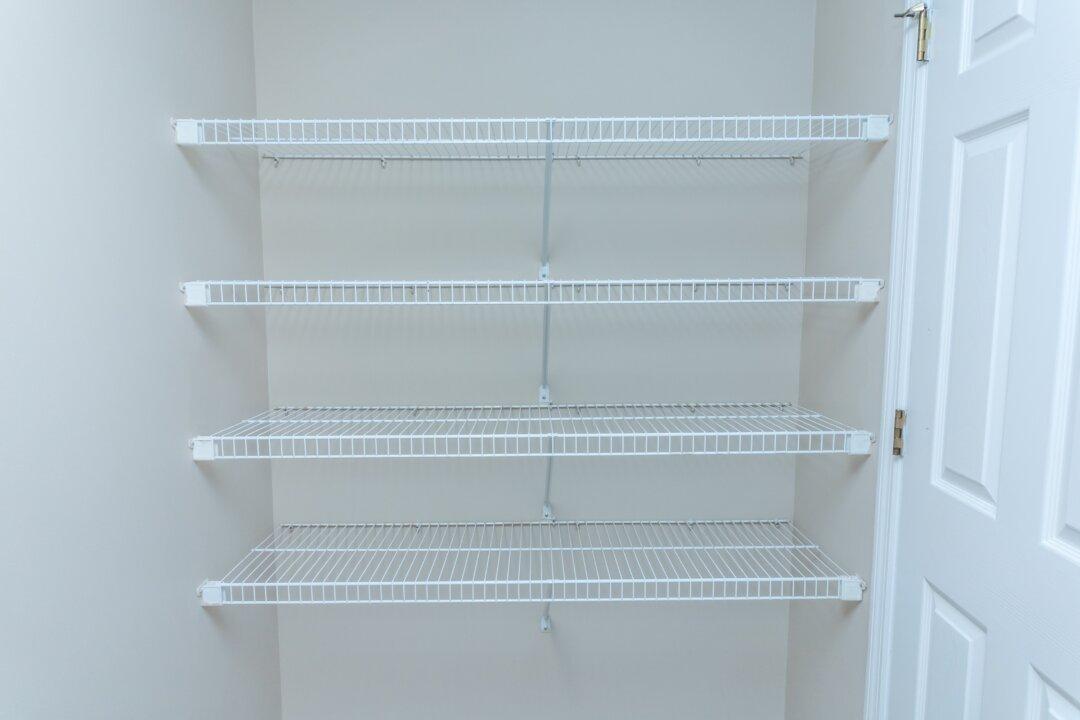
If you are an inexperienced do-it-yourselfer, wire shelving kits are the answer to your dreams. Not only are the new kits attractive and functional, but literally anyone can install them with basic tools. The coated steel wire is lightweight, but surprisingly strong.
Residential wire shelving has evolved over the past 25 years from basic utilitarian units to complete shelving systems. Some even have drawers. Most home center stores have an entire section of standard kits and all the accessories: clothes baskets, hat and tie racks, shoe holders, etc.
The most attractive feature of wire shelving, after its simple installation, is its open weave. This allows air to move through the clothes and makes it easy to quickly find the item you want. Think of all the time you waste now opening drawers and moving stacks of clothes on closet shelves.
I generally like to install wire shelving so that the first shelf is about 36 inches off the floor. This leaves room under it for a horizontal pole that is high enough to hang shirts and blouses. Space each rack about 16 inches above the next or whatever height the kit design provides for.
Now that you have planned your closet shelving and have purchased the kits that you need, it’s time to start installing them on the walls. If you want to make the shelving a perfect fit in your closets, you will need a hacksaw to cut it to length. Get a new fine-toothed blade for a clean cut.
Most basic wire shelving kits come with back clips, support poles, side brackets, and wall anchors along with the shelving. You don’t even have to worry about finding studs in the wall because most kits include hollow-wall anchors. These slip through a small hole and expand behind the wall.
The instructions in the wire shelving kit will specify the location for the back clips that provide the primary support for the shelving. Drill holes through the drywall at these locations. After drilling the first hole, mark a level line for the other hole locations.
Insert the back clips into the holes and tighten the screws to hold them in place. The wire shelving will snap into these back clips. The shelving will pivot down against the wall. Swing it back up (a helper comes in handy) so that it’s level from the wall.
While keeping it level, hold up the side (end) supports and mark their mounting hole locations on the walls. Now, swing the shelf up past the side support location and screw the side supports to the wall. Settle the shelf back down on these supports.