Dear James: I plan to add a new bathroom, and some old plumbing should also be replaced. I’m not comfortable using a torch and solder, so would plastic plumbing be good?—Laura W.
Dear Laura: Sweating copper plumbing together with a torch and solder sounds intimidating, but it actually is quite easy after a short learning curve. Using plastic plumbing is certainly a viable alternative, and many first-time do-it-yourselfers feel more comfortable working with it.
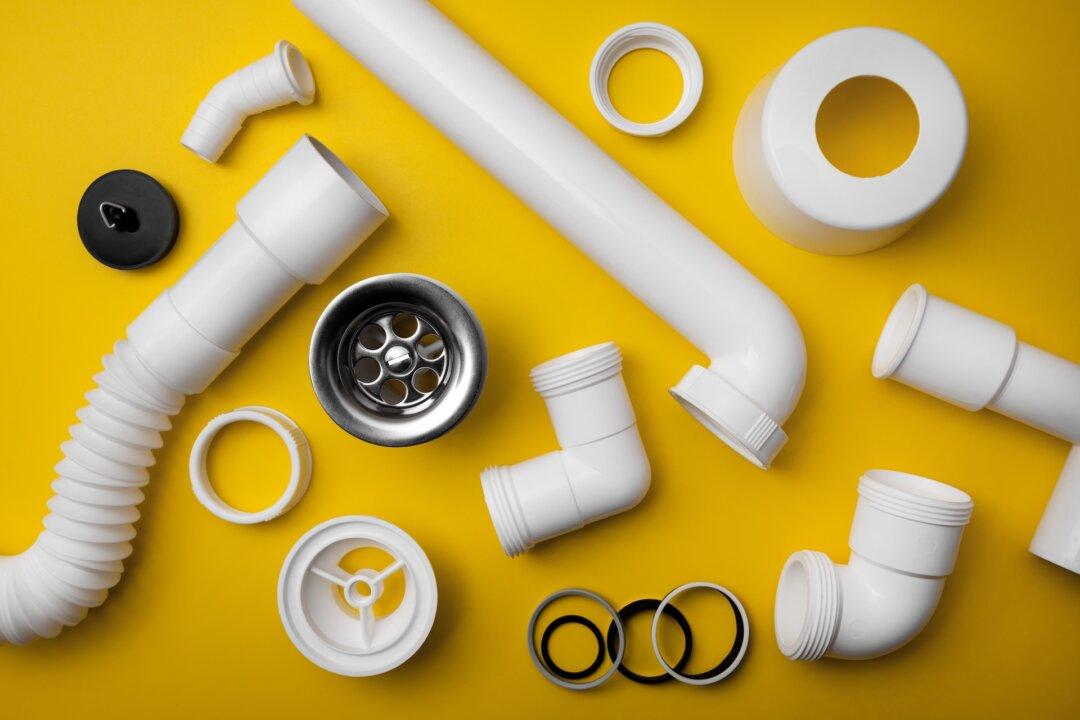
Various types of plastic material are used for piping for various plumbing applications. Everyone thinks of PVC (polyvinyl chloride) pipe first. It is ideal for all types of DWV (drain-waste-vent) systems, but not for water supply lines, especially hot water lines.
For supply lines, hot and cold, which have water pressure in them, rigid CPVC (chlorinated polyvinyl chloride) can be used. It is often a beige color to make it easy to distinguish from standard PVC. Flexible BU (polybutylene) can also be used for hot and cold supply lines. It is usually a gray or beige color.
The two basic ways to connect your plastic plumbing system pieces together are by solvent welding or mechanical couplings. Solvent welding, used on PVC and CPVC piping, is the simplest to do and nearly foolproof. Flexible BU piping must be connected with mechanical couplings.
Solvent welding is a very straightforward and simple process. The solvent causes the chains in the plastic molecular structure to break down. This is why the plastic gets gooey when you apply the solvent. When the two pieces are assembled and the solvent dries, new molecular chains are formed across the joint, creating a single piece.
Try to purchase all your piping and fittings at the same store to ensure that they are made by the same manufacturer. Although there are standard piping sizes, there is a better chance that they will fit together perfectly with the proper clearance for a successful solvent weld joint.
Inspect the end of the piece of pipe that you want to weld to a fitting. Look for any fine cracks or gouges that may result in a leaky joint. Make sure the end of the pipe is square so it seats well in the fitting. If it is not square, saw it off with a hack saw or a plastic pipe cutter. If you are cutting a lot of pipe, purchase a special plastic saw blade for a power chop or miter saw.
Use a utility knife or a hand file on an angle to remove any burrs on the edge of the pipe. Avoid using sandpaper, because you may remove excess plastic off the outside of the pipe. A tight fit between the pipe and the inside of the fitting is critical for a good solvent weld.
Purchase a primer/cleaner for the plastic pipe. It can be applied with a brush or a clean cloth. Its purpose is to remove dirt, especially oils and grease, from the mating surfaces. Don’t touch the mating surfaces after they are cleaned.
Make sure you have plenty of ventilation and no open flames nearby. Brush a coating of the solvent (make sure it is the proper solvent for the type of plastic pipe) on the pipe and inside the fitting. Put a heavy coat on the pipe and a lighter coat in the fitting. Push them together and give them a slight twist. Hold them for a moment until they feel tight.