Upgrade Your Old Kitchen Cabinets

Upgrade Your Old Kitchen Cabinets
Benoit Daoust/Shutterstock
Updated:
Dear James: My kitchen cabinets are still in excellent condition but are 20 years old. Is it possible to just repaint the cabinets instead of replacing them for a new look?—Billy T.
Dear Billy: The cost of new kitchen cabinets, even if you do the installation yourself, can easily run up into the thousands of dollars. Painting them is an excellent way to completely change your kitchen decor, particularly if your cabinets are still in good working order.

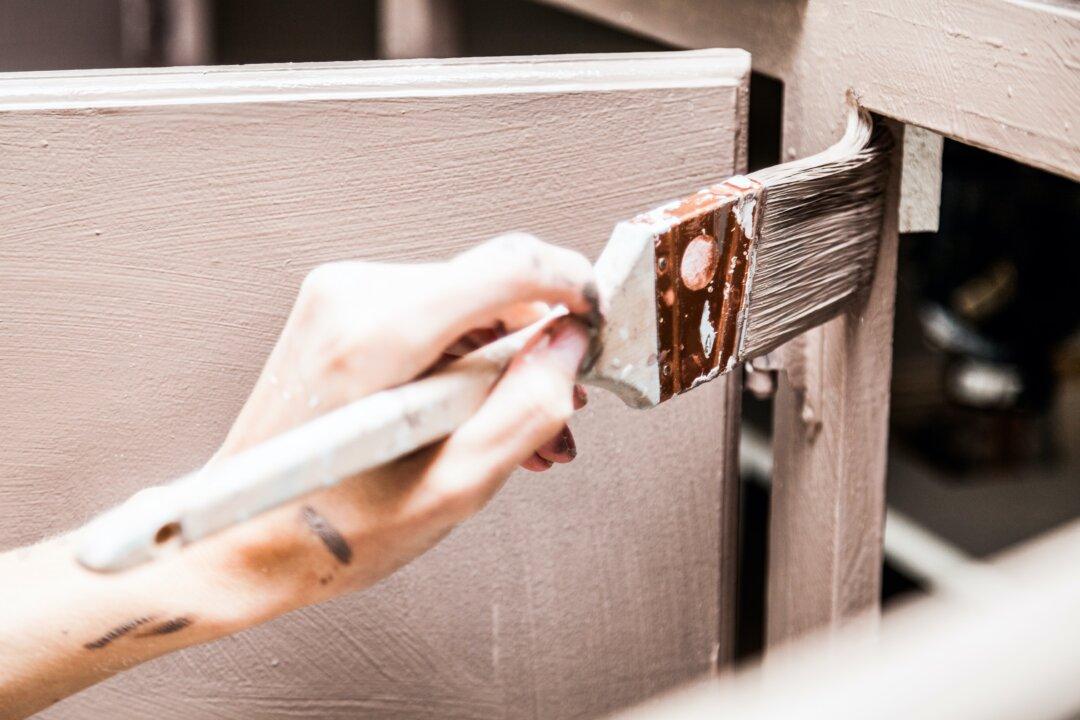
After two decades, popular colors certainly have changed. Even if your old cabinets are in good condition and you have maintained them, the paint has likely faded from light, cooking oil vapor, cleaners, etc. They dull slowly over time, so you often are not aware of it until you see an old photo of them.

In addition to fresh paint and/or a color change, current styles of cabinet hardware have also changed. As with cabinets, new hardware is not inexpensive. If you like your current cabinet handles, don’t worry; those can also be painted to complement the cabinets.

The type of paint you choose is a very important part of this project. Kitchen cabinets go through a lot in a day and need to have a tough exterior coating. The most durable type of paint is epoxy-modified alkyd paint, which is mostly available in spray cans. The color variations are limited, and it may take some skill to spray the paint evenly.

If this is your first or second time painting, use a primer, split coat, and final gloss oil-based coat process instead of spraying. Gloss oil-based paint is a good choice because you can mix in modern colors, it’s easy to apply, and it dries quickly.

It will probably take you close to 20 hours to give your kitchen its new look. This includes cabinets, drawers, preparation time, disassembly, and reassembly time. Before you can start, you need to take off all the metal hardware and wash the cabinet’s surface well with soap and water. Dry the cabinets; don’t just let them air dry.

Next, you need to prepare the surface. Every part that is going to be painted needs to be sanded with 100-grit sandpaper. If you have trouble sanding some of the more detailed areas, use a sanding sponge. After you have the doors prepared for painting, vacuum them and wipe them with a tack cloth. Apply the first primer coat. When they are dry, sand them again, this time using fine sandpaper, until the surfaces feel smooth.

Repeat vacuuming, and use the tack cloth again. Next, apply a second split (half primer and half final paint) coat, and check for any rough spots. After you have sanded down any rough areas you may have missed before, apply the finish gloss coating.

A common mistake painters make can result in brush marks on the surface. Make sure to always paint from the unpainted area to the just painted area and to lift up the brush while your hand is still moving.

If you decide to get new hardware for your cabinets, take accurate measurements so the original holes don’t show after the new handles are installed. If you would like to keep the original ones, you can always find paint just a shade or two darker than the cabinet color and paint just the handles.

kitchen cabinet how to
James Dulley
James Dulley
Author
Send your questions to Here's How, 6906 Royalgreen Dr., Cincinnati, OH 45244, or visit Dulley.com. To find out more about James Dulley and read features by other Creators Syndicate writers and cartoonists, visit the Creators Syndicate website at Creators.com. Copyright 2021 Creators.com
Related Topics