Are you trying to save money in these harsh financial times? Have you given up trying to find a contractor, and are you starting to do more projects on your own? If so, you’re in fine company, as my email inbox has exploded over the past months with requests for help.
Lately, I’ve been in contact with several people who need help building decks and patios. Others are building their own sheds and are using the plans I offer for a deluxe two-story shed.
In each of these situations, homeowners ask me how to get the object square. Or they need to know how to make sure the edge of the patio or the deck is square with the side of the house.
Let’s talk first about the concept of square. You probably remember from high school geometry class that a square is an object with four sides of equal length and each side is oriented at 90 degrees to the other. In the world of building, the concept of square means that a line extending out from some other straight surface is square when it extends out at a 90-degree angle.
You may also remember from geometry class the simple equation, discovered by Pythagoras thousands of years ago, that describes a right triangle: A squared plus B squared equals C squared. A is the length of one leg of the triangle, and B is the length of the other leg. C is the length of the hypotenuse, the side opposite the right angle (i.e., the 90-degree angle).
Your head may be hurting as you recall calculations involving square roots. Fortunately, there’s a much easier way to use the Pythagorean theorem on a job site. The numbers 3, 4 and 5, or any multiples of them, are all you need to create a square line extending out from the side of your house or some other line.
Here’s how to do it. The numbers 3 and 4 represent the measurements of each leg of a right triangle in which 5 is the length of the hypotenuse.
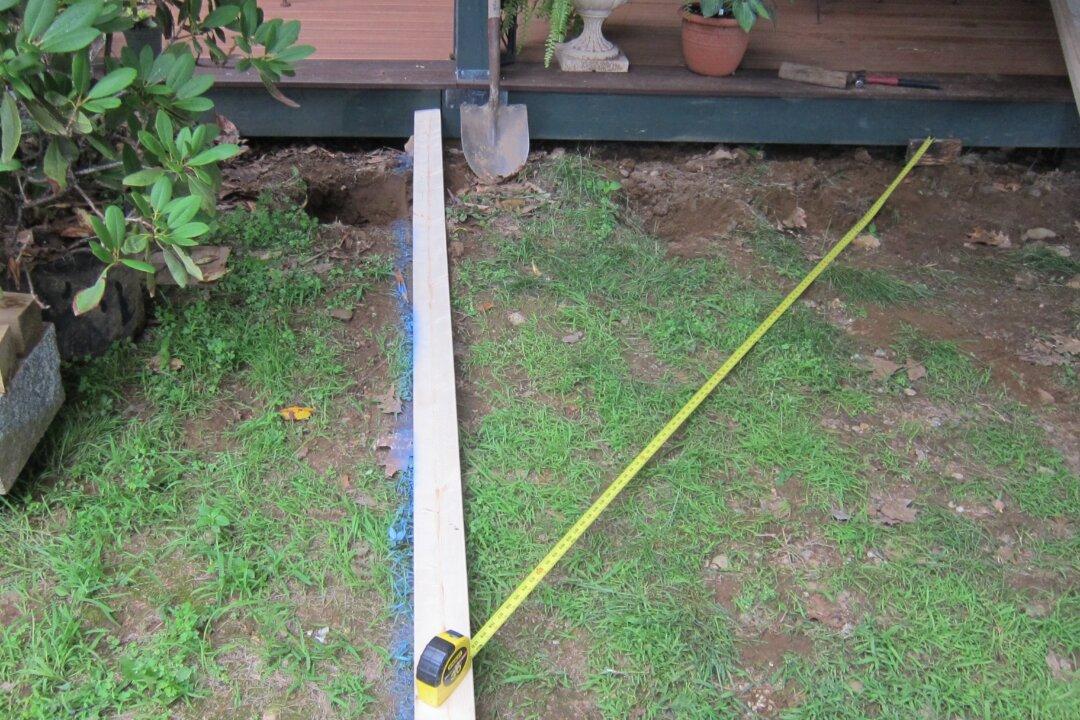
To create a short square line extending out from some other straight line, here’s all you need to do. Take a scrap piece of wood and lay it on the ground. Put some weight on each end of the board so it’s hard to move. Snap a straight chalk line down the center of the board. You always need to start with a straight line.
Drive an 8-penny sinker nail into the wood at one end of the line. Drive another one exactly 4 feet away down the chalk line. Using two tape measures, hook the ends on the heads of the nails. Tape measures that have a small slit in the hook make it easy to hold onto the nail head. The chalk line and two tape measures are about to create a triangle once you pull out the tapes.
The one tape measure is going to create the square line extending out from the chalk line. Pull it out about 39 inches. Pull the other tape measure out from the other nail. It represents the hypotenuse of the right triangle.
When you cross the hypotenuse tape measure over the first one and the 60-inch mark (i.e., 5 feet) on the second tape is crossing over the first tape at the 36-inch mark (i.e., 3 feet), the first tape measure is now square with the chalked line. Make sure you are aligning the tape lines taking the readings on the inside edges of each tape measure.
This method is close enough for patios and decks. If you want to be extremely accurate, you need to have the corner of the hook of each tape measure on the points of the 4-foot marks on the chalk line. Measuring from the center of the tape measure hook introduces a very very tiny margin of error.
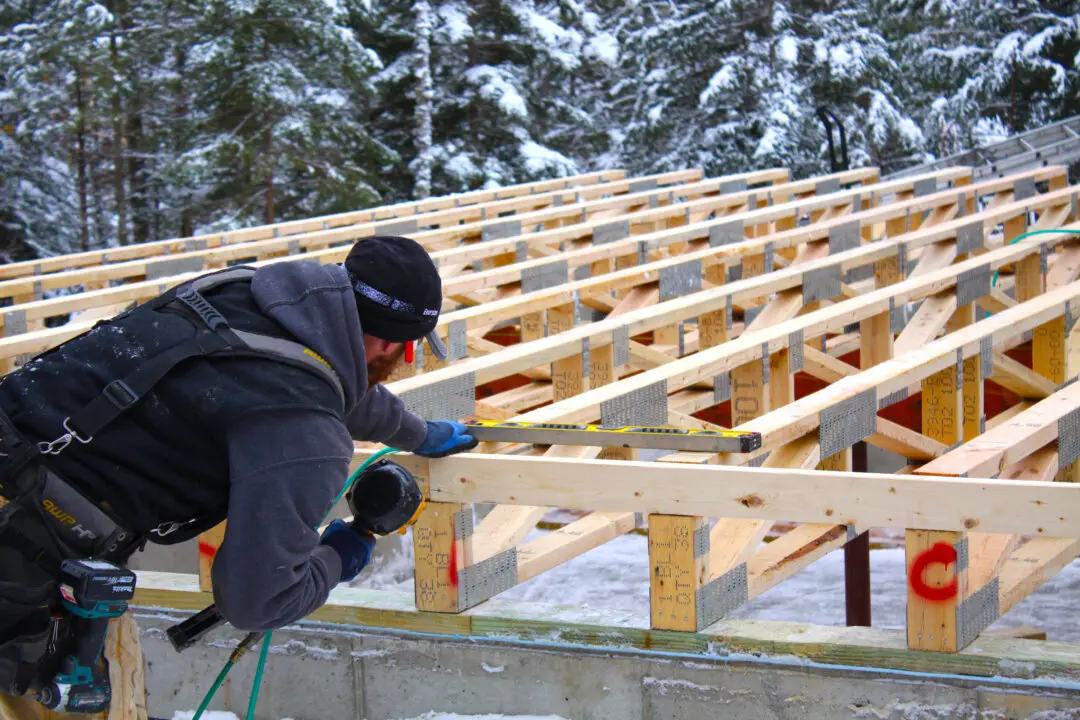
One of the common questions I get is, How in the world can a square up a 2x4 wall I’m building before I nail the OSB sheathing to it? Is it possible to do this without using a sophisticated calculator?” The answer is yes, no matter how long the wall is or how tall it is.
When you build a wall of any length you should have the top and bottom plates the exact same length. You’ll then install all the wall studs in between the two plates. The king studs in this wall should also be the same length. You now have created the four sides of a rectangle with each opposing side the same length. Now we have to get it square since at this point it’s probably a parallelogram, not a right rectangle!
Chalk a line on the wood subfloor or concrete slab. Position the edge of the bottom plate on this chalk line along its entire edge. Tack the bottom plate down so it can’t move.
Take your tape measure and measure the diagonal distances from each corner of the bottom plate to the opposing corner of the top plate. If they are the exact same distance then by the luck of the stars the wall is already square. Go buy a lottery ticket! In almost all cases, the measurements will be different.
Let’s say the one measurement is 170 inches and the other one is 172 inches. All you have to do to square up the wall is take a sledgehammer and tap the end of the top plate at the corner where it measures 172 inches. Tap it until it measures 171 inches. When you then measure the other diagonal that was previously 170 inches, it will now measure 171 inches. It’s sledgehammer magic, I tell you! The wall is now square.
Keep in mind this method works no matter what the two diagonal measurements are. All you have to do is tap the top plate corner until the two diagonal measurements are equal. There’s no need for one of those fancy calculators.

