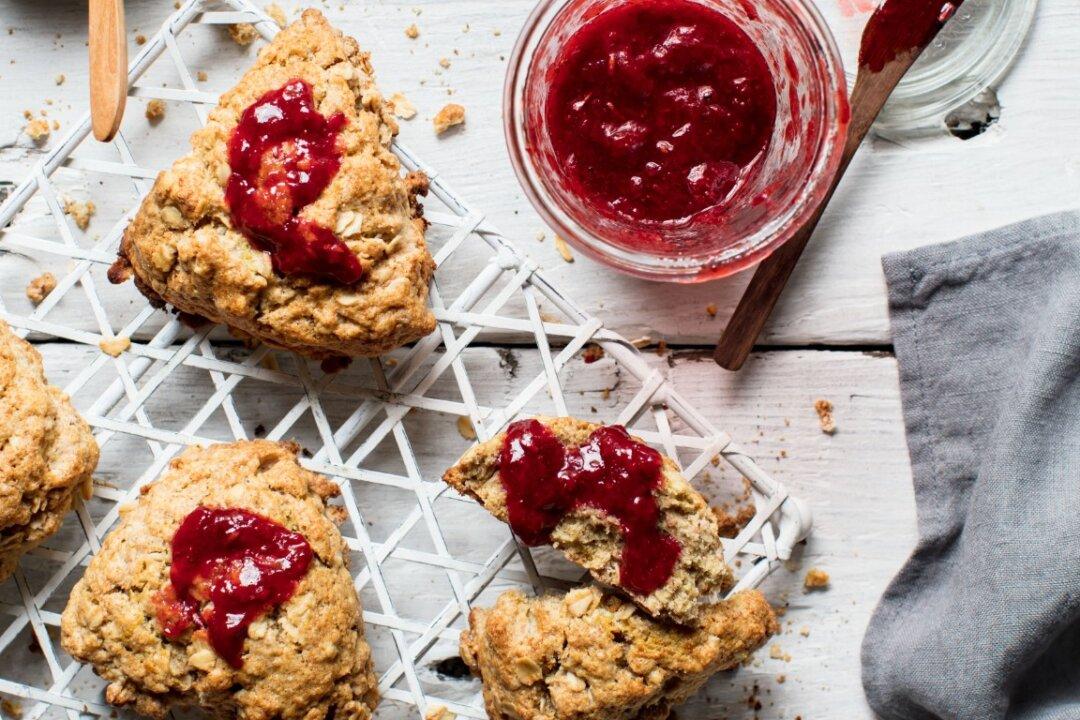
Strawberry jam is the most popular jam hands down. It brings up a lot of nostalgia. Strawberries are also one of the most difficult fruits to make into a low-sugar jam due to their naturally low pectin and tendency to darken. But don’t worry, we'll set you up for success!
Add some lavender to dress up this jam with a more complicated flavor. The most important part of making a low-sugar jam is to be sure you source very fresh and perfectly ripe or slightly underripe berries and process them for jam as soon as you can! Hop to it!
Makes six 8-ounce jars
- 4 pounds strawberries
- 1/2 cup lemon juice
- 1 pound organic cane sugar
- 2 tablespoons dried or fresh lavender (optional)
Wash the strawberries and dry them thoroughly so you don’t add any water to the jam. Remove the stems from the fruit with your hands; it’s all right to leave the calyx (leafy cap) on the fruit, as it will cook down into the jam. You can either slice the fruit or leave it whole, depending on the size of the berries and the desired texture.
Put the berries in a large bowl and drizzle the lemon juice evenly over the fruit. Pour the sugar evenly over the strawberries, cover, and let macerate at room temperature for 12–48 hours.
Day 2:
Place five plates in the freezer so they’re ready for your gel test at the end. Prepare six 8-ounce jars for storing the finished jam.
At this point, you can use a potato masher, whisk, or your bare hands to mash the fruit so that it’s broken down but still chunky. (I find that using my bare hands in the kitchen is very satisfying, as you really connect with the fruit and relieve stress at the same time. It’s meditative!)
Put the contents in a nonreactive pot large enough so that it’s no more than one-third full, and place over high heat. Stir until all of the sugar is dissolved. Bring the contents to a boil and add the lavender buds, if using. If you’re using fresh lavender, simply remove the buds from the stem. You can either add them directly to the pot or in a flour sack to remove after cooking.
Continue to boil rapidly until the desired gel set is reached. This can take anywhere from 15–30 minutes, depending on the batch size, heat source, and fruit selected. Start your first gel test about 10 minutes after you begin cooking.
Once the jam reaches the desired consistency, remove it from the heat and fill the jars, leaving 1/2 inch of headspace at the top. Wipe the rims, apply the lids, and process in a hot water bath canner for 10 minutes. Jars will keep for up to 1 year.
Recipe reprinted from “It Starts with Fruit” by Jordan Champagne, with permission by Chronicle Books, 2020.