Snow Removal Made Easy: The Right Tools and Techniques for Success

Underneath the Currier and Ives beauty of a snow-covered landscape, significant damage can be occurring. The solution is to act quickly and wisely.
Snow Removal Made Easy: The Right Tools and Techniques for Success
Moving snow two to four inches at a time is much easier than when it gets over a foot deep. Nimbus Works/Shutterstock
Updated:
0:00

Snow may seem harmless. The wonderful fluffy white stuff that comes from the sky is what allows for winter sledding, rousing snowball fights, and masterpiece snowmen—or for the more ambitious, entire snowpeople families.

Snow is a vital part of childhood memories and family Christmas cards. However, the accumulated weight and moisture of up to 20 pounds per square foot, as well as the resulting ice that forms as the snow melts and refreezes, is hard on decks, patios, roofs, landscapes, and more. Improper snow removal can even exacerbate the problem further.

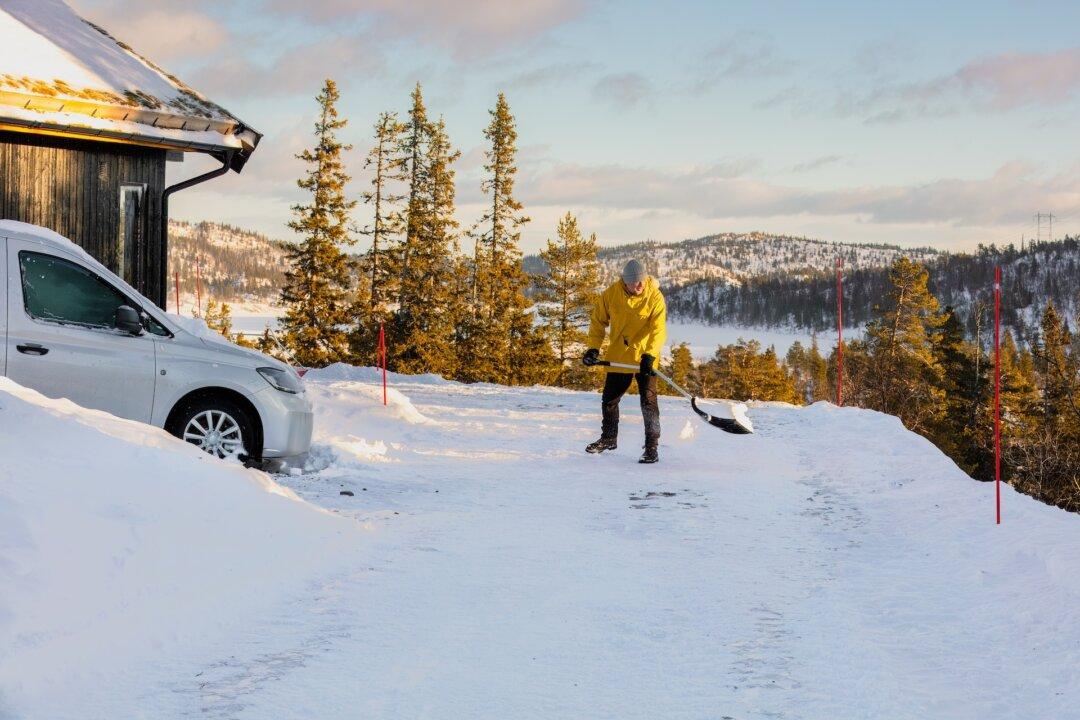
The first step? Remove snow regularly. This may even involve doing so during a storm when the flurries momentarily lighten. Moving snow two to four inches at a time is much easier than when it gets over a foot deep. Also, freshly fallen snow is at its fluffiest and lightest.

Basic Tools

A good snow shovel should be lightweight—the snow is heavy enough on its own—yet burly enough to do the job. Polyethylene (plastic) shovels don’t rust and are ideal for surfaces such as wood or composite decks that can be easily damaged. However, they’re not as durable as metal shovels, especially in the cold.

Metal shovels are heavier duty. Aluminum ones are lighter than steel, but are more susceptible to bending and other damage. Steel shovels can rust and have been known to not only damage wood surfaces, but concrete as well, but they’re still the go-to material for really heavy loads.

There are ergonomic models as well, with comfort-curved handles to improve efficiency and reduce back strain. Another option is to add an ergonomic back-saving multi-tool secondary handle to a conventional shovel; using two grip points can help reduce fatigue. No matter what model or material is chosen, spray the shovel blade with cooking spray to make the snow slide off the shovel like eggs off a Teflon pan (yes, this actually works).

Another option, particularly when it comes to decks, patios, driveways, and walkways with deep edges that can snag a shovel blade, is to use a specialized snow shovel with a rubber edge, or even a large push broom. Whatever tool is chosen, always remove snow in a direction parallel to the deck boards to avoid catching the edges and causing damage.

Working on a slippery surface? Put down some sand or kitty litter before shoveling in order to increase traction.

Polyethylene snow shovels are lightweight and easy to maintain. (Krasula/Shutterstock)
Polyethylene snow shovels are lightweight and easy to maintain. Krasula/Shutterstock

1 Step Up

Nonpowered wheeled snow pushers excel at quickly clearing walkways, driveways, and other areas where the snow simply needs to be pushed off the main area.
Corded and battery-powered electric snow shovels feature motorized paddles to grab and toss snow forward and out of the way. They come in traditional and wheeled versions and can clear up to eight inches deep.

All Powered Up

Cordless electric snow blowers are typically effective to a working depth of 18 inches of snow, while corded models tend to max out around 12 inches.

Gas snow blowers come in three types. The first is a single-stage blower, which is designed for a snowfall of 12 inches or less and is best for level or slightly inclined surfaces. The two-stage blower is ideal for snowfalls of 23 inches thanks to its engine-driven wheels designed for inclines and reducing operator fatigue. Three-stage blowers are best for depths up to 23 inches, particularly on unpaved surfaces.

Snow blowers toss snow to the side, and ideally, the snow should be thrown as far as possible, though not into the neighbor’s yard, of course. Throwing it too close means that the snow will likely have to be moved again. To prepare the property for blowing, move planters, holiday décor, extension cords, and other obstructions out of the way.

When working in particularly deep snow, plow in smaller lines (i.e., only half of the blower width) to help avoid clogs. Using synthetic oil, which doesn’t thicken in cold weather like traditional motor oil, is the secret to easier starts.

Snow blowers are designed for different terrains and snow depths. (Susan B Sheldon/Shutterstock)
Snow blowers are designed for different terrains and snow depths. Susan B Sheldon/Shutterstock

Up Top

Homeowners with steeply sloped roofs that slough off snow are lucky. For everyone else, a telescoping snow rake with rollers or bumpers to protect the shingles may be a wise investment. For low-pitched or flat roofs, there are snow shovels that feature a small blade on a long handle. Opt for a plastic blade to avoid scratching the roof.
Ice dams occur when the home’s interior heat melts the roof snow, which then refreezes. Insulate or add more insulation to prevent the interior temperature from melting the snow, and save on heating costs as well. Removing snow with a roof rake also lessens the chance of ice formation.

Saving the Shrubs

When sweeping snow off shrubs and other perennial plants with a common synthetic bristle kitchen broom or hand brush, remove snow under the plant first, then the lower branches, and work upwards. Starting at the top can result in too much snow flowing down to the bottom branches, weighing them down, and breaking them. Never shake frozen, brittle plants to remove snow.
Now—who wants to build a snowman?

Shovel Technique

Getting out in the winter snow can be a great workout if done correctly. Treat it like the exercise regimen it is.

Really Up to It?

Shoveling snow is demanding on the heart. If there’s any concern, check with a doctor first. Hiring the kid next door may be the best solution. Smoking, eating, or drinking caffeine or alcohol just before or during shoveling can add additional heart stress.

Prep for a Workout

Any weightlifter will agree that muscles and joints that have been warmed up are less likely to get injured. Focus on the back, arms, shoulders, and legs. And be sure to hydrate and consume electrolytes—that’s not just true for summer heat.

The All-Important Lift

Do not overload the shovel. Smaller amounts are safer. The job will still get done. If one does need to lift, bend the knees, keeping the back straight, feet hip-width apart, and lift with the legs. Keep the shovel weight close to the body, and avoid twisting to throw snow.
Sandy Lindsey
Sandy Lindsey
Author
Sandy Lindsey is an award-winning writer who covers home, gardening, DIY projects, pets, and boating. She has two books with McGraw-Hill.
Related Topics