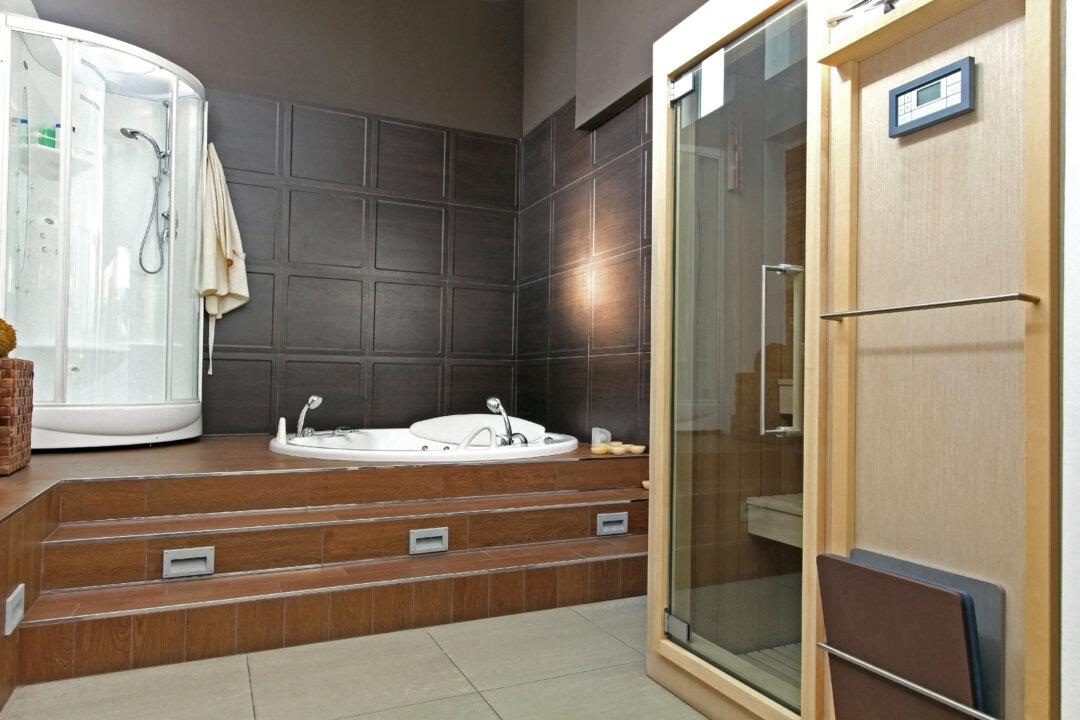
Dear James: It feels good in a steam room and I hear it is healthy, but I hake having to drive to the gym for it. What is involved in converting my shower stall into a steam room?—Chris K.
Dear Chris: It can be extremely relaxing taking a steam at home after a long day at the office or an active day with some tired muscles. Contrary to popular belief that steam rooms are used only in the winter, people who have one at their own homes use it year-round.
Unfortunately, creating a personal steam room is more involved than just adding glass doors and a small steam generator. Although an existing shower area can be converted, it is probably best to build an entirely new area for the steam room. A small 4 feet by 5 feet or 6 feet area should be adequate.
The primary problem of using an existing shower/bathtub area is water vapor. Hot steam will quickly migrate through any porous wall materials or tiny cracks. When it comes in contact with a cooler surface, it will condense back into water. This will damage the walls over time.
Special steam room doors, that seal very well when closed, are available at most bathroom and building supply outlets. They do not look a lot different from regular bathtub doors, but they cover the entire opening. There is also weatherstripping at all of the joints.
The best wall covering material to use for your new steam room is tile for all the areas exposed to the steam. Tile, set in thinset, seals the surfaces well and should last a very long time. By selecting various tile colors, you can create a unique, relaxing look for your steam room.
Select your steam generator based on the size of the steam room and the wall materials being used. They are available from most major plumbing fixture manufacturers, and they can provide you with charts showing recommended generator sizes. Most generators can be located 15 to 20 feet away from the steam room for convenience, but closer is always better.
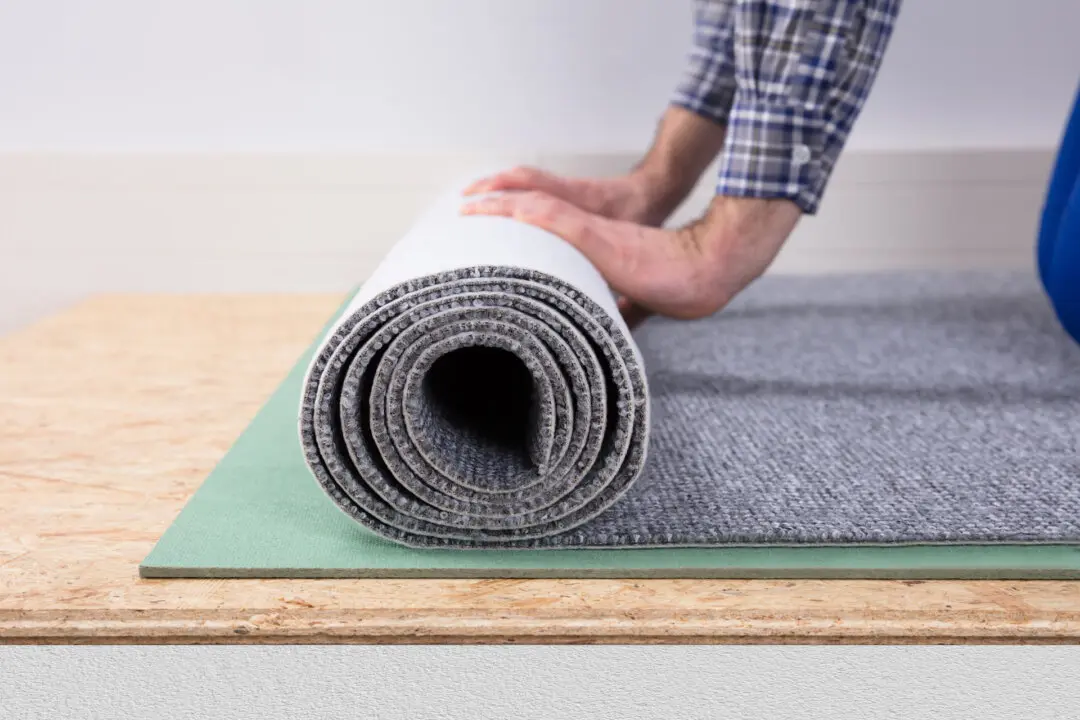
When you build your steam room, use a polyethylene film water barrier around the entire room. The tile floor should rest on top of a layer of 6-mil polyethylene film. Double over the edges of the film so that it extends up the walls a little. The film on the walls will extend down inside of the film on the floor to direct any condensed water into it.
For the best moisture protection, use a single large piece of polyethylene film to cover the ceiling and all the walls. If you have trouble finding the film, contact commercial companies that sell supplies to professional concrete installers. They will have the best materials available. Nail or staple the film to the wall and ceiling framing lumber.
Backer board must now be installed on the walls and ceiling. This is the rigid board that the tile is attached to. Cement backer board is the best material to use. There is water-resistant drywall available, but the cement backer board is impervious to moisture and should last a lifetime. It is not much more difficult to work with than standard drywall.
When you install the backer boards, don’t try to fit them perfectly together. It is best to leave small gaps between them so that you can lay a thick bead of silicone caulk in the gap. A 1/8-inch gap is fine to allow for some movement without separating.
Next, add the tile. Definitely use thinset to attach the tiles to the backer board. It will resist the hot steam moisture much better than other types of tile adhesives. Attach the steam room door and caulk around it to make the room adequately vapor tight.