Raw Pack Pressure Canned Green Beans

Homesteader Carolyn Thomas shares a beginner-friendly recipe for preserving the summer harvest.
Raw Pack Pressure Canned Green Beans
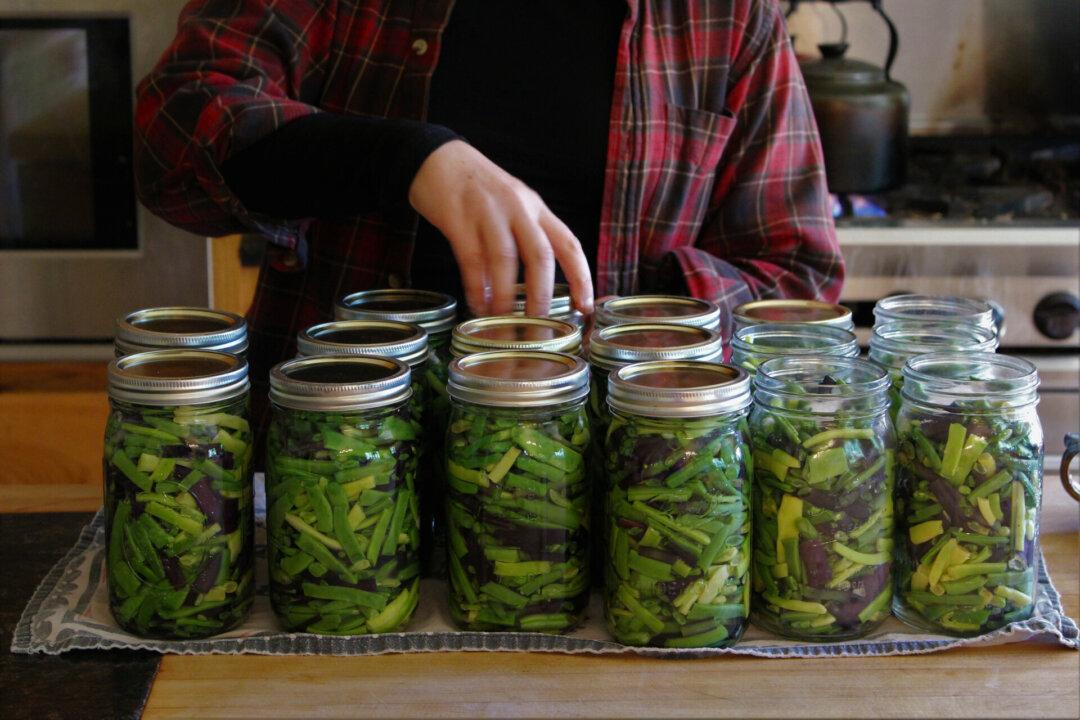
Pressure canning green beans cooks them in the process. (Courtesy of Homesteading Family)
Updated:
0:00
This recipe is a raw pack method of pressure canning; raw veggies get packed into the jar and then topped with boiling liquid. The raw food cooks during the canning process. I love this method because it saves a lot of time in the kitchen.
Makes approximately 7 quart jars or 14 pint jars
  • 7 pounds raw green beans
  • Water
  • Salt
Equipment
  • Pressure canner with canning rack
  • 7-quart or 14-pint mason jars
  • 2-part canning lids to fit your jars
  • Jar lifters
  • Tea kettle
To prepare your jars, lids, rings, and canner:

Wash your jars, lids, and rings in hot, soapy water.

Fill the pressure canner with 2 to 3 inches of water and put it on the stove on low heat to warm. Put a little water in the clean jars to keep them weighed down and place them in the canner. Turn the canner off when it begins to steam to keep the jars warm.

To prepare your preserve:

Wash and trim the ends off the green beans and cut into 2-inch pieces.

Fill a tea kettle with water and put it on to boil. Keep the water hot for packing the beans.

To fill jars, fit lids, and place in pressure canner:

Remove the hot jars from the canner, turn the canner on again, and bring the water to a low simmer (180 degrees F).

Pack the beans loosely into the hot jars, leaving 1 inch of headspace. (Note: Headspace is the area between the top of the food level in the jar and the top of the lid once it’s on the jar.) Optionally, add 1/2 teaspoon of salt to each pint jar (1 teaspoon to each quart). Ladle the hot water over the beans, leaving 1 inch of headspace. Release any air bubbles by sliding a wooden chopstick or skewer down the inside of the jar in several places in each jar. Add more boiling water if needed to fill your jar to 1 inch below the rim.

Clean the rims of the jars with a clean cloth and gently screw on the lids.

Carefully place the jars into the pressure canner.

To vent the canner:

Place the lid on the pressure canner, turn up the heat, and let the steam vent for 10 minutes. This pushes out any air that is in your canner so you get a correct pressure reading.

To pressurize the canner: 

Put the pressure regulator on the lid and bring the canner to 11 psi on a dial gauge or 10 psi for a weighted gauge (adjust pressure to 15 psi if you live above 1,000 feet elevation).

Once your canner has stabilized at full pressure, set a timer for 20 minutes for pint jars and 25 minutes for quart jars.

Note: If at any point your canner drops below the ideal pressure, you have to stop and start the time all over again from zero. It needs to have continuous full pressure for the full amount of canning time.

To cool the canner:

Turn off the canner and let it come down to 0 psi by itself.

Remove the pressure regulator, and let the canner stabilize for 5 minutes before removing the lid.

To remove jars and cool:

Carefully take the lid off the canner.

Remove the jars using a jar lifter and set them on a clean towel where they can cool undisturbed for 24 hours. Be careful—they will be hot! Do not let them tip while lifting.

To check seals and clean jars:

Check each seal by pressing down on the lid. If the lid does not move, the seal is good.

Remove the bands, and clean each jar with room-temperature water.

Label each jar with the contents and date canned.

Store your jars for up to 2 years out of direct sunlight in an area that will not freeze.

To serve:

When you are ready to eat, just open the lid and heat as desired! (My favorite is to drain the beans and sauté in a little butter.)

This recipe was reprinted and annotated with express permission of Carolyn Thomas. Copyright 2019 Homesteading Family.
Carolyn Thomas is the co-founder of Homesteading Family and the School for Traditional Skills. She lives with her husband, Josh, and their 11 children on 40 acres in Idaho where they grow, preserve, and prepare most of their own food.