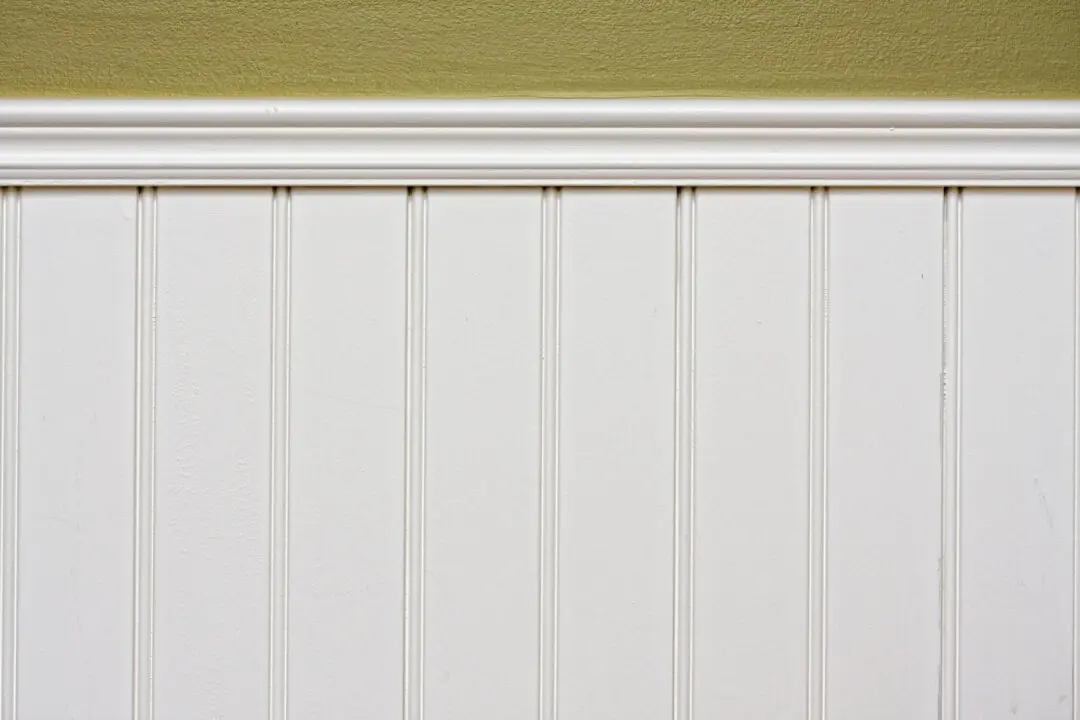
If you’re faced with ugly-, dark- or a hideous-colored paneling in a room, you have two choices: remove it completely or cover it up. If you rip it off the walls panel-by- panel, you’ll find more challenges. The paneling was likely installed on furring strips leaving the walls pockmarked with nail holes to patch or removing dried up adhesive, both a lot of work. The ultimate solution is removing the panels and filing holes or gouges left from chipping of the adhesive. This tedious solution is well worth the effort, but if you’re going for a quick fix, paint the ugly paneling for an inexpensive but dramatic face-lift. (You can always remove the paneling later.)
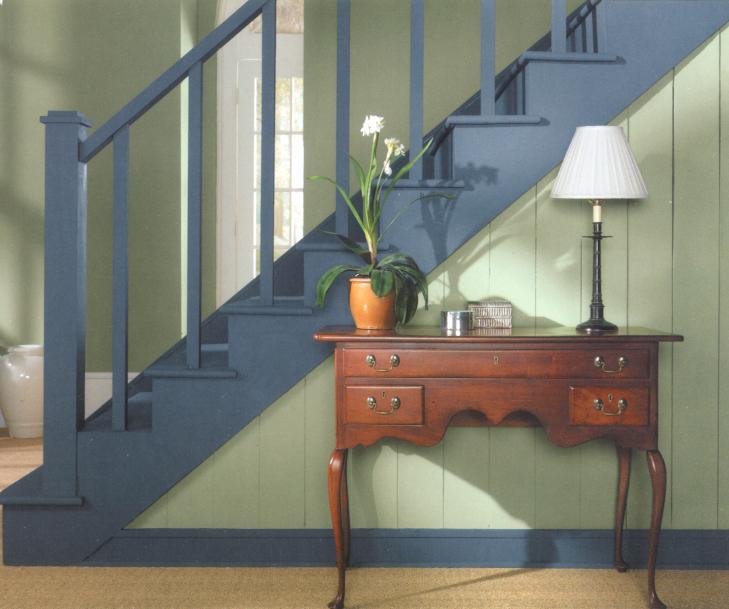
A splash of color can be a transforming face-lift that lightens and brightens paneled walls with a fresh new look. To prepare the paneling for paint clean the walls thoroughly, patch where needed and prime the surface before applying the paint, which may need two coatings.
A painting contractor will charge $379, including labor and material, to prepare and paint the paneling of one wall in a in 12-foot-by-15-foot room (approximately 180 square feet). A handy homeowner with painting tools can do the job for $110, the cost of wood filler, primer and paint, and pocket a nice 71% saving.
The job involves several stages. First, clean the paneling with a wall cleaning solution and let it dry. Then fill any nail holes or blemishes with wood filler and when the filler is dry, sand the filled-in spots smooth. Next, apply a primer coat of a stain blocker like B-I-N with a roller to prevent any bleed-through of stains from knotty wood and to create a surface for the paint to bond to. Finally, apply the finish topcoat of quality paint.
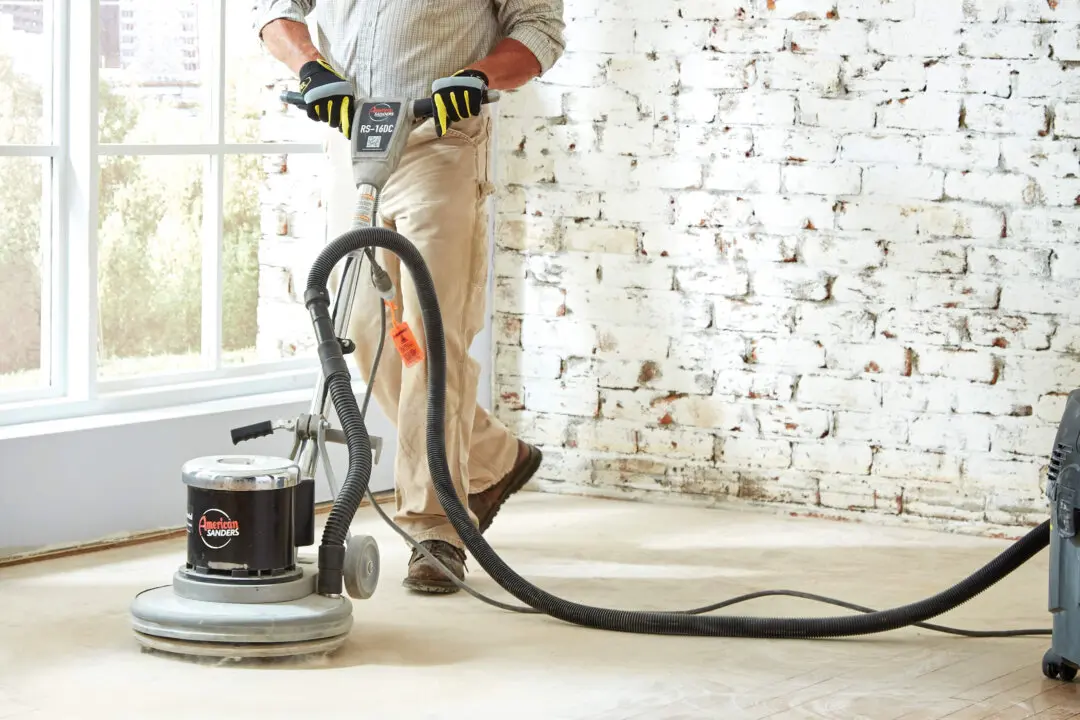
Tip: A power sander with 120-grit sandpaper comes in handy for smoothing the wood filler and any rough surfaces.
To find more DIY project costs and to post comments and questions, visit www.diyornot.com.
Pro Cost — DIY Cost — Pro time — DIY Time — DIY Savings — Percent Saved
$379 — $110 — 3.8 — 6.5 — $269 — 71%

