Grind, Grind, Stop: Garbage Disposal Cleaning, Maintenance, and Repair

Grind, Grind, Stop: Garbage Disposal Cleaning, Maintenance, and Repair
Clean the disposal every few days by pouring in a dash of dish soap and running cool water through it. mariakray/Shutterstock
Updated:

By “taking out the trash,” a garbage disposal creates a healthier kitchen and, ultimately, a happier home. Just think: When you toss a banana peel into the trash can, it immediately begins to decompose, attracting bacteria, germs, and perhaps bugs. It’s much more sanitary to dispose of food waste down the drain.

To do so, however, they must first be ground into very tiny particles. In fact, even the seemingly harmless small items that most people put down the drain directly, such as diced chives or vegetable scraps, need to be ground up very minutely to ensure they don’t cling to the walls of your pipes. Otherwise, they will lead to buildup, slow-running drains, and plumber’s bills.

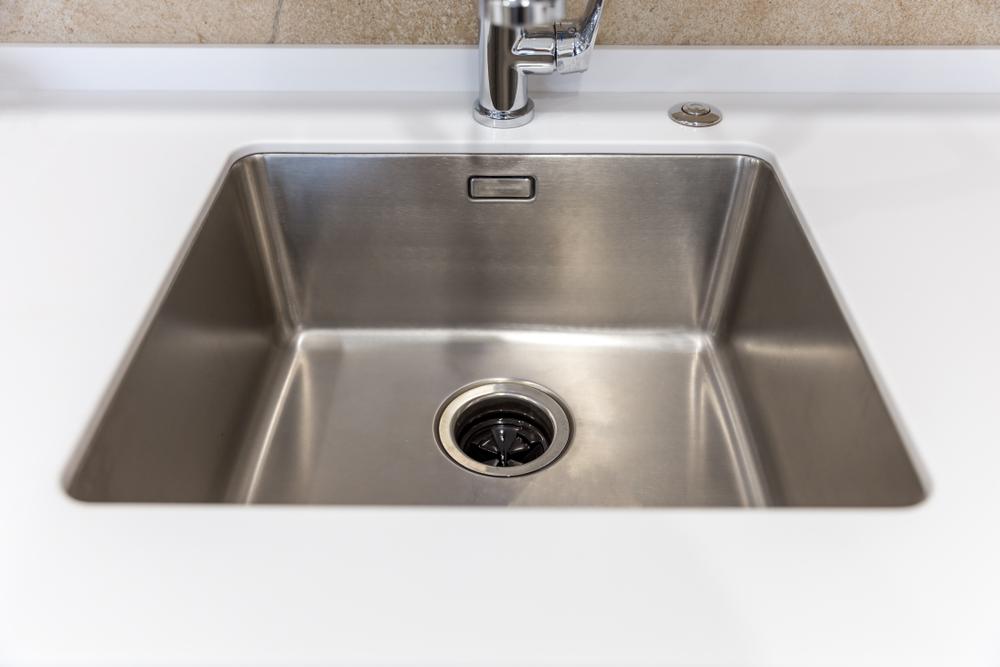
Enter the garbage disposal. They aren’t expensive; you can get one starting at just over $100. But while they reduce smells in the kitchen and make clean-up easier, they also come with their own stringent rules for proper use and care. Even though it’s called a garbage disposal, it’s not for actual garbage, nor should you put too much down it at one time.

Here are several tips to keep it happy.

Not a Garbage Can

The first secret to keeping your garbage disposal happy is to use it often to help prevent rust and corrosion.

Flush food scraps with plenty of cold water; hot water will cause oils, fats, and grease to liquefy and clog your drain. Also, be patient and put in no more than a cup of food waste at a time.

Stay away from onion skins, celery stalks, corn husks, egg shells, potato peels, grease, oil, pasta, and rice, all of which can clog the machine. Hard foods including seeds, kernels, and—most definitely—bones are big no-nos, because they can become partially broken down, get wedged under the blades, and jam up the works.

Never put a nonfood item in the disposal.

Be sure to unplug the garbage disposal and turn it off at the electrical panel before starting repairs.(mariakray/Shutterstock)
Be sure to unplug the garbage disposal and turn it off at the electrical panel before starting repairs.mariakray/Shutterstock

Sparkling ‘Sposal

Clean the disposal every few days by pouring in a dash of dish soap and running cool water through it for a minute or two. Citrus peels are natural deodorizers; make sure the peel pieces are tiny enough to fit in the disposal easily, then turn on the cold water and grind for one minute. Or, pour in two or three teaspoons of borax and run cold water through it for 30 seconds, to eliminate odors and help to loosen accumulated debris.

You can also save money on prepackaged disposal cleaner by pouring a half-cup of baking soda into the disposal, followed by one cup of white vinegar or apple cider vinegar. Allow it to bubble up, and after it begins to settle down, flush the disposal with cold water for 30 seconds.

To keep the blades sharp, grind up a cup of ice monthly.

The Reset Button

Working on garbage disposals can be a dangerous business. If you don’t feel confident in your ability to repair it safely, call a professional. Never, ever stick your fingers in the disposal, even if it’s unplugged; there are sharp blades in there.
But wait! Before you pick up the phone about a disposal that won’t turn on, check the red reset button on the bottom of the unit. If it’s popped out, press it in; in many cases, that’s all that’s needed. If it won’t stay pushed in, or you have to repeatedly reset the breaker in your home’s electrical panel, the disposal is probably jammed, or there’s a larger problem, meaning it’s time to get out your tool belt or cell phone.

Clogs and Jams

When the machine isn’t working optimally, you may have a clog. Unplug it and turn it off at the electrical panel. Shine a flashlight into the unit to see if you can spot the obstruction. Take a pair of long-reach needle-nose pliers or any tool that will reach deep enough, and remove as much of the obstruction as possible.

If this doesn’t do the trick, get out a plunger, place it over the drain hole, and fill the sink with water until the plunger is half covered. Next, pump vigorously, then flush the loosened debris with cool water. Power the disposal back up and turn it on. Repeat if needed.

If the disposal is humming but not grinding, you may have a jam caused by debris stuck between the drain hole and the impeller (flywheel). Once again, turn off all power to the unit. Insert the wrench that came with the unit or an appropriately sized hex key or Allen key. Turn the wrench back and forth to dislodge the jam. You’ll know you’ve succeeded when you can turn the wrench freely. Power up, turn on the cold water, and test the disposal. Note: You may need to press the reset button.

What’s That Awful Noise?

When a garbage disposal makes a high-pitched squealing sound, that typically means that the motor is failing. Unplug it immediately, and get a new motor or a whole new garbage disposal. Another sign of motor failure is if you have to press the reset button every day or two.
The average disposal lasts 10 to 12 years, but with proper care, you can extend its lifespan up to 15 or even 20 years.

Where There’s Water

Garbage disposals usually leak from three main points: the top, the sides, and the bottom. Turn off the power, and let’s get to the repair.

Top Leaks

First, check where the garbage disposal meets the sink. Tighten the flange bolts under the sink. If that doesn’t solve the problem, loosen the bolts until you can slightly lift the flange inside the sink. Remove the old, defective plumber’s putty beneath it, apply new plumber’s putty, and tighten everything down.

Side Situations

Leaking lines connected to the side of the disposal are usually no big deal. Tighten the metal hose clamp at the dishwasher inlet connection, and, if needed, replace the rubber gasket at the waste drain pipe. You should now be good to go.

Bottom Drips

Water coming from the bottom means it will probably be cheaper, and wiser, to replace the unit rather than repair it, particularly if the unit is more than 10 years old. The inside seals wear out over time; other causes are cracks or water coming from the reset button.
Sandy Lindsey
Sandy Lindsey
Author
Sandy Lindsey is an award-winning writer who covers home, gardening, DIY projects, pets, and boating. She has two books with McGraw-Hill.
Related Topics