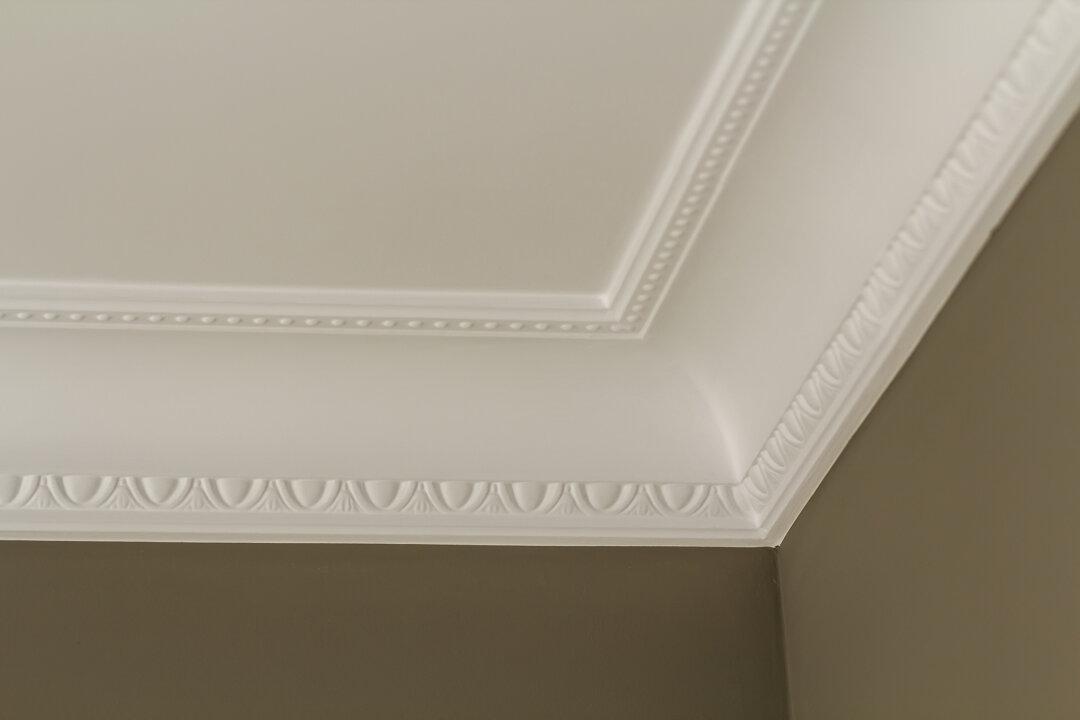
It’s hard to deny the character of an old home with crown ceiling molding outlining the room. And it’s a popular feature in new homes, as builders know new homebuyers are looking for that striking distinction in rooms. You can add that to an ordinary room by installing wooden crown molding and finishing it with paint or staining it to fit your decor.
To imagine what a room will look like with crown molding, use blue painter’s tape to approximate the depth and scale of molding you like. It’s simple to do with this easy-to-remove tape, and it will help you visualize how the molding will call attention to the ceiling and add a fine detail to the space.
A carpenter will charge $396, including labor and material, to install 64 linear feet of finger joint pine crown molding in a 12-by-20-foot room. You can save 47% by doing the job if you have experience with finish carpentry and a supply of carpentry tools. You can buy the molding and install it for $210, the cost of the material.
Tool-wise, using a power miter saw, cordless drill and finish nail gun will give you the best results. And an electronic stud finder will help to know where to secure the molding to the wall. You'll also need a tape measure, hammer, chalk line, coping saw, wood rasp and ladder. Use finish nails to fasten the molding to the walls, wood putty to fill nail holes and caulk to seal any gaps between the molding and walls and ceiling.
It’s easier to finish the molding before installing it. Plan to sand the wood and then apply a wood finish or prime and paint the molding. You can touch up any nicked spots after installation.
To find more DIY project costs and to post comments and questions, visit www.diyornot.com.
Pro Cost — DIY Cost — Pro time — DIY Time — DIY Savings — Percent Saved
$396 — $210 — 4.9 — 6.5 — $186 — 47%
©2022 Gene and Katie Hamilton. Distributed by Tribune Content Agency, LLC.


