Cover and Hide Ceiling Damage With a Dropped Ceiling

Cover and Hide Ceiling Damage With a Dropped Ceiling
A dropped ceiling is a relatively simple do-it-yourself project. Hadkhanong/Shutterstock
Updated:

Dear James: The ceiling in my study was damaged by a roof leak. I plan to convert it into a home theater with a dropped ceiling. Is this a good choice for the best media sound? —Alan H.

Dear Alan: Before making any plans for the new ceiling, be sure to have the roof leak fixed professionally. Dropped ceilings are good for hiding previous ceiling damage, but they also can hide current problems from view. You may not notice if there are still small leaks, which can cause more long-term problems.

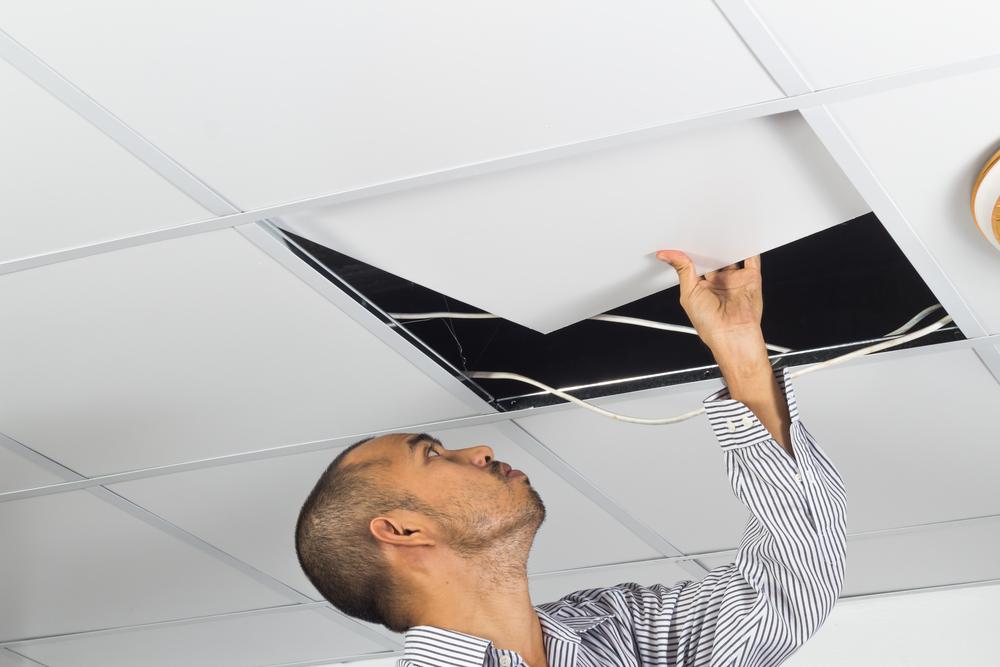
You have selected the proper type of new ceiling for your home theater conversion. A dropped ceiling provides ample access and room to run cables and wiring above it. As your media needs in the room change over time, you can change the acoustical panels for different sound characteristics.

Select black or other dark colors for the ceiling if the primary use of the media room is for watching movies. If you plan to do other activities that require you to read, select light-colored ceiling panels and use uplighting. This indirect light reflected from the ceiling is ideal when working on a computer.

A dropped ceiling is a relatively simple do-it-yourself project, especially if your room already has a ceiling light fixture. It does not take an experienced electrician to run the wiring from the existing light’s conduit box to approved light fixtures for dropped ceilings.

ceiling tiles

The most common size of dropped ceiling uses 2-by-4-foot panels. This is ideal for installing standard 4-foot-long fluorescent light fixtures. Many 2-by-2-foot panels are also available and can be more decorative. A combination of the two, with the 2-by-2-foot panels used as a border looks particularly nice. Using 2-by-2-foot panels costs a little more for materials and takes longer to install.

The first step is to plan the layout of the ceiling to determine how many panels, grid supports, and light fixtures are needed. Make a scale drawing of the grid with the light fixtures included. Long fluorescent tubes or compact fluorescent bulbs are the most energy-efficient.

Locate the center of the room on your scale drawing, and center a panel under it. If you just start laying them out from one corner, you may end up with space for just a narrow panel on the opposite wall. This does not look good. Cutting the grid members for partial panel widths at all the walls is not difficult with a sharp hacksaw.

A finished target height for the dropped ceiling is typically 7.5 feet. Mark the corners of the room at this height with small nails. Stretch a string between them, and check them with a level. If they are level, snap a chalk line along the wall, and screw an angle support to the wall.

Using a stud finder, locate the ceiling joists, and snap a chalk line along them. Locate the positions of the runners’ supports (perpendicular to the joists). Screw the screw eyes into the joists every 2 feet, and hang wires from them. These wires support the runners at the proper height. Insert the ends of cross-T’s into the slots in the runners, and place the panels on top of the lips.

Send your questions to Here’s How, 6906 Royalgreen Dr., Cincinnati, OH 45244, or visit Dulley.com. To find out more about James Dulley and read features by other Creators Syndicate writers and cartoonists, visit the Creators Syndicate website at Creators.com. Copyright 2020 Creators.com
James Dulley
James Dulley
Author
Send your questions to Here's How, 6906 Royalgreen Dr., Cincinnati, OH 45244, or visit Dulley.com. To find out more about James Dulley and read features by other Creators Syndicate writers and cartoonists, visit the Creators Syndicate website at Creators.com. Copyright 2021 Creators.com
Related Topics