Dear James: After many years, our large garage is finally full of “stuff,” so I want to build a backyard storage shed. What are the best options for building one myself? —Jenni T.
Dear Jenni: It doesn’t take long for a garage, no matter how large, to fill up with garden and yard tools, lawn mowers, and various “necessities” to keep a house and yard looking good. It’s almost as it they breed on their own and create more each spring.
A simple backyard storage shed is your best option to increase your storage space and to keep the dirt and mess out of your garage. First, you will have more space for your cars and your tools. Second, a tidy garage looks much better. You won’t have to be embarrassed and feel like a pig if your neighbors drop by when the door is open.
Third, it is safer to use a storage shed. Many lawn and garden tools have gasoline engines. The small gasoline tanks on these power tools are potential fire hazards when stored in an attached garage. Dangerous lawn chemicals can also be stored in the shed with the door locked.
There are several options when building a storage shed. You can have it built by professionals. This is expensive and it may not be built properly. You can buy pre-cut kits that you assemble in your backyard. These are fairly easy to build and give you control over the quality of the job.
If you are handy with tools, you can order building plans and build a shed from scratch. You should be experienced with basic construction techniques before attempting this. If the angles are not all cut precisely, it will not be strong and it will look like a homemade shed.
Also consider using a framing hardware kit that makes building a shed a simple project. DIY framing kits retail for about $60 to $70. Buy the lumber and materials and start building. There are many decorative siding options and colors for finishing the shed. Let your creative juices flow.
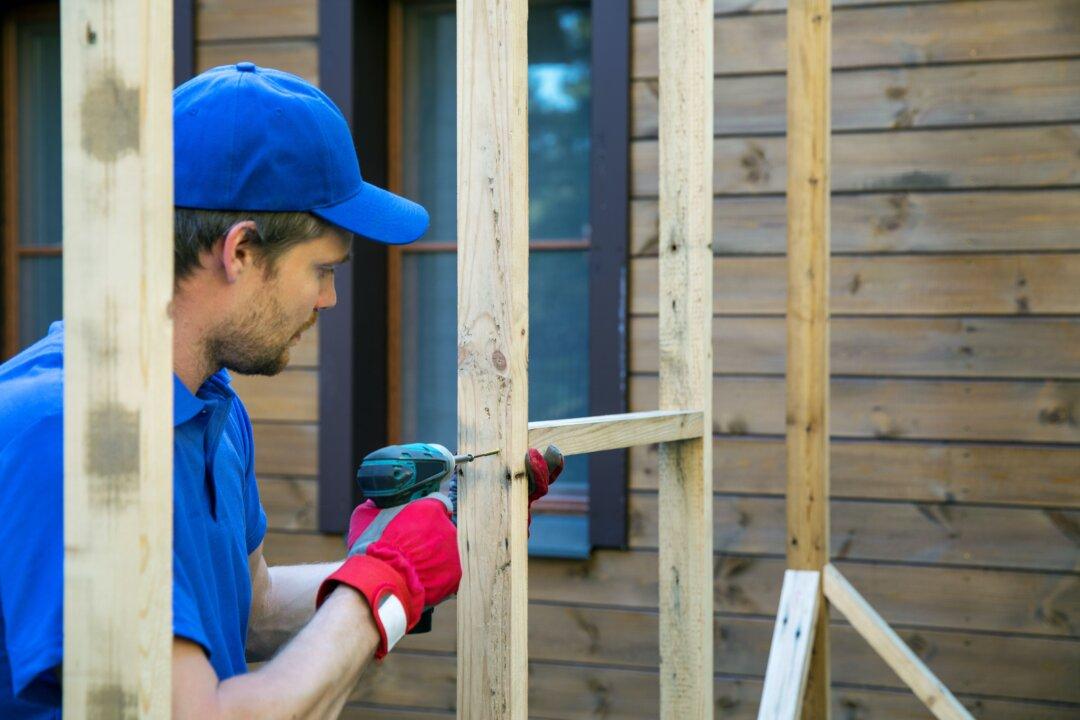
These kits include all the angle and stud brackets needed for a 7-by-8-foot shed. The brackets are made of galvanized steel with all of the nail and screw holes included. By the design of the brackets, the angles are precisely set. Use 2-by-4-inch lumber to assemble the sides and roof.
Whether you are using a framer kit or building a shed from scratch, building a strong and level base frame is imperative. The base frame is often just mounted on level concrete blocks. In cold climates with the possibility of freezing, use a concrete footer or posts in concrete.
Use 2-by-6-inch floor joist lumber to build the outer band of the base frame. It is important to square the frame. If each of the corners is perfectly square, the measurement across the diagonals will be equal. Lay a sheet of plastic film over the joists before laying the floor to block ground moisture.
If you are going to have a lot of heavy items in the shed, place the floor joists on one-foot centers. Attaching them with metal joist hangers is better than just driving nails in the ends. Also be sure to use structural nails, not roofing nails, for strength. The sides attach to the base frame.
Don’t forget to fix the entire structure to the ground somehow. If it is just resting on concrete blocks or posts, it can blow over in a stiff wind. Use an anchor at each corner. The bolts should be attached to metal bars or concrete blocks buried in the ground.
Dear Readers: We would love to hear from you. What topics would you like to read about? Please send your feedback and tips to [email protected].