Do some careful planning and layout work before you run out to the home center and start buying materials. Always contact your local zoning office to check on the allowable fence heights, setback from the lot line, designs, and materials. There have been many fences built that are later torn out because they violate the zoning and codes.
Next, in order to keep the peace, talk with your neighbors about what you have planned. Even though it is your decision to make, talking with them is the courteous thing to do. If you are allowed to put the fence on the lot line, they may even offer to help pay for the materials. If so, make sure to put in writing who is responsible for the maintenance.
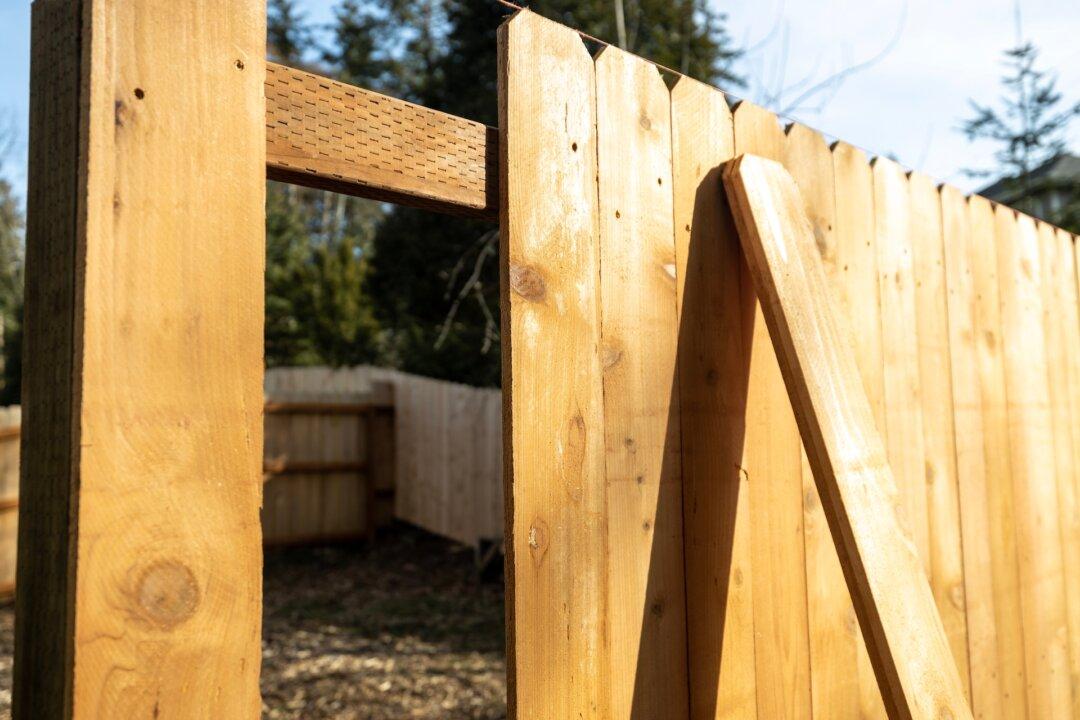
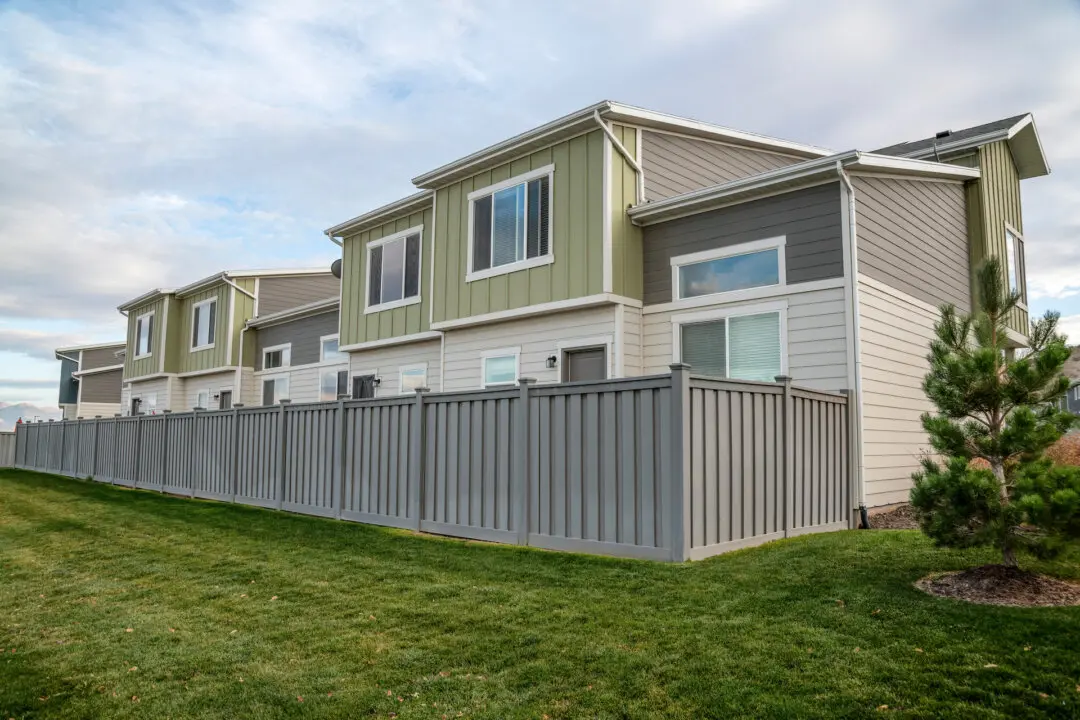
There are basically three types of privacy fencing that you can easily build yourself. A solid fence will give you complete privacy. The vertical pickets are attached very close together, so it is very difficult to see between them.
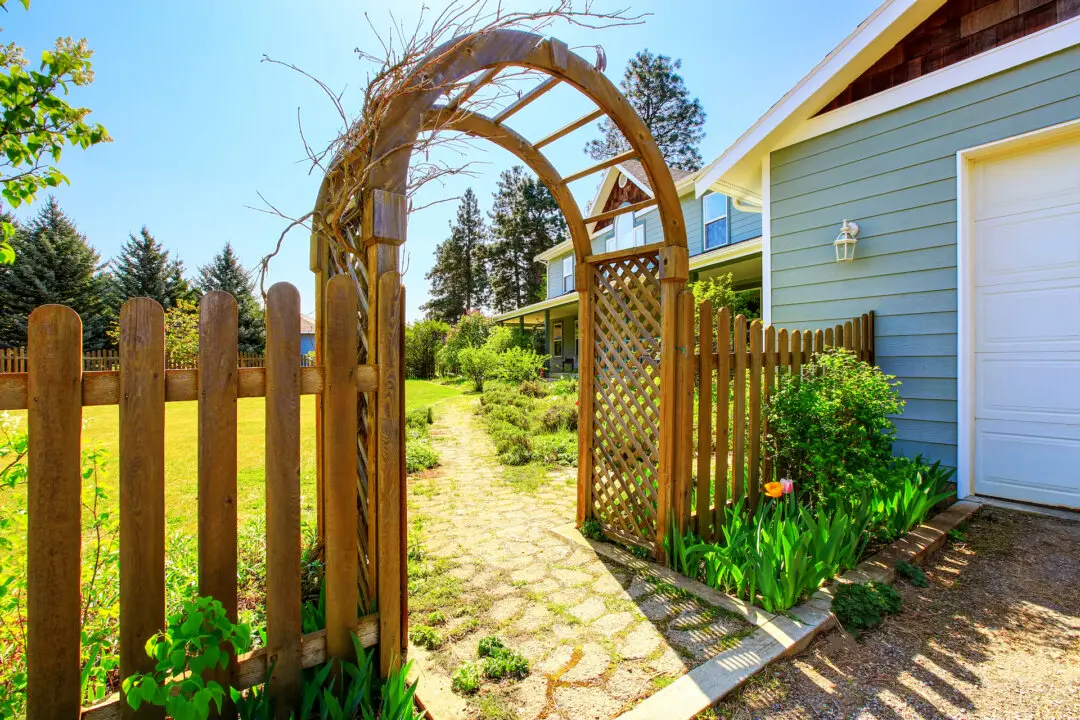
Another option is a semi-privacy fence with a small space between the pickets. This may provide enough privacy for your needs, and it will allow some airflow through it. Since there are open areas, less wood is used, and the material costs may be lower.
The third design option is a shadowbox fence. In this design, the pickets are spaced apart but alternated on either side of the fence to give complete privacy with airflow. Your neighbors may also like this better because both sides of the fence look identical and attractive.
Armed with the above knowledge, go into your backyard and mark the locations of the corners of the fence with stakes. Drive a nail in the stakes and stretch layout strings between them to establish the line of the fence.
Since your lot slopes, you have two options for following the slope: parallel method and step method. In the parallel method, the top and bottom fence rails follow the slope of the ground. This requires that you attach each vertical picket individually to the top and bottom horizontal rails.
Your best bet is probably to use the step method and preassembled fencing panels. Each complete panel is attached to the fence posts so that the top is level. Each successive panel is stepped down on the post to follow the slope. This leaves a gap between the ground and the lower end of each panel. The height of the gap depends on the degree of the slope.
Select your preassembled panels, and carefully measure the length of each one. Mark each panel with a number. The lengths of each panel will determine the spacing of the 4-by-4-foot posts. Drive locator stakes, touching the string, in the ground at the post locations.
Once the postholes are dug, place the pressure-treated posts in them. Use a level on the posts to make sure that they are vertical. Use 2-by-4-foot bracing pieces to hold the posts in place. Pour in the concrete and mound it up a little against the post. When set after two days, nail on the preassembled panels.