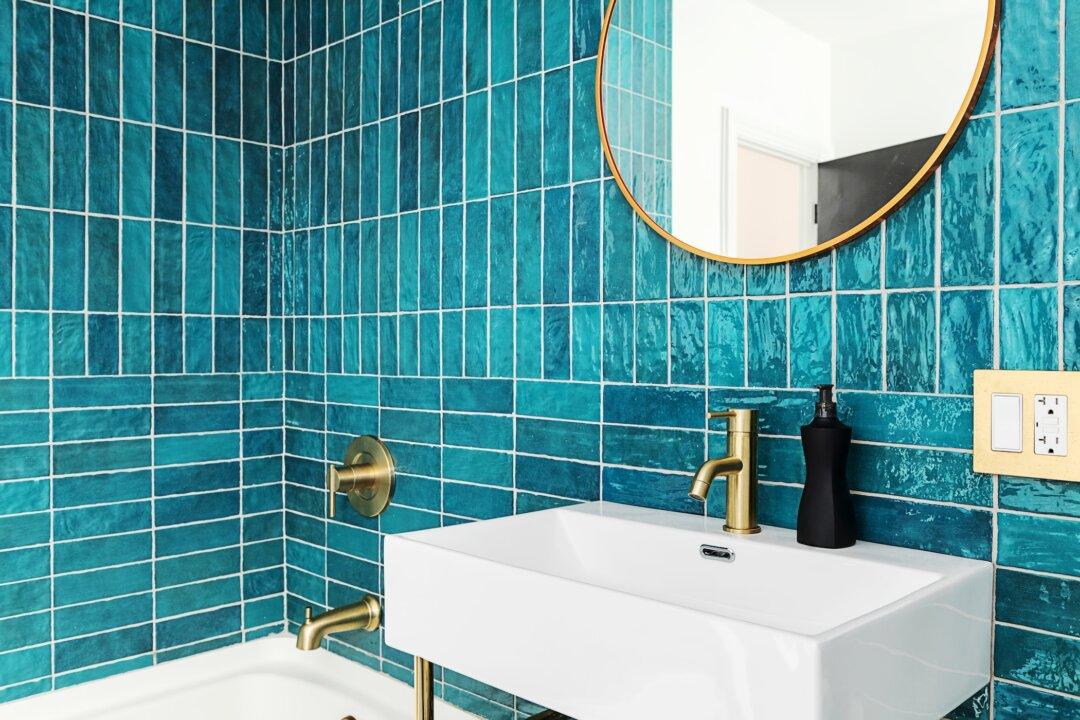
Dear James: My bathroom needs an upgrade, so I plan to add ceramic tile to the walls. This is my first attempt, so what are some planning and application tips? —Denise M.
Dear Denise: Having an attractive bathroom is more important than many people realize. If you have a large family, the bathroom is often the only room where you can get peace and quiet. A newly tiled bathroom can be a pleasant spot to spend some quiet time.
If you are willing to put in the time in the initial planning stage, adding tile to the bathroom walls isn’t a difficult do-it-yourself project. This is particularly true when it’s someone’s first tiling project.
By the time you are done, you will either love or hate your builder. If the walls are all flat and plumb, it will be a breeze to fit the tiles. If your builder wasn’t quite as careful as he should have been, you will spend a lot of extra time cutting and fitting tiles.
Each piece of ceramic tile is manufactured to tight tolerances and the size is very consistent. This is necessary to produce uniform grout lines. Nothing looks worse than grout lines that aren’t straight and of a constant width. Just a slight variation is usually apparent.
A maximum target grout line width of about 1/8 inch for the wall tiles is acceptable, but slightly narrower looks better. With these tight tolerances, accurate tile cuts are imperative for fitting the corners and around objects.
Ceramic tile is cut very similar to glass. Use a tile cutter that has a carbide wheel to score the glazed surface of the tile. Apply force to each side of the tile and, 95 percent of the time, it will snap cleanly along the score mark. Simple tile cutters have a fence to keep the cutter square to the tile.
If you need to cut pieces narrower than about 5/8 inch, you will need to use a hacksaw with a carbide blade. If your builder was really off and you have to make many cuts to fit the tiles, see if you can borrow or rent a diamond wet saw. These saws are too expensive to buy for one or two jobs.
To make L cuts (cut a corner out of a tile), first cut the long edge with a hacksaw. Score the short edge and snap the corner out. To make a very clean-looking circle, use a carbide circle hole saw. A lower-cost option is a rod saw that fits in your hacksaw frame. However, the cut will not be as perfect.
For rough cuts, use a tile nipper. This tool has carbide jaws that bite out chunks of the tile. The finished edge is not neat, but it is fine for areas that will be covered by decorative trim. A shower faucet handle is a good example.
It is advisable to start with the walls because you will most likely drop some tools or get abrasive dust on the floor. In laying out the wall tile pattern, the key to a good job is to get the tiles reasonably well-centered while minimizing cuts and narrow pieces.
Start on the long wall over the bathtub, usually five feet long. Find the center and start your first tiles there. Nail a level board to the wall to be used as a reference and support base for the first row of tiles. When they are set, remove the board and finish below it. Repeat this procedure on all the walls.