I’ve been helping my son finish the basement in his 3-year-old home. We can only work on Saturdays, some Fridays, and any paid days off he can spare. It’s been a lifelong dream of mine to help my kids work on their homes. Five years ago I installed all the plumbing, radiant heating, and electrical cables in my oldest daughter’s home.
My son and I started hanging 100 sheets of drywall about a month ago. He had never done this task before and picked it up quickly.
You may have a drywall project in your future. Perhaps it’s just one or two sheets. Maybe it’s 30. The following tips should save you thousands of dollars. You should also experience an overwhelming feeling of satisfaction once you apply the first coat of paint to your smooth-as-silk finishing work.
The first thing to realize is hanging drywall is not finish carpentry. I’ve always cut my pieces 1/4 or 3/8-inch less than the actual length. The drywall tape and mud will fill the small cracks you’ll get at each end of a vertical piece. The long length of drywall, 8 or 12 feet, is placed perpendicular to the run of wall studs or ceiling joists.
Ceilings are always hung first. They’re the hardest pieces to do. Enlist enough help so the piece can be held tight to the ceiling joists while screws are driven to fasten the sheetrock to the joists. A mechanical lift can be rented to hold the pieces. One and one-quarter-inch coarse-threaded drywall screws with bugle-shaped heads are used for 1/2-inch drywall. Screws in ceilings should be placed along each edge and then 12-inches on center in the body of each sheet.
Purchase a drywall screw gun. These affordable tools allow you to countersink the screw head perfectly. You want the screw head to be 1/16 inch below the surface of the drywall paper. Drive it too far and you’ll tear the paper around the screw head, reducing the holding power of the screw. Watch a few online videos showing you the proper way to drive the screws.
Outside corners require some precision. Hang the drywall so it’s 1/8-inch back from the outside corner. Do this with both pieces that form the outside corner. Doing this will make it very easy to install the corner bead. Screw spacing for drywall on walls is 16 inches on center.
Cutting the holes for electric boxes is tiresome if you try to measure them. It’s much easier to put some cheap lipstick on the front edge of the boxes. Place the drywall at the correct height where it will be on the wall. Hold it away from the wall to avoid mis-marking the box. Press the drywall against the electrical box and transfer the lipstick to the back of the sheet. Use an inexpensive drywall punch saw to cut out the rectangle or circle. You’ll get very good at this with minimal practice.
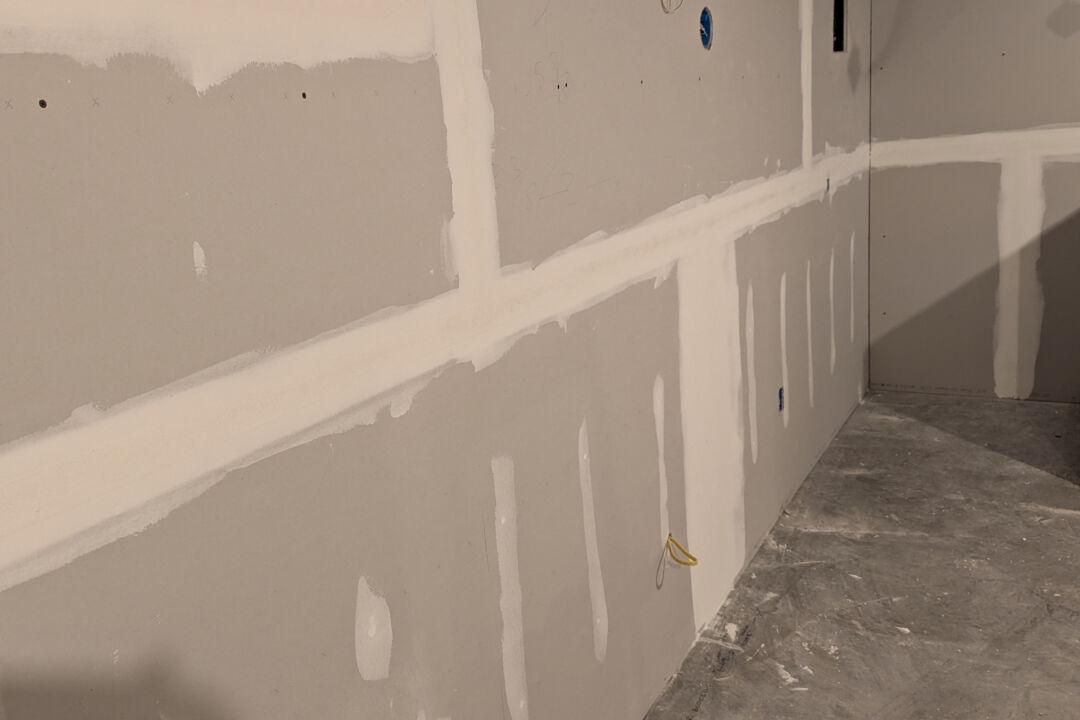
Finishing drywall is not as hard as you might think. Be sure you remove all scrap drywall from the room. Don’t sweep the floors. The dust on the floors will be your friend when it’s time to clean up the joint compound that falls to the floor.
Brand name ready-mixed joint compound works really well. Read the label on the bucket or box. Follow all the directions to the letter. Be sure the room is warm to accelerate drying time. Beware of adding water to the joint compound. The USG Plus-3 compound I’m using requires no extra water. It seems stiff when you remove it from the bucket, but when you start to work it in your drywall pan, it achieves the perfect consistency. You want the joint compound to resemble warm cake icing.
I prefer to use amazing thin fiberglass tape for all flat seams. This tape is very forgiving for a rookie. The joint compound oozes through the gaps of the glass fibers. It resembles reinforcing steel in concrete. Paper tape can develop blisters should you remove too much joint compound from under the tape.
Butt seams where two 4-foot edges meet are the hardest to finish. You end up creating a hump in the ceiling or the wall at these locations. Your task is to make the center of the hump no more than 1/8-inch high. You then need to feather out joint compound about 10 inches either side of the center of the butt joint.
Tapered seams are very easy to finish. Your goal when taping them is to have just 1/16 inch of joint compound in the seam with the fiberglass tape. You’ll then add another 1/16 of an inch with your second coat.
Inside corners are very easy to do. I always use the traditional paper tape for these. You want the same 1/16 inch of joint compound between the tape and the drywall. I use a 5-inch-wide flexible taping knife to do this. You need to round off the corners of a new knife with a metal file. This will ensure the new knife doesn’t rip or tear the centerline of the paper tape.
There are hundreds of videos on YouTube that will show you how to hold all of the tools to ensure you don’t leave too much joint compound on the wall. Less compound means less sanding. Watch the videos and let me know how your job comes out!