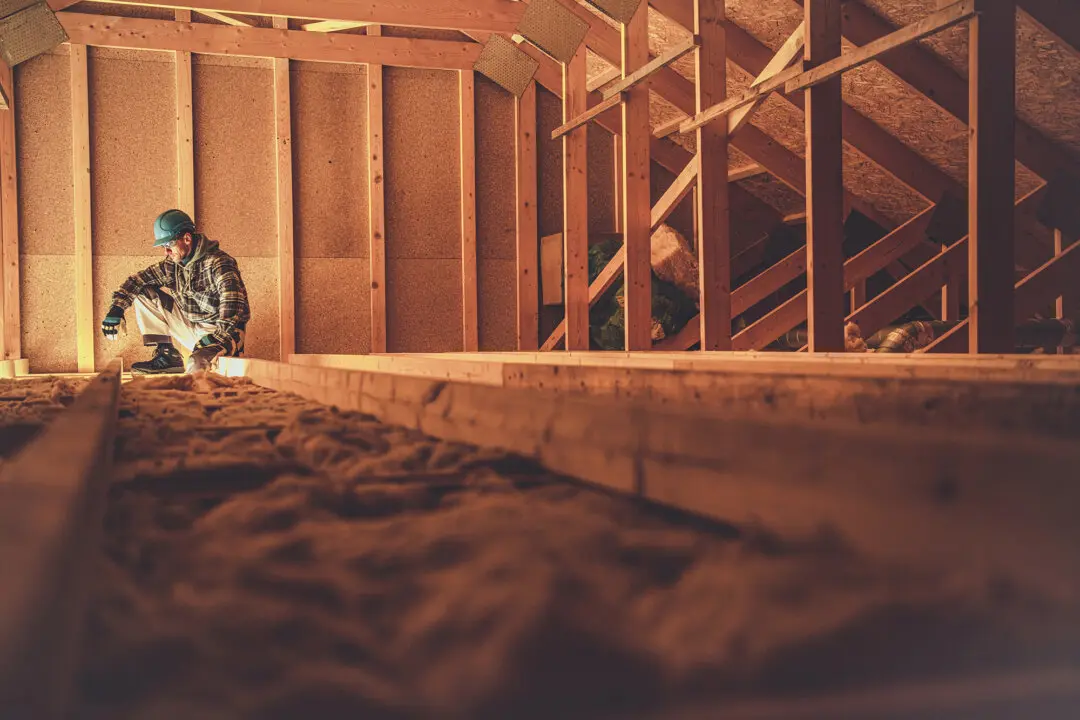
Insulating the unheated areas of the home is an easy-to-moderate skill level project with big benefits for not only lowering heat and AC bills, but improving overall comfort as well.
R is for (Thermal) Resistance
The R-value of an insulation material measures how effectively it can resist heat transfer. The greater the number, the better the insulation performance. This number is calculated using several factors, including thickness, density, and conductivity of the material.The Basic Blanket
The word insulation often conjures images of giant rolls or batts of pink fiberglass available at every home improvement store.Mineral wool (also known as rock wool) is another roll/batt style that offers a higher R-value per inch of thickness than fiberglass, as well as superior sound protection. On the downside, mineral wool is more expensive (up to 25 percent more) and heavier, making it more difficult to work with during ceiling and roof installations.
Roll/batts, which generally range from three to six inches thick, excel at quickly and easily filling the spaces between exposed studs, joists, and beams (the framing of the house). They can also be simply cut to size with a knife and laid or rolled out on the attic floor or between exposed floor joists to insulate the rooms below. Make sure there aren’t any gaps. If using lightweight fiberglass, a second layer can be added for additional protection.
When using rolls or batts between wall studs or ceiling beams in the attic, basement, start by carefully cutting the material to size for a snug fit. Then, starting at the bottom, gently press the insulation into place so it stays tight, making sure that there are no gaps. The idea is to have it secure but not compressed, which would reduce its R-value. Cut small slits in the insulation to accommodate wires or pipes. The idea is to have the insulation fit snugly around these intrusions without compression or gaps.
Fill and Foam
Because loose fill (blown-in cellulose) insulation can adapt to any shape, it’s the fastest way to insulate unfinished attic floors, tight attic edges and corners, and enclosed or open wall cavities—as long as one is willing to rent the equipment.Typically sprayed as dry cellulose, moisture is introduced into the process to make it stick to open walls like a foam. Enclosed walls will need to be drilled to accommodate the blower nozzle.
There are two machine choices: a traditional cellulose insulation blower with a small nozzle, or an attic blower with a specialized wide nozzle designed to fill large open areas quickly with a wide broadcast spray.
Meet the Polys
Expanded polystyrene foam board (rigid foam) is budget friendly and has good moisture resistance and thermal resistance over time. Extruded polystyrene (XPS), on the other hand, is highly moisture-resistant with a slightly lesser thermal-over-time rating and a higher compressive strength. Both can be used above (open walls and roof beams) and under grade, making them good choices for finishing a basement wall. XPS has a slight edge if the budget allows thanks to its enhanced moisture resistance. It’s also the top choice for crawl spaces.Foil-backed closed-cell polyisocyanurate (polyiso) is a third option. It’s well suited to attic roofs as it typically has the highest R-value of foam boards per square foot, but it is rated for above-grade use only.
Foam board isn’t as forgiving as flexible roll and batt material, so “measure twice, cut once.” It can be installed with a construction adhesive (the most common method, particularly when placed between wall studs or furring strips), or button cap nails attached to wall studs or furring strips. Despite one’s best efforts, gaps will happen. For the best results, seal all joints with specially designed foam board joint tape, then on interior applications, cover it with drywall.
In addition to the savings on energy costs and making the home cozier, insulation may be the first step toward turning the attic or basement into a living space.