Add a Beadboard Plank Ceiling

The ceiling is usually as large as the floor but with nothing obstructing the view of it.
Add a Beadboard Plank Ceiling
The choice of ceiling material and colors can also affect how bright and large the room appears. (Artazum/Shutterstock)
6/13/2024
Updated:
6/23/2024
0:00
Dear James: I would like to add some unique ceiling during our dining room remodel project. Is beadboard or plank paneling an option I can install myself?—Dave B.
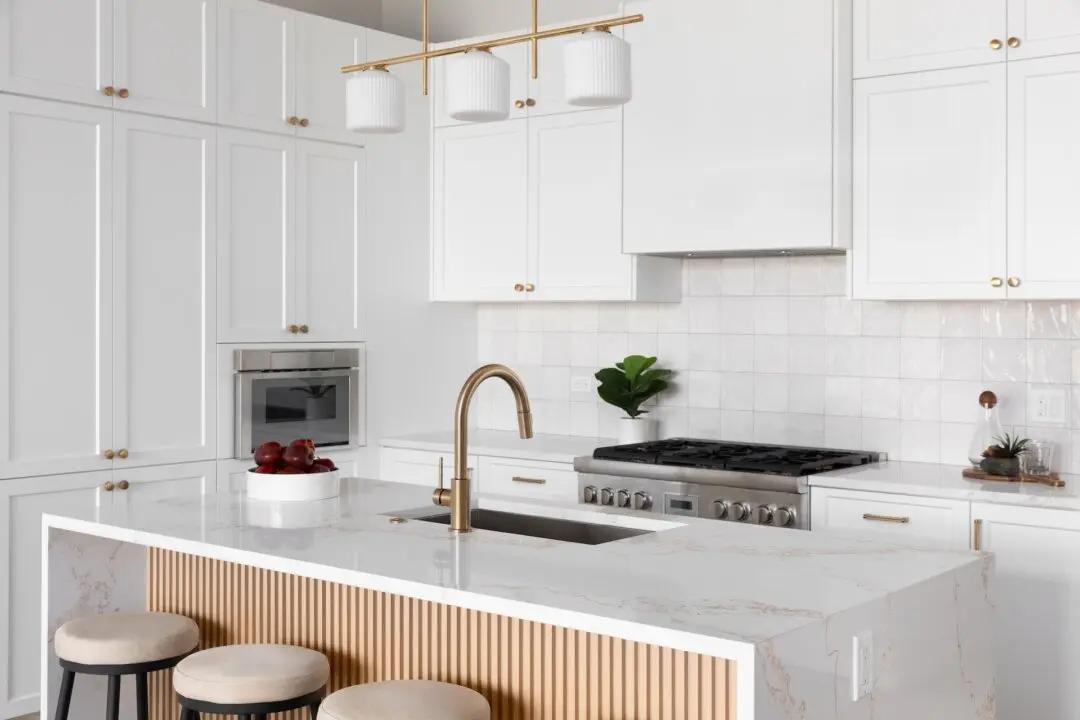
Dear Dave: People often think of walls and flooring when planning the room decor, but the ceiling covers just as much area as the floor, and the view of it is totally unobstructed. The choice of ceiling material and colors can also affect how bright and large the room appears.

There are many options other than just a drywall ceiling painted with ceiling white: plywood paneling, tongue-and-groove paneling, stamped metal panels, acoustic tiles, wallpaper, various fabrics, etc. Beadboard and plank paneling are actually types of tongue-and-groove paneling and would be a good choice for a do-it-yourself project.

Beadboard ceiling material used most often today is about 5/16 inches thick and about 3 1/2 inches wide. There is a routed groove down the center of each plank with the same contour as the tongue-and-groove edges. When it is installed on the ceiling, each plank appears to be two narrow planks. You can expect to pay about $1.25 per square foot in 8-foot lengths.

You should install the beadboard perpendicular to the ceiling joists. If you have removed the old drywall ceiling or you have access to the attic space above the living room, you will see the joists. If you are planning to install it under the existing drywall, use an electronic stud finder to locate the studs and their direction. They are probably in 16-inch centers. Snap caulk lines on all the stud locations.

Then you can determine how much beadboard material to buy to finish the ceiling. Make sure to thoroughly prime or stain both sides and all the edges of each plank before attaching them to the ceiling. This is important to block moisture on the top side from migrating through the plank and causing blistering on the exposed ceiling surface.

Before starting to nail the primed planks in place, make sure that the room walls are really parallel. You will need several extra pairs of hands for this. Have a helper hold one plank up tightly against one wall. Have another helper do the same on the other wall.

Measure the distances between the ends of the two boards. Don’t be alarmed if the measurements are not identical. Very few rooms are really truly rectangular. Move the ends of each board in until the measurements are identical. The narrow gap with the wall will be hidden under the moulding.

Always start with the grooved edge against the wall. Drive 4D finishing nails through the tongue and into the joist. Drill small pilot holes through the face of the plank near the wall and nail that edge to the joists. All the other planks will be held in place just by the nails through their tongues. The grooved end will slip over the previous tongue.

Use a nail set to gently tap the nail heads slightly below the tongue surface. Slip the next plank’s groove over the tongue of the first plank. Hold a block of wood against the second plank’s tongue and tap it to make sure that its groove fits snugly over the first plank’s tongue. Be very gentle so that you do not damage the tongue, or the next plank will not fit.

Unless you are extremely lucky, the final plank will be too wide to fit. Use a circular saw or table saw to rip it to the proper width to fit against the wall. Slip it over the tongue, drill pilot holes, and nail it through the face like you did with the first piece. Add the moulding, and your ceiling is complete.

Dear Readers: We would love to hear from you. What topics would you like to read about? Please send your feedback and tips to [email protected]
Send your questions to Here's How, 6906 Royalgreen Dr., Cincinnati, OH 45244, or visit Dulley.com. To find out more about James Dulley and read features by other Creators Syndicate writers and cartoonists, visit the Creators Syndicate website at Creators.com. Copyright 2021 Creators.com
Related Topics