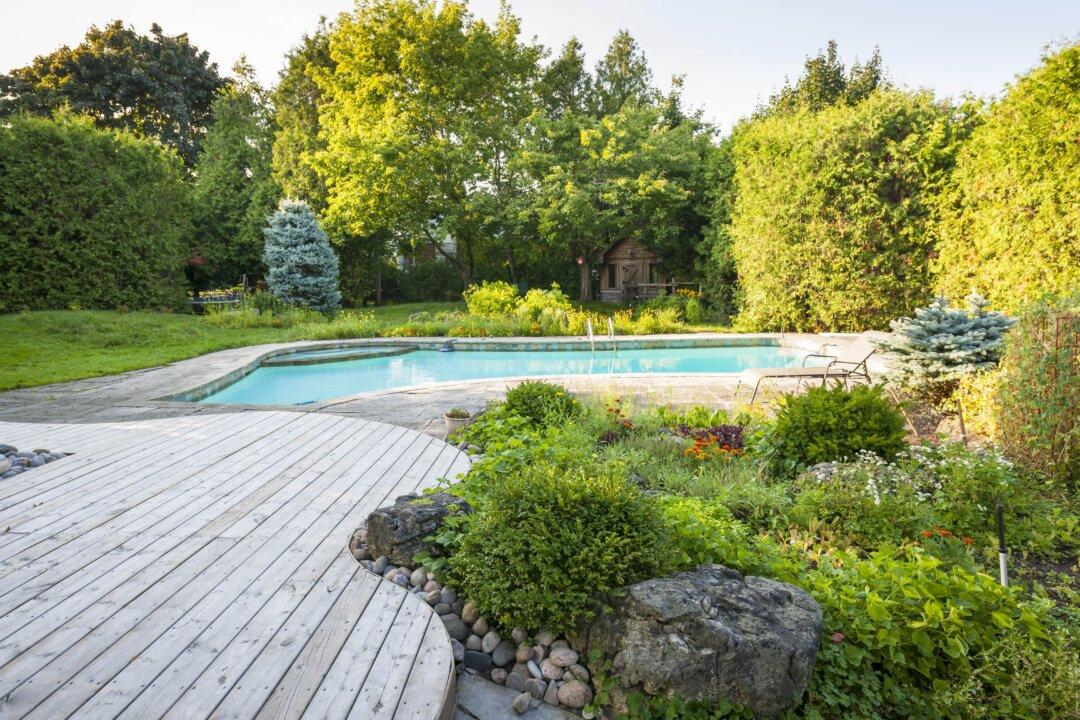
The reason everyone has a rectangular deck is that design is easiest, quickest, and least expensive to build. Building a curved one does take some skill and definitely more time, but you should be able to do it yourself with typical homeowner-type tools and a helper for handling the larger pieces.
Before you set your mind to building a truly curved deck, consider a multisided one. This can consist of many short sides to create the impression of true curvature. This also takes more time to build than a standard rectangular deck, but the measurements and assembly are much simpler than creating a true curve.
Building a true circular deck starts out similar to any rectangular deck. Pressure-treated lumber is used. Posts are sunk in the ground to below the frostline and doubled 2-by-8-inch lumber is used as beams across them. The beams are covered with joists on 16-inch centers.
The primary difference on a circular deck is that the joists extend out over the end of the beams on the side that will be curved. Once all the joists are in place, locate the center of the curved area. Loosely nail a piece of lumber, which is the length of the curve radius, to the center point. Swing this piece in an arc marking the location of its end on the joists that extend out over the beam.
Saw off the joists to the proper lengths per the marks to create the curve. Use scrap lumber from the ends as support blocking to nail between the joists. Depending upon the pattern of the finishing top lumber used, additional blocking may be needed in between the joists further in near the center of the arc.
A curved band joist must be made to fit around the ends of the joists that were just cut off. Make this band joist using three or four laminations of 1/2-inch pressure-treated CDX plywood. These plywood pieces are fairly easy to bend. This band joist will eventually be covered with a skirtboard, so it’s not important how neat it looks.
Using clamps, galvanized nails, and construction adhesive, start attaching the laminations of CDX around the edge of the joists. Clamp the laminations, with the adhesive between each, to the ends of the joists. The other side of the clamps will rest against the blocking pieces.
The finishing skirtboard should be made from 1-by-8-inch or 1-by-12-inch composite decking material. This material is easy to bend, especially if it’s placed in the hot sun for an hour. Being made of a plastic/wood compound, it doesn’t require regular maintenance.
Place a piece of your finished decking material on a band joist to determine how high the skirtboard must be nailed to cover the edges. Cut the finished decking to size, with curved ends, and nail it over the joists.