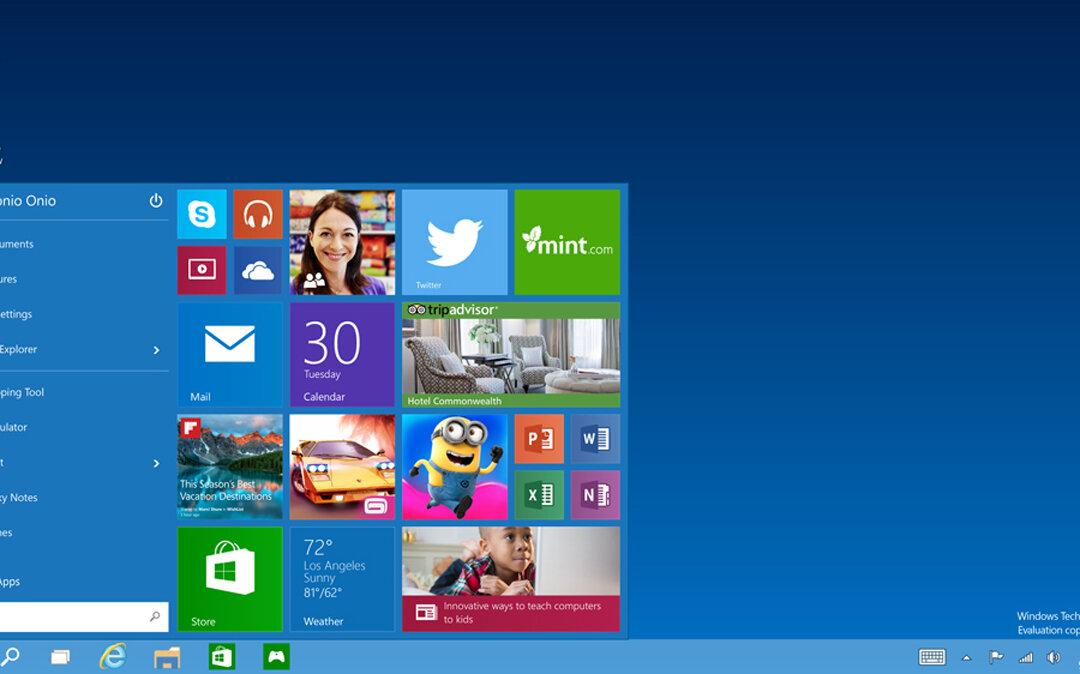
In Windows 10, Microsoft brought back the classic start menu for its users with a modern and appealing look. The new start menu has two sections where the left panel resembles the classic start menu in Windows 7, and the right panel resembles the start screen of Windows 8.
The start menu in Windows 10 doesn’t only look gorgeous but is also much more customizable than in any other previous Windows versions. In case you are wondering, here are some of the ways to customize your Windows 10 Start menu.
1. Resizing the start menu
In Windows 10, you can easily resize your Start menu to fit your screen size. To resize the start menu, just hover your mouse over the top edge of the start menu and move your mouse up or down.
This action will resize the start menu and any tiles in the menu will be automatically adjusted. This new feature is particularly useful if you have wide screens with lots of space to use.
2. Add, Remove and Resize Tiles
Just like in Windows 8, you can add, remove and resize the tiles in the right section of the Windows 10 start menu. To add app tiles to the right section of the start menu, just right click on the app you want to add and select the “Pin to Start” option.
As soon as you have done that, the app will be added to the right hand side of your start menu. If you want, you can also rearrange app tiles by dragging and dropping them using your mouse.
To remove an app from the right section of the start menu, right click on the app tile and select the option “Unpin from Start.” This action will remove the app from the start screen.
To resize a tile in the start menu, right click on the tile, select “Resize” and then select one of the size’s among small, medium, wide and large.
3. Personalizing Colors of the Start Menu
In Windows 10, you can also personalize the Start menu background colors just like in Windows 8. To change the color, right click anywhere on the empty space of the start menu and select the option “Personalize.”
The above action will open the “Color and Appearance” window. Here select the color you want and click on the “save changes” button. If you didn’t find your favorite color, you can easily create one by selecting the option “Show color mixer.”
The color change will take effect instantaneously; just click on the start button to see the changes.
4. Getting Back the Windows 8 Start Screen
If you are using a touch-based monitor and would like to have the regular start screen just like in Windows 8, Microsoft has you covered. Open up the Start menu, right click anywhere on the empty space and select the “Properties” option. You can also access the properties windows by right clicking on the taskbar.
The above action will open the “Taskbar and Start Menu Properties” window. Here navigate to the “Start Menu” tab, uncheck the checkbox “Use Start menu instead of Start screen” and click on the “Ok” button to save the changes.
At this point, Windows will ask you to “Sign Out” of the current session to apply the changes. Save all your work and click on the “Sign out” button. Once you log in, you can have your Windows 8 start screen back.
Aside from these customization features, you can also uninstall any of the modern and desktop apps by simply right-clicking and selecting the option “Uninstall.”
Hopefully that helps, and do comment below sharing your thoughts and experiences with the new start menu in Windows 10.
Republished with permission from MakeTechEasier. Read the original.