If you live anywhere in North America with hard clay soil, you may have given up growing carrots in your garden. The tops may have grown beautifully, but the carrots themselves were split, forked, or squashed like a pancake. Don’t take it personally – it wasn’t you, it was the rocky clay soil.
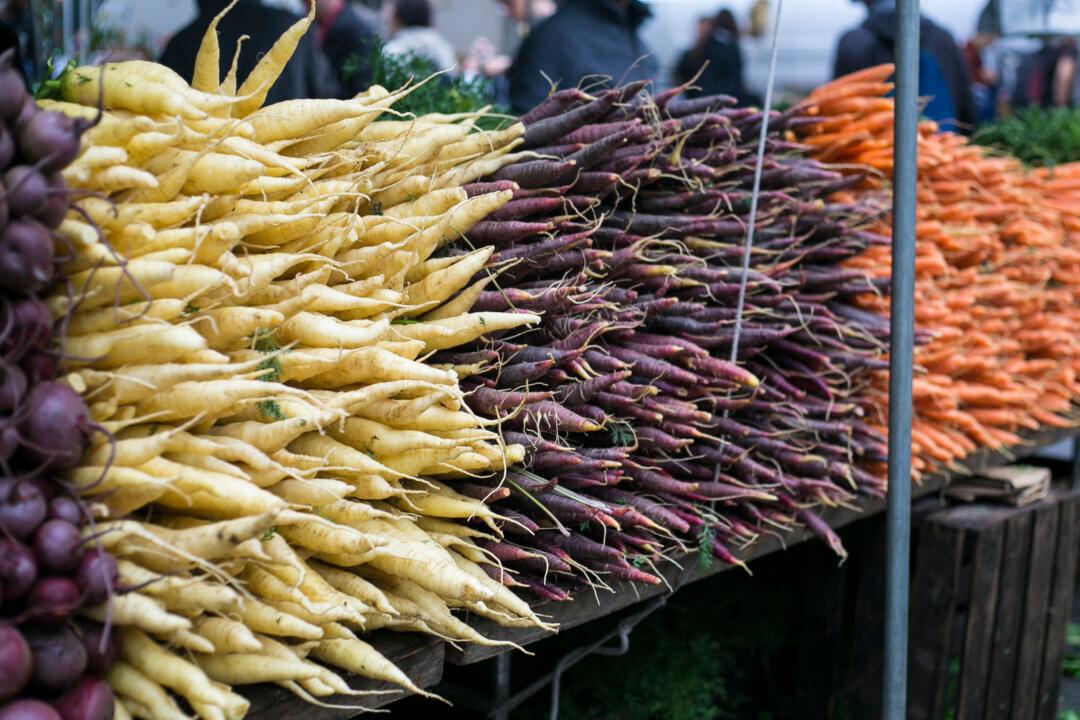
We are so used to seeing multitudes of perfectly formed, long, smooth carrots on grocery shelves and farmer’s markets, that newbie gardeners expect the same results. And if they live where the soil is naturally sandy (known as sandy loam), they'll have excellent results. But those of us who live atop mountains of clay need to do some work on our soil before planting.
The key to growing carrots in soils that aren’t the perfect sandy loam is to work an enormous amount of compost into the garden bed prior to planting. “Enormous” is a subjective term, so more specifically, at least 30% of the garden soil volume should be finished compost. Soil should also be free of rocks, stones, twigs, and anything else that might get in the way of the carrot root penetrating down into the soil. Carrots need a little TLC, as they don’t have the same capacity to drill down into hard soil as a crop like Daikon radish, which I swear could drill through granite (by the way, daikon radish is superb at breaking up clay soil).
Normally in an organic garden, I don’t advise turning the soil, as it breaks soil structure and disturbs the soil food web. But in the case of carrots grown in rocky or clay soil, you'll have to turn the garden bed, especially in the first season. After a few years, and as other crops are rotated through the same raised garden bed, less disturbance will be needed and you may be able to get away with just layering fresh compost on top of the soil. However, I’ve been working my current raised garden beds for 7 years with compost, and still my clumpy clay wants to ball-up.
How to Get Clay Soil Into Carrot Growing Condition
Across the entire length of your carrot bed, dig down 18″, turning the soil over. You'll see that the soil a foot below the surface is much denser than the surface soil – that’s where the carrot root gives up. Break up the turned soil clumps with your garden spade. Pick through the soilbefore turning it under again to remove rocks, stones, sticks, twigs, and any other debris. After the first round, turn the soil again, and once again pick out anything that might get in the way of root development. Break the clumps up with your spade.
Add a sufficient amount of finished compost so that roughly 1/3rd of the garden soil volume is compost. Turn the compost in with your spade to achieve a nice mix from the surface to 18″ deep. Rake the bed smooth with a garden rake and once again pick out the small debris that comes to the surface (garden debris is never-ending).
Sowing Carrot Seed
Before sowing carrot seed, make sure your garden bed is thoroughly weeded, because carrots give up easily when confronted by tougher plants. Carrot seed is a very fine, small seed, which is difficult to sow in proper rows and with proper spacing. There are however, seeds that are sold attached to tape or pelleted, making it easier to sow in an evenly spaced fashion. (Pelleted seed is seed surrounded by inert materials which dissolve after planting. It’s easier to see when sowing.). Another alternative is to use a hand seed sower set on 1 – my personal preference – which will evenly distribute seeds. If you’re not concerned with an orderly carrot bed, you can also broadcast the seed across the bed and thin the seedlings later.
Plant carrot seed 1/2″ deep, and attempt to space the seeds evenly, according to packet directions for your variety – generally speaking, maturing carrots should be about 2.5 – 3 inches apart. Gently tamp down the seed bed with your hands after sowing, so the seeds make contactwith the soil. Water in lightly. If you love carrots and are planting a boatload, I highly recommend that you stagger your plantings 2 weeks apart so they don’t all mature at once.
Watering Carrots
The irrigation of carrots is critical. After sowing seeds, and until germination, frequent, low volume watering is key to keep the shallow seeds from drying out and a crust forming on the soil. Carrot seedlings are rather delicate and have a hard time pushing through soil crust and if they dry out, they won’t germinate. As the carrot tops grow, soil moisture must be maintained to keep the ground soft, so the root can establish and penetrate. Once again, frequent shallow waterings are best. As the plants mature, higher volume and less frequent watering is key, keeping around the one-inch of water per week standard. I frequently do the “knuckle test” of the garden soil – plunge your finger in up to the middle knuckle – it should feel moist, but not wet.
Drought is especially devastating to carrot seedlings. If rain isn’t falling on the seedlings, be vigilant about irrigating them by hand. Consistent moisture is key, as fluctuations tend to lead to cracked and split roots.
Mulching the seed bed with a fine layer of grass clippings is a great way to retain soil moisture.
Thinning Carrot Seedlings
No matter how careful you are about spacing your seeds, carrot seeds find all kinds of ways to group together, especially if you have heavy rains pre-germination. As soon as seeds germinate, start thinning the seedlings to the appropriate spacing for the variety. Carrots that are crowded not only end up being puny, but also malformed, as they fight for space. Thin when the tops are 3″ again at 6″, and as necessary as the plants mature.
Fertilizing Carrots
Carrots are root vegetables. Therefore, phosphorous and potassium are vital for growth. If you use a manure or a nitrogen-heavy organic fertilizer, you'll end up with big, beautiful green tops and stubby little carrots. As compost tends to be more on the P and K side than on the N side, it usually can provide the majority of fertilization. If in doubt, add fish emulsion – carrots absolutely thrive on it.
When to Harvest Carrots
The really cool thing about carrots is that you can eat them as soon as the roots have grown a few inches. And they get better as the season continues.
As fall arrives, your carrots will start to mature. I leave my carrots in the ground and harvestonly as I need them, until very cold weather is imminent, adding straw or compost on top of the soil as an insulator. As growth slows to a crawl with cooler temps, the carrots become sweeter as sugar collects in the root. As long as you harvest before the ground freezes, your carrots will be just fine. It’s not unusual for me to be digging in the bed at Thanksgiving to serve fresh carrots for our family gathering. Then shortly after the holiday, I harvest what’s left, put a few dozen in the refrigerator and slice, blanche and freeze the rest in mason jars for soups and stews over the winter.
This article was written and published by Todd Heft, the head administrator for bigblogofgardening.com. This article has been republished with permission, original article here.


